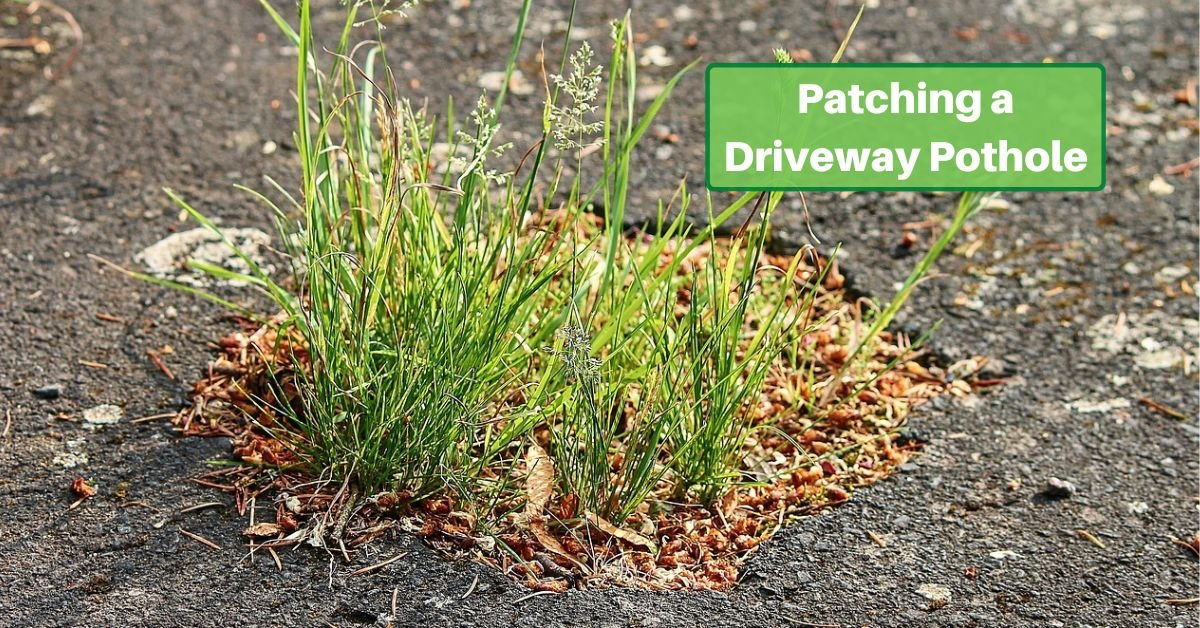
A pothole in your driveway is an eyesore. Asphalt always needs maintenance but in the worst conditions, it can even be hazardous. Fortunately, you can fix the damage on your own without too much difficulty.
Sure, asphalt repair does take a little work to get it right. But it’s not the hot, sloppy mess you might imagine. We’ll walk you through everything you need to do!
Materials You’ll Need
There are specialty tools for patching asphalt, but you can get the job done almost as efficiently with tools you likely already have.
Cold asphalt patch is a necessity. This will do the job of filling the damaged area. Hot asphalt can do the trick, it’s a lot harder to handle.
You’ll also want to use an asphalt sealer on the patch after it’s had time to cure.
A mix of sand and gravel forms the foundation for your asphalt. Depending on how deep your pothole is, you may need to add more.
Be sure to get rid of any weeds that may be growing through the pothole, too. Either weed killer or vinegar will do the trick.
You should also have the following tools ready:
- Hard-bristle broom
- Spade
- A hammer and chisel can also help you square up the damaged area
- Hose
- You could also use a pressure washer
- Steel damper (only needed if it’s a large hole)
- A lawn roller could substitute for this
- A sheet of plywood can substitute for this – we’ll explain how later on!
Why Use Cold Patch?
You may notice that we specified cold patch asphalt, and be asking yourself why. There are a few great reasons.
Hot asphalt does a great job, but it’s dangerous, it stinks, it requires specific weather conditions, and it requires special equipment to heat it enough. If you’re not a professional, you shouldn’t try to use it.
Fortunately, cold patch asphalt works just as well and without all those issues. It can be used during a wide range of temperatures. There’s no need to heat or otherwise prepare it. All in all, it’s a better and more affordable option for small jobs like patching potholes at home.
You do want to choose a dry day to do the work. It’s best to have several dry days afterward, too, so it can cure right.
Preparing Your Pothole
Before filling the pothole, it’s important to be sure you clean it up so that the patch will hold up correctly.
First, pull any weeds that may be growing through the asphalt or substrate. Don’t rely on covering them up with your patch! They’ll still find a way to grow through. To make sure you’ve gotten rid of them completely, spray the area down with insecticide. Or you can apply vinegar; this will destroy most root systems.
Give the weed killer some time to do its job before moving to the next step, which is cleaning up the spot. You’ll want to remove any loose debris from the hole. It’s also helpful to make it square.
Since the process of squaring it up creates more debris, start with that. Use your spade to carve out the edges into straight lines. You could also use a hammer and chisel for this.
Sweep out the space with a stiff-bristled broom. You can also hose it out with water from either a hose or pressure washer to prime the space as well as possible. Before moving on, though, be sure to let it dry completely.
Filling The Base
Asphalt should be about 2 inches thick, but it should be laid on a 3 or 4-inch base of rock. If the damage extends to the base, you’ll have to fix this first.
A mix of gravel and sand is the perfect filler. Use it to level out the spot and press it down firmly with your spade.
Patching the Hole
Depending on the size of your pothole, you can pour the cold patch directly into the hole, or, if it’s a smaller space, you may want to use a trowel.
You’ll want to fill the area completely and even a little above the level of the surrounding asphalt since you’ll be tamping it down and it will also settle over time. Usually, about a half-inch of overfill is enough.
Tamping It Down
If you have a steel damper, use it to press down the patch as tightly as possible so that it will fill the hole tightly.
But not everyone’s going to have a tamper. In that case, a lawn roller makes a good substitute. Roll it over the patch a few times to create the same effect.
Neither of these tools a part of your collection? Place a piece of plywood over the patch, and park your car with a tire on the plywood. All that weight will pack that asphalt in tightly!
The Cure
It can take anywhere from a few hours to a couple of days for the asphalt patch to cure. During this time, avoid walking or driving on it. This will let it set correctly and form a solid patch.
Sealing The Deal
Be sure to seal your patch with asphalt sealant after it’s had time to cure. The sealant helps preserve it and avoid future issues with the spot.
Conclusion
Repairing asphalt isn’t as difficult as you might imagine. A few hours of work spread over a couple of days can have your driveway looking like new! It’s a great option to save money and keep the area in good shape.