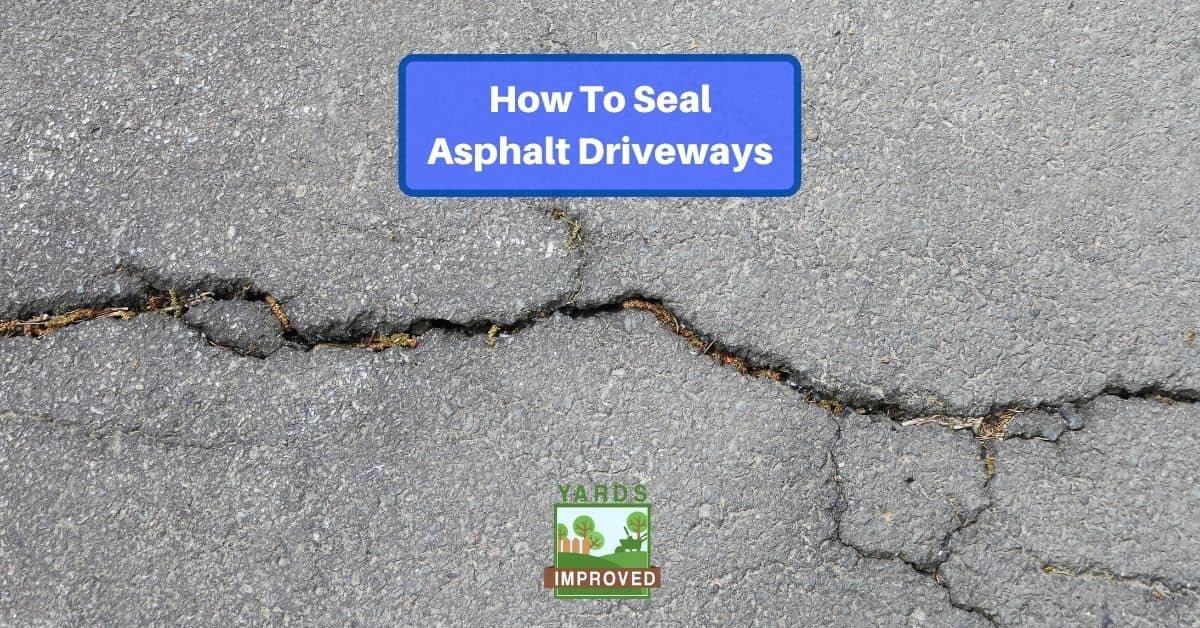
If you have an asphalt driveway, you know how quickly it starts to wear down. Resealing it regularly keeps it looking good and helps prevent its disintegration. It’s a messy job, but most DIYers will have no problem with the difficulty level!
How Often To Reseal Your Driveway
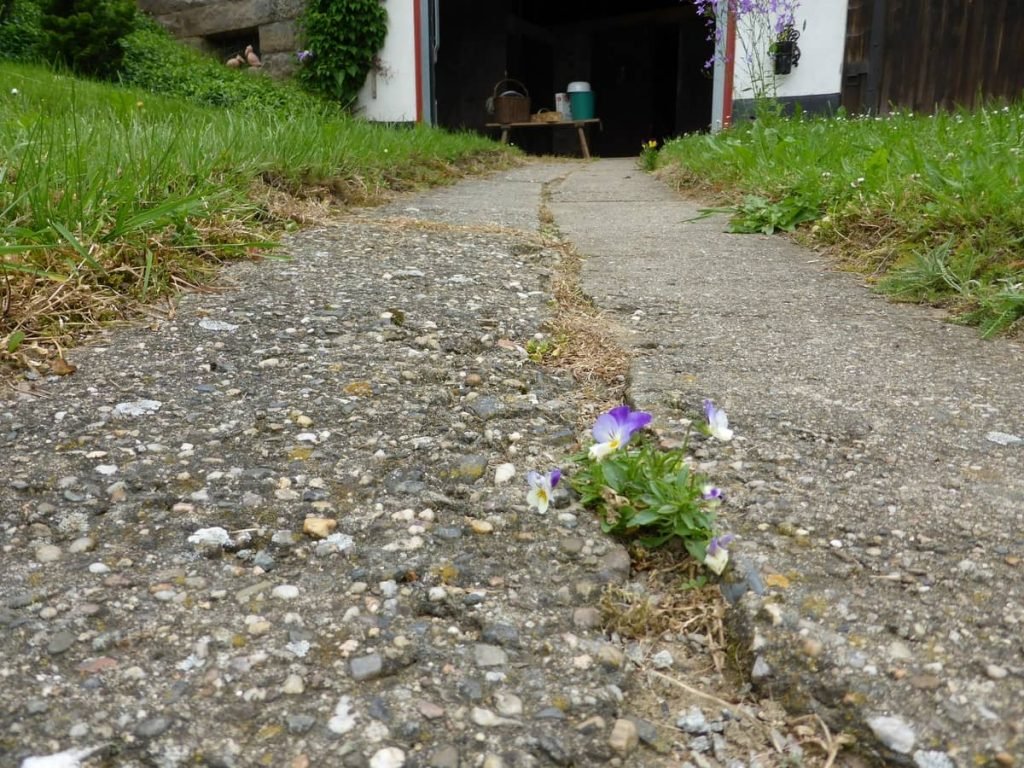
Sunlight and cold will both damage the asphalt surface. Over time, this leads to it breaking down. The gravel and sand that the asphalt cement holds together work loose. Of course, this doesn’t happen overnight. But if you neglect the driveway for too long, you’ll end up facing big problems.
In most cases, an asphalt driveway only needs to be resurfaced every three to five years. Be sure to take proper care of your driveway so it doesn’t require more frequent resurfacing!
Picking A Day To Reseal Your Driveway
You need a couple of dry days in a row to get the resealing job done right. The temperature should be over 60° F the day before, the day off, and the day after the task. And there should be no rain during that time, either.
Late spring and early fall often offer the best opportunities. Keep your eyes on the weather forecast because you might have to change plans at the last minute!
If you have large cracks or potholes to be filled, you should do that job at least 24 hours ahead of the sealing, too. So you may need to add an extra dry day to the beginning of your schedule.
Find A Place To Park
Yes, you’re going to need to park your car someplace other than your driveway for at least twenty-four hours. Forty-eight is ideal.
Even though the surface may appear dry, you shouldn’t park on it – or drive across it – until it’s had enough time to set.
Be sure to get your car out of the garage if you’re going to need it!
Tools And Supplies
You’ll need to gather a few supplies before starting the job. We’re not going to include tools to clean up the driveway before starting; your standard cleaning tools will do.
Tools:
- Stiff-bristled brush (about 4 inches wide is ideal)
- Wide squeegee
- Large stirrers to mix asphalt
Supplies:
- Sealant. You’ll need about two gallons per 80 square feet to be able to apply two coats, so a 5-gallon bucket should cover 200 square feet.
- Patching compound
- Plastic tarp (optional) to protect garage doors or structures near the driveway from splashing
Protective wear:
- Gloves
- Boots – calf-high as a minimum, to help protect your clothes from splashed sealer
- Knee pads
- oil/gas stain detergent for cleanup
Prep Work And Cleaning
It’s important to start with a clean surface. Otherwise, the asphalt sealant won’t adhere correctly.
Start by edging the grass along the sides of the driveway. That way, you won’t trap stray blades in the asphalt as you apply it.
Sweep the entire area that you’ll be sealing. Be sure to remove any debris. We also suggest pressure washing it – you can do this the day before so that the surface dries, then sweep immediately before you’re going to do the sealing.
Filling In Cracks
Before applying the sealant across the whole driveway, you should fill any large cracks. If the crack is more than ¼-inch wide, you’ll want to use a crack sealer. This mixture is close to the consistency of caulk.
If you’re cursed with actual potholes, you’ll need to use an asphalt repair mix.
Before applying either of these, remove any loose stone or other materials. You may need to level them, as well; however, some will level on their own. Give them 24 hours to set before sealing.
Applying Sealant
Finally, we’re getting to the heart of the matter! But one last thing -.be sure to block your driveway and make it obvious! You don’t want forgetful family members, unexpected guests, or random delivery drivers to drive across wet sealant, ruining all your hard work! Orange cones, barrels, or even parking a car across the entrance can all help.
Hang tarp on places where you don’t want the asphalt to splash. It’s tough to get off, so an ounce of protection is worth a pound of cure. If you will be sealing an area adjacent to other surfaces such as steps or a flagstone pathway, you might want to use duct tape to protect the edge.
Before opening your buckets of sealant, you want to mix it well. Usually, it’s enough to flip them upside down a few times. If you don’t feel like that’s enough, you can open them and use a paint stirrer or old broomstick.
Ok, now it’s time to start spreading the sealant! First, you’ll want to edge the driveway. Use your brush to seal a “frame” around all the edges. Be generous with your application so that it can soak into the surface.
Now it’s time to fill on the rest! Decide which direction you want to work in and start pouring sealant onto it. Yes, pour it unless the instructions on the bucket indicate otherwise! Once you have a small puddle, use your squeegee to spread it.
Remember to spread the sealant in a consistent direction – either go up and down or back and forth. Don’t switch it up.
As you go along, continue this process. Pour more sealant, then use the squeegee to spread it out. When you get to the end of one bucket, start mixing the next bucket with it to help make sure there isn’t a radical difference in colors.
If you want to apply a second coat – and most sealant makers recommend this – you’ll need to wait at least 8 hours to apply the second. Be sure to change your footwear before going anywhere!
Conclusion
Keeping your driveway in tip-top shape requires resealing it every few years. The project does take a couple of days of work and the cooperation of Mother Nature. But it is something you can do yourself if you’re willing to invest the time.