At some point in your life, you likely did your best to dodge any cracks in concrete. After all, “Step on a crack and break your mother’s back” was a common rhyme of childhood, and if it rhymes, it must be true. We jumped over the joints, but there were always cracks within sections, too.
While we might not be hopping over those cracks anymore, we still have to deal with them. While small cracks are normal, a larger one can be annoying or even dangerous. Fortunately, it’s not too tough to do a repair job.
The Tools You’ll Need To Repair Concrete
You don’t need a lot of fancy tools to do a small concrete repair job. For most tasks, you’ll be set with the following:
- Hose or pressure washer
- Hammer
- Chisel
- Wire Brush
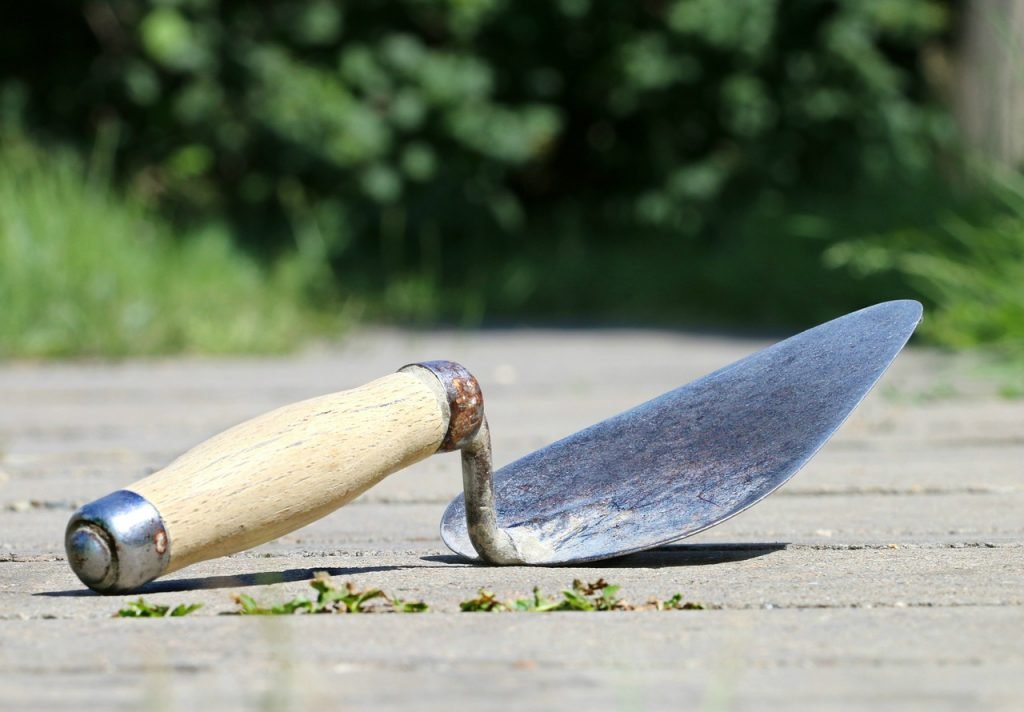
- Pointing Trowel
- Bucket or another container for mixing concrete
- Shovel or another tool for mixing concrete (you might be able to use your trowel if it’s a small job)
You’ll also need these supplies:
- Concrete Patching Mix
- Water
Preparing Your Surface
Once you’ve gathered your tools, the next step is to prepare the damaged surface. You’ll want it to be clean. It should also have a rough finish to it so the new concrete will stick to it.
We prefer to clean it out with water from the hose or power washer first so we can see the damage better.
After dirt and debris are removed, use your hammer and chisel to break off any other loose pieces. You don’t need to (or want to) create a smooth surface, but you do want to remove any pieces that are scaly or fragile. The wire brush will help make sure you get anything that could break off easily.
It’s perfect to have an irregular surface left behind. This will allow the new concrete to adhere better. So don’t worry about trying to make the whole thing smooth!
If you’re dealing with a long crack, you can chip it out and turn it into a V-shaped channel. By widening it a bit like this, you can be sure the new concrete will reach to the bottom.
Once you’re done, you’ll want to clean out the area again to remove any concrete dust or stray pieces.
Mixing Your Concrete Patching Mix
Follow the manufacturer’s instructions to mix your patch material. Normally, you just need to add water. Concrete patching mix uses cement and sand with the addition of vinyl to help it stick to your surface better.
Applying The Patch
Once your mix is ready, use your trowel to fill in the crack. Be sure to work it into the space thoroughly. Press it down so that it gets into every open space.
Smooth the surface with the trowel. It’s best to leave it a tiny amount higher and wider than the hole, though, because it will shrink a bit as it cures.
Letting Concrete Patches Dry
Once you’ve completed the patch, allow it to dry for about an hour, then smooth it again. To help keep it from drying too fast, you can add a small amount of water at this time, as well.
Keep off the surface for at least 24 hours so that it can cure properly.
Conclusion
Patching cracks in your sidewalk or patio takes a bit of care, but it’s only moderately difficult. It can take some elbow grease to prep the surface and some time to cure, but it’s a good way to get repairs done yourself.