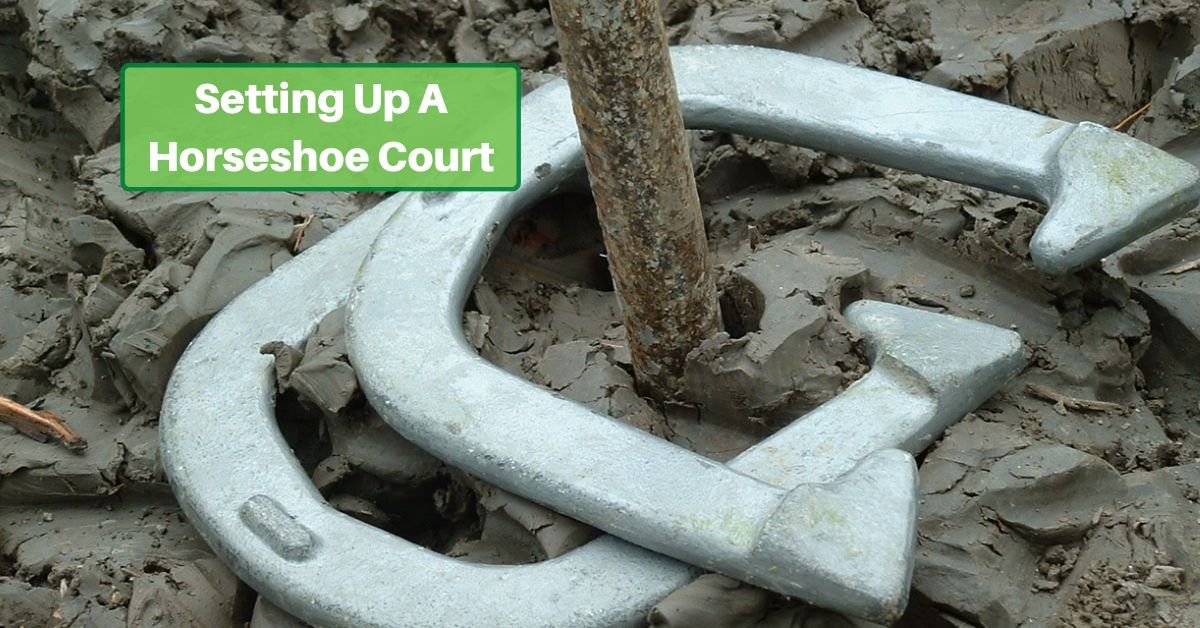
Eager to get out in the yard and start pitching horseshoes? There’s a little setup to do first, but fortunately, it’s not much. And once done, you won’t have to do it again for years! Here we’ll guide you into setting up your horseshoe pit so you can enjoy the game as it was meant to be played!
Choosing Your Space
All you need to get started is a nice section of flat lawn. To play, you need a flat section of lawn. If you want to stick with a regulation men’s-size court, you have to position the poles 40 feet apart, and you need some space behind that. So about 50 feet long is a good size.
But you can go smaller if you prefer. Official women’s and under-18 rules use the same size court, but the foul lines are closer. So even with a space 40 feet long, you can have a decent game. In any case, it should be at least 6 feet wide.
Gathering Your Materials
You’ll need some supplies and tools for your court, too. Here’s a simple list:
- (4) 2”x8”x8’ treated boards cut into:
- (4) 3’ sections
- (4) 4’ sections
- (if you did the math – yes, we know you’ll have a couple of 2-foot sections left over, but since boards usually come in 8-foot lengths, there’s no other easy way).
- 24 sq. ft. of landscape fabric in (2) 12 sq. ft. sections (3 ft. by 4 ft.)
- 500 lbs. play sand
- About (24) 3” wood screws
- Horseshoe set
Tools:
- Circular or table saw (if you’ll be cutting the boards yourself)
- Spray paint, lime, or stakes (to market the corners of your pits)
- Drill
- Screwdriver
- Bow rake
- Mallet
- Utility knife
- 50’ tape measure
- Long-handled spade
Setting Up Your Horseshoe Pits
Now let’s get into how to build the pits. It takes a little work, but isn’t too bad!
Measure
Measure twice, cut once is a good adage to remember here.
First, you’ll want to measure the distance between where your two horseshoe stakes will be. Mark that spot (we prefer spray paint but you could use lime or a tent stake. But the spray paint doesn’t matter since you’re going to be digging up the spots in just a minute!)
From the stake, measure 18 inches to the left and the right and 24 to the front and back of the pit area; these mark the outer edges of the pit.
Repeat the process for both ends of the pit.
Dig The Pit
With your spade, mark off the sides of the pit with the four points as the midpoints.
Then dig out the entire section. Two to three inches deep will do the job!
You may want to use a bucket or wheelbarrow to hold the dirt you excavate since you won’t need it here. (You may need a tiny bit to pack along the outside of the frame, but it’s a minimal amount).
Build And Place The Frame
Next, it’s time to build the frame. We’re suggesting a simple one here; it also has four sides. Some people prefer something a bit fancier and use landscape ties. They may also choose to leave the front of the box open.
For ours, you’ll need 2 36” lengths and 2 48” lengths for each frame. Make sure your corners are squared and use at least 3 wood screws in each corner.
Prepare The Pit
Before placing your frame into the hole you’ve dug out, first place a sheet of landscaping fabric in the bottom of the hole. This will help keep weeds from growing up through the sand.
Then place your frame in the hole. As far as possible, allow it to sit on top of the landscaping fabric.
Be sure to square up the space. If there are any gaps outside the frame in the hole, fill them in with dirt.
Of course, your frame extends 4 or 5 inches above ground level, which is what we’re going for.
Once the frame is in place, use half your sand in each pit. That should create a bed about 4 inches deep. Use your rake to spread it out evenly.
Pound The Stakes
Now that the frame is in place, it’s time for one last step before playing!
Using your mallet to drive the horseshoe stake into the center of the pit. Usually, the stakes are angled slightly, with the tops closer to each other than the bases. The normal angle is about 12°.
Leave about 15” of the stake exposed. Official horseshoe stakes are about 36” long, but most home sets come with 24” stakes.
Mark Foul Lines
This is optional. But if you want to be more “official”, you can mark the foul lines. They should be 37 feet from each stake if you built a regulation 40-foot court. For women and youth, they should be 27 feet from the stakes. Spray paint or lime works well for this.
Have Fun
Now that the pits are dug and set in place, you’re all set to pitch horseshoes! You can start right away; there’s no need to wait for anything to set or settle.
Conclusion
For such a simple sport, playing horseshoes offers a great time. And it’s so simple to get a court set up! In just a couple of hours (at worst) you can be ready to go. So get your supplies and let’s get started!


