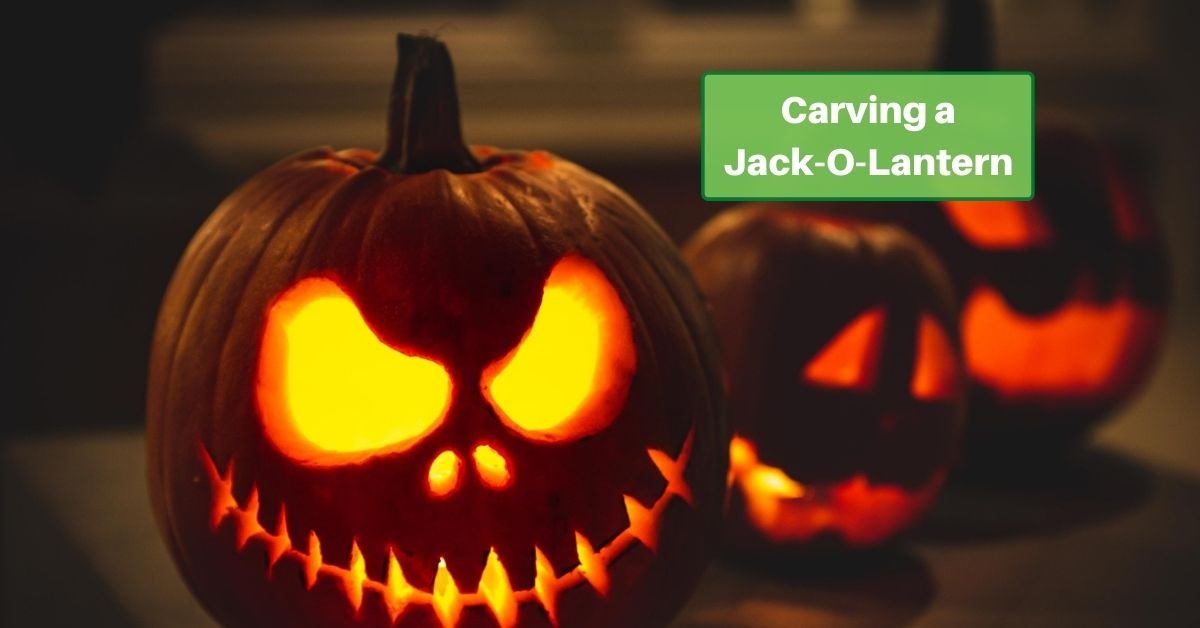
As Halloween approaches, carving pumpkins into Jack-O-Lanterns is a beloved tradition. This fun and creative activity has been synonymous with the fall holiday for generations.
In this article, we’ll explore all the essential steps involved in carving a pumpkin and offer tips for choosing the right pumpkin and carving it into a horrifying or funny face. We’ll try to give you all you need to know to let your artistic side shine through!
Choosing the Perfect Pumpkin
Selecting the right pumpkin is crucial for a successful carving experience. When you’re shopping for your canvas, consider these factors:
- Size: Aim for a medium-sized pumpkin. They’re easier to handle and carve. Smaller ones work well for kids and intricate designs; larger ones are best for experienced carvers or grand designs.
- Shape: Opt for a pumpkin with a uniform, symmetrical shape and a flat base. That way, it will stand upright and offer a smooth surface for carving.
- Surface: A smooth, blemish-free pumpkin is ideal for clean, sharp carvings. Look for a surface free from major imperfections.
- Stem: A strong, intact stem is a sign of freshness. A broken or weak one may indicate an older, less fresh pumpkin.
- Color: While classic orange is a favorite, pumpkins come in various colors. Choose the one that suits your Halloween décor or artistic vision.
You may even find that perfect pumpkin for a Jack-O-Lantern in your own garden!
Other Pumpkin-Carving Supplies
Besides your pumpkin, you’ll need a few other supplies:
- Newspaper or a plastic tablecloth (to cover your work area)
- Serrated knife
- Paring knife
- Scoop or large spoon
- Marker or pen
- Stencils (if desired)
You can also buy pumpkin carving kits that include complete sets of carving instruments. You can find everything from simple ones to complete sets.
The Carving Process
Once you’ve selected the perfect pumpkin, it’s time to dive into the carving process. Be sure to gather your materials and set up your workspace properly.
To begin, lay down newspapers or a plastic tablecloth to protect your workspace and make cleanup easier. Next, use a serrated knife to cut a circular lid around the top of the pumpkin. Make sure to cut at an angle to prevent the lid from falling in when you replace it. Creating a notch on the back can serve as a guide.
Now, it’s time to scoop out the pumpkin’s insides, including the seeds. A scoop or a large spoon works well for this task. Don’t forget to save the seeds if you plan to roast them later.
For the artistic part, you can freehand your design or use stencils and templates. Trace your design onto the pumpkin using a marker or pen. Then, carve along the lines with a sharp paring knife. Take your time and remember that you can always remove more material but can’t put it back.
Lighting Up Your Jack-O-Lantern
To complete your Jack-O-Lantern, add a light source. There are two common methods:
- Traditional Candle: Place a tea light or a small candle inside the pumpkin. Make sure it’s secure and won’t tip over. Light the candle and replace the lid to create a flickering, eerie effect.
- Battery-Operated LED Light: For a safer and longer-lasting option, consider a battery-operated LED light. They come in various colors and flicker settings, offering flexibility in creating the perfect Halloween ambiance without the fire hazard.
Safety Tips
When using a lit candle, ensure you supervise it closely. Keep the pumpkin away from flammable materials and out of the reach of children or pets. Properly secure the lid to prevent accidents. Placing your pumpkin in a fireproof container is a wise precaution.
How Long Does a Carved Pumpkin Last?
The lifespan of a carved pumpkin depends on various factors, including its freshness, the climate, and care. Typically, a well-carved pumpkin can last between three to five days. To extend its life, store it in a cool, dry place when not on display, apply petroleum jelly to carved edges to seal in moisture, and spritz it with water daily to prevent drying.
What to Do with Pumpkin Scraps
Don’t let pumpkin scraps go to waste. Here are some creative and eco-friendly ways to make the most of them:
- Roast the Seeds: Don’t discard those seeds. Clean and season them, then roast them for a tasty and healthy snack.
- Make Pumpkin Puree: Save the flesh for pumpkin puree; you can use it in various recipes like pumpkin pie, soups, or muffins.
- Compost: If you have a compost bin, pumpkin scraps are a valuable addition. They’ll break down and enrich your soil.
- Feed Wildlife: Birds and small animals enjoy pumpkin scraps. Placing them in your yard can attract local wildlife.
Carving a pumpkin into a Jack-O-Lantern is a wonderful Halloween tradition. It combines creativity, artistry, and the spirit of the season. Whether you carve a classic grin or an intricate design, your Jack-O-Lantern will be a beacon of spookiness on dark autumn nights. So, gather your tools, embrace your artistic spirit, and create a Halloween masterpiece to delight trick-or-treaters and bring holiday charm to your home!


