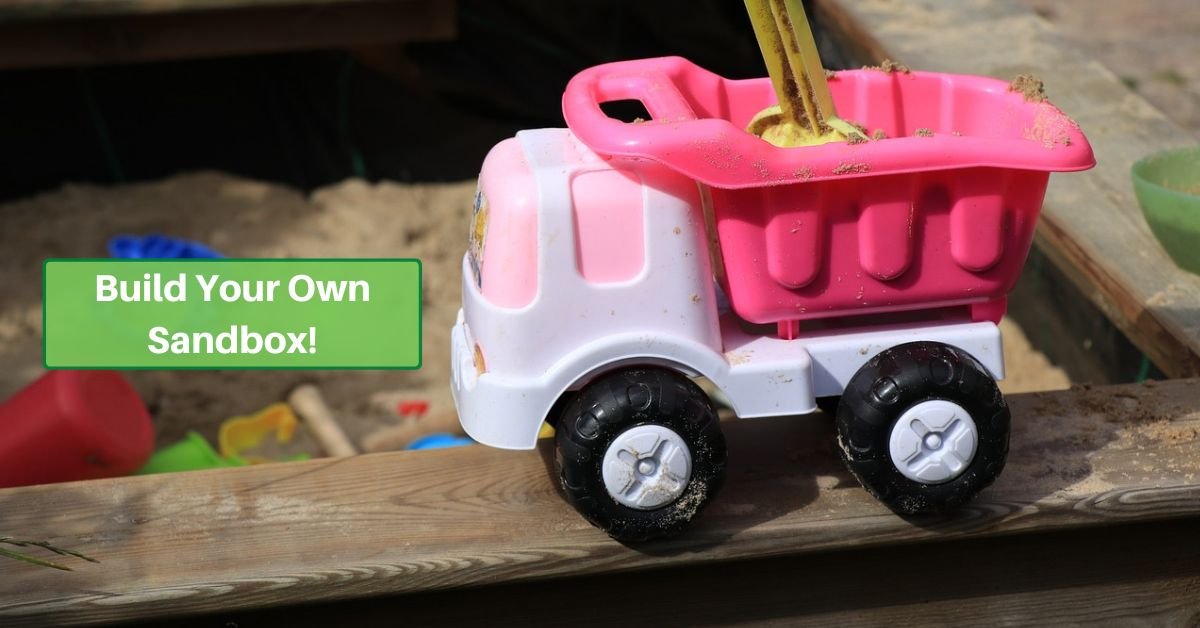
Kids love to play in the sand, and creating a backyard sandbox is simple! You don’t have to be a master craftsman to build one yourself and you can do it alone or with minimal help. What do you need to know before you get started? Well, keep reading and we’ll walk you through the process so you can create a simple wooden sandbox for your children in just a couple of hours!
Of course, if you don’t want to build a sandbox, there are many pre-made options in both wood and plastic. But when you make your own, you can build it to just the right size – and have the satisfaction that comes with a good DIY job.
Choosing A Spot
Before building, you’ll have to pick a suitable spot in the yard for your sandbox. There are a few points to consider
Visible
Be sure the sandbox is in a spot you can easily see from the back of the house. You don’t want the kids to wander out of your field of view to play, of course!
Dry
The spot where you build the sandbox should be dry. There’s not much you can do about rain, but make sure there’s good drainage in the area. You don’t want it sitting in the middle of a mud puddle! That means you should avoid lower areas where water may run off.
Flat
For the best sandbox, the ground should be as level as possible. It’s more fun for the kids and easier to take care of!
Shady
It’s uncomfortable and unhealthy for kids to be playing directly in the sun, so try to find a spot that has decent shade, at least during normal play hours. It might not be best directly under a tree – there are too many leaves and twigs (and bird droppings) to clean up. But a spot where a tree or the side of the house offers shade is ideal.
Decide on A Size
Once you decide on a spot, it’s time to think about the size of your sandbox. Six- or seven-foot square is a nice size for one or two children to enjoy comfortably, but if you host lots of “playdates”, you may want to go a little bit bigger.
Be sure to allow space around the sandbox for easy lawn care and maintenance; you don’t want to build the box too close to a fence or wall. Allow at least enough space to walk around the box comfortably.
Materials and Tools
Now it’s time to get your supplies together! Assuming you have the necessary tools, we estimate the supplies will cost around $200.
We’re going to use 4x4s for our sandbox and the bottom will be landscaping fabric, so things will be fairly simple.
Here’s what you’ll need:
- (12) – treated 4x4s cut to the length of your sandbox sides. You can cut them yourself, but most lumber yards or big box stores will cut them for you if you’d prefer;
- (36) – 6-inch timber screws
- Landscaping fabric cut to the length of your sandbox. You’ll need enough square feet to cover the entire surface, plus a little extra. So if your sandbox will be 7 feet on each side, you’ll need about 51-52 square feet (7×7= 49, plus some surplus)
- Sand – this depends on the size of your box.
Our 7×7 example box will be about 10 ½ inches deep (4x4s are actually 3 ½ inches, and they’ll be stacked three high). So you want about 6 inches – that is. 0.5 feet. So 7x7x 0.5 is 24.5 cubic feet of sand. But a 50-pound bag of sand is about 0.5 cubic feet – so we multiply by two, and find we need 49 bags! - A tarp to cover your sandbox when it’s not in use
You’ll want the following tools:
- Circular saw (if you’re going to cut the boards yourself)
- Long-handled shovel
- Rake
- Level
- Drill and bits
- Sledgehammer or mallet
- Utility Knife
- About (8) foot-long lengths of 2×4 or rebar to hold your 4x4s in place as you assemble the sandbox frame
Digging Out The Space
Let’s assume your boards are already cut, and start the assembly!
To get started, you’ll want to dig a small depression for the base of your sandbox.
Starting by laying out four of the 4x4s in a square. For now, this will just serve as your guide for preparing the ground.
Use your shovel to mark around the outside edge of the boards, then move the boards out of the way. Dig out that area to a depth of about 3 ½ inches.
You can use the boards to make sure the hole is a consistent depth, and the level on top of the boards to make sure the ground is level.
Once the hole is dug, add about 1 ½ inches of sand to the bottom of the area to serve as a base. This will help you level the boards and provide a better surface for the landscaping fabric to rest on.
Building The Frame
Once the hole is prepared, lay out your 4 boards in a square again. Make sure they’re pressed tightly together. Use some scraps of 2×4 or rebar to hold them in place near the corners.
Next, place a second layer of boards directly on top of the first. Fasten the two layers with timber screws drilled down from atop the second layer. Place a screw about every three feet.
Unroll your landscaping fabric over the hole and press it down firmly against the inside edges of the frame. The excess should wrap up the sides and over the top of the 4x4s.
Then add the third layer of 4x4s and screw it to the second so that the landscaping fabric is between the layers of wood.
Finally, screw the sides together at the corners. Connect at least the second and third layers; the first may be submerged below the soil.
Be sure that all the screws are sunk deep enough to not cause a hazard for young children (or anyone else).
Trim off any excess fabric along the outer edge with your utility knife.
Filling Your Sandbox
Now that everything’s built, all you have to do is dump in the bags of sand! It might take a while, especially with a larger sandbox. But there’s nothing complicated here; simply open and pour. You can use a leaf or garden rake to even it out.
And just like that, your sandbox is ready to use; there’s no need to wait or let anything settle.
Be sure to cover it with a tarp or other cover to protect it from cats and other animals and from the rain.
To learn more about caring for your sandbox, be sure to read this article.
Conclusion
Building a sandbox is inexpensive and one of the easiest backyard DIY projects to undertake. It doesn’t take a lot of time, either! You’ll love the work, but even more, you’ll love seeing your children enjoying something you built with your own hands.