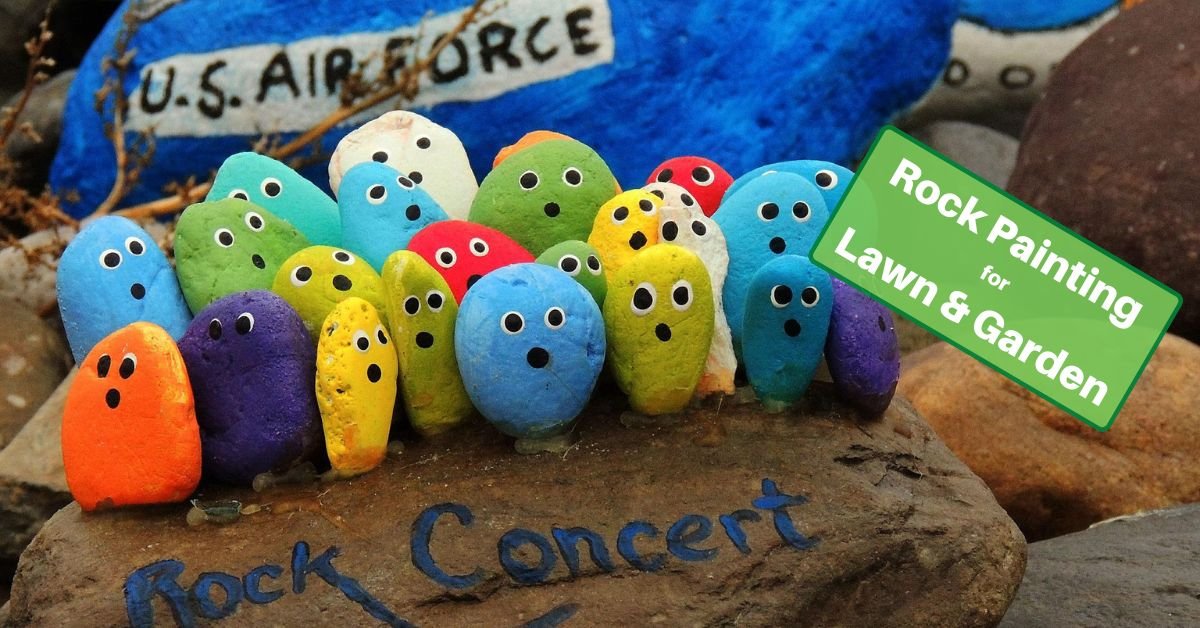
Want a fun way to add more color to your garden? Painted rocks let you show off your artistic side. And creating them is a fun activity for children and adults alike! It’s easy to do and adds a style all your own. And you can show them off on the lawn, garden, porch, or anywhere you’d like!
There are so many possibilities here, from simple designs to awesome artwork. Let’s talk about some ideas and how you can create them.
You may have rocks in your yard that you can paint. If not, you can get landscape rocks from your local garden shop! The shape and size of the rock can be an inspiration as to what to paint. The sky’s the limit!
What To Paint On Rocks
Not sure what to paint? Whatever strikes your fancy! Bright colors are best so that they stand out against the background. Of course, it’s best if they stand out from the backdrop; for instance, if you plan to place a rock on the grass, don’t paint it green. But the choices are limitless.
You can use the rock as simply a surface to paint on, or make the rock itself part of your inspiration.
For instance, you could transform a round, flat rock into a turtle or ladybug. A tall rock shaped like home plate could become a quaint country house with a peaked roof.
You could also paint your name – or those of the whole family – on rocks. Paint the entire name on one rock or have a separate rock for each letter!
You can even make a large rock your canvas and paint entire scenes. Of course, you might want to do this type of project “in place”, because moving such a rock is going to be tough!
Or line up similarly-sized round rocks and turn them into the segments of an ant, or make a caterpillar, worm, or snake out of them!

Shopping List For Rock Painting Supplies
Here are the items you’ll want to start your rock painting fun!
Rocks. You can collect them around your yard or buy them
- A small drop cloth to work on
- Acrylic paints.
- Paint brushes
- Outdoor polyurethane or clear spray acrylic for protective coat
How To Paint Rocks
To create rock art that will look great and last a long time, you’ll want to choose special paint. Rocks have porous surfaces, so they’ll absorb most paint, leaving the surface dull. And the weather can wear off the brightness if not treated. So how do we prepare for that?
Of course, start by making sure your rocks are clean. We recommend using water – no need for any detergents! Then let the rocks dry completely before applying paint.
Set up a work area – a drop cloth, poster board, or a tarp is a good painting area.
Start with a solid color of acrylic paint. This will help seal the pores and provide a nice base for the rest of your masterpiece. You can use regular paints or acrylic spray paint.
Allow this layer to dry, then go to work on your design! Of course, you’ll need an assortment of paintbrushes. A variety of acrylic paints in various colors is important, too.
Once your art is done, let it dry completely. To help preserve it, coat it with a coat of outdoor polyurethane or clear spray-on acrylic.
Conclusion
Your garden and lawn may already be full of color, but painted rocks can add to the rainbow and whimsy! You can create whatever you’d like. It’s a wonderful activity for children of any age, too! Let yourself be inspired and send us some photos of your wonderful creations!


