The perfect hamburger is a cookout classic! It takes a bit more skill than a hot dog but doesn’t seem as fancy as a steak, a roast, or other barbecue favorites. With a little effort and skill, you can prepare the perfect burger.
And reaching perfection starts with the right ingredients shaped into a proper burger, and cooked the right way and for the right amount of time. It’s not rocket science but there’s a talent to it! So let’s get into developing that delicious talent.
The Right Meat
If you don’t start with great ingredients, the way you cook the burger isn’t going to mean diddly. Above all, that means choosing the right ground beef!
The best, tastiest burgers come from beef that’s 80% meat and 20% fat. That fat content might seem high, but it provides most of the burger’s taste. So you don’t want to skimp on it!
Also, that fat will help keep the burger from falling apart as it cooks. You don’t need to add any “binding agents” to a hamburger as long as it has enough fat in it!
Feel free to season your burger as you like. Some people add just salt and pepper; others have their own special recipes. But never forget how important the meat itself is!
The Right Shape
To get the most out of your burger, you also want to shape it right. This helps it to grill properly and also adds an important aesthetic element.
The best starting weight for a hamburger is about 6 ounces. Yup, that’s more than a quarter-pound! That means you can get about 5 burgers out of two pounds of meat.
Remember that the burger will shrink a bit during cooking, and that means it will also lose weight.
Form your burger into a circle between ¾- and 1-inch thick. Use your thumb to press the center down slightly; this will help keep it from bulging in the middle as it cooks.
It should be about an inch wider than the roll you’ll place it on, too. It will get smaller, but no one likes a burger that’s smaller than the bun! A little meat sticking out the edge or an exact fit is perfect, though. That means no one will be asking, “Where’s the beef?”
The Right Temperature
Once your burgers are in good shape, it’s time to think about the grill.
Whether you choose gas or charcoal, you’ll want to have two heat zones. The cooking zone should reach and stay at 400° F. No thermometer? Hold your hand a couple of inches above the grate. If you can keep them there for about 4 or 5 seconds (but not longer), you’ve probably reached the right temperature.
Your cooler zone will be for keeping the burgers warm or to move them when flames leap up from the coals below.
The Right Flip
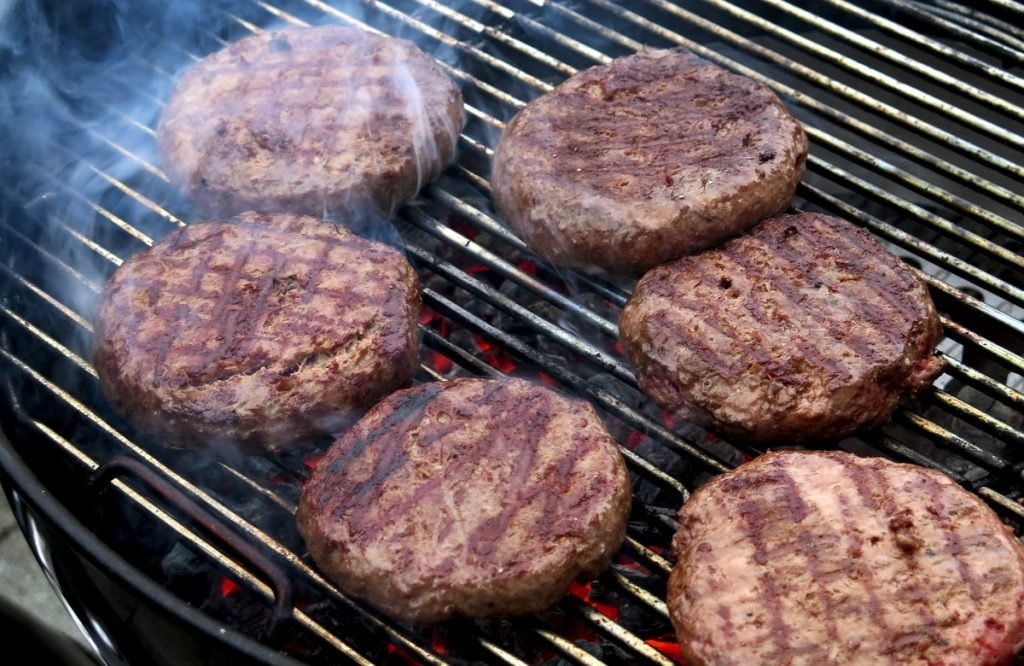
Another important part of grilling burgers is knowing when to flip them. You want them cooked to each person’s preference but also to have a great grilled look.
Cook your burgers on one side for 2 to 3 minutes before flipping. Use a long-handled flat spatula to flip. And when you flip, just flip! Don’t press down on the burger – that forces out the tasty juices that help create a great burger.
Only flip your burger once. This gives it a good sear and helps prevent an excess loss of juices.
If the fire flares up and stays up, move the burger to the cooler zone until the flare-up dies down. You want a good sear, but you don’t want to burn the meat.
The Right Time
Once your burger is seared on both sides, move it to the cooler part of the grill to continue cooking. They’ll cook best if you put the lid down on the grill.
The time for cooking, of course, depends on how well done you want the burger. However, remember that the interior of the burger must reach 160° for it to be safe to eat! We definitely recommend a good meat thermometer.
Here’s how long to cook your burger for the different levels of cooking:
- Medium-rare: you’re done already! Once you finish the searing stage, the burger should be cooked to medium-rare inside. That is, 4 or 5 minutes total should do the trick.
- Medium: Another minute after searing will get the burger to medium (about 5 or 6 minutes total).
- Medium well: Two to three minutes after searing (total time of about 8 minutes).
- Well done: Three to four minutes after searing will produce a well-done burger (total of about 9 or 10 minutes).
There’s no need to let the burgers rest after this; just place them on a bun, add your favorite toppings, and take a bite!
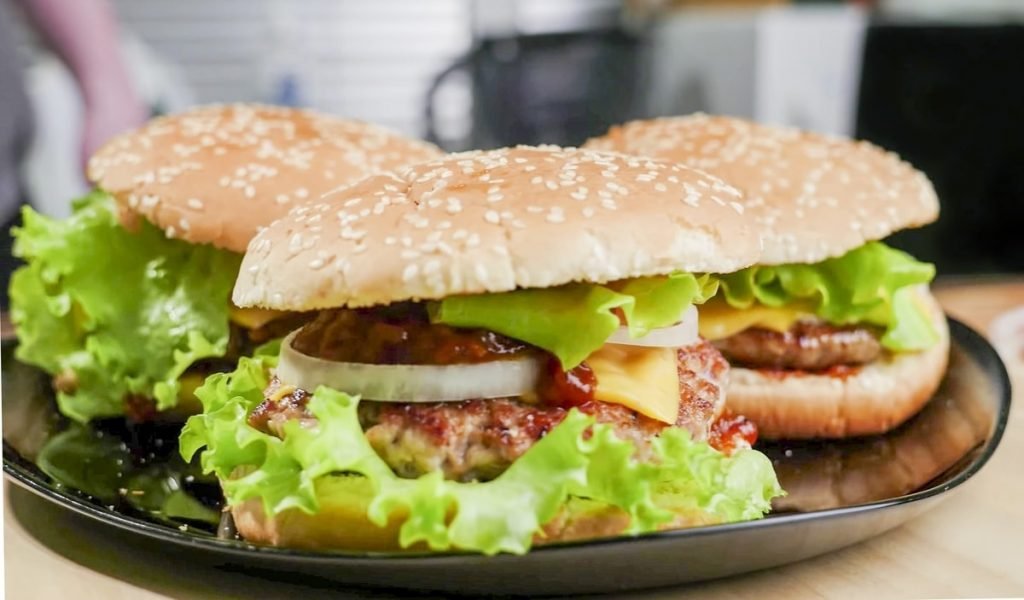
The Right Finishing Touches
Yes, a burger should be mostly about the meat. But it helps to finish it off with some great fixings, too!
Of course, tasty hamburger buns are a great place to start. Whether you eat them at room temperature or toast them on the grill, they are a big part of the burger experience.
Cheeseburgers are also great. Add a slice of cheese on top of the burger as it nears the end of the searing stage.
Other popular fixings include:
- Salt
- Pepper
- Ketchup
- BBQ Sauce
- Mustard
- Mayonnaise
- Pickles
- Pickle relish
- Sliced onion
- Potato Chips
- Sliced tomato
- Lettuce
- Mushrooms
- Avocado
- And many others! No offense if we left out your favorite – let us know below!
What are your other favorites from the barbecue grill? Check out our guides for these awesome cookout foods!
Conclusion
You and your guests will love the great, juicy burgers you can grill up! Choose great meat and grill over the right temperature for the right amount of time. Just be sure not to squeeze out any of the tasty juices that ground beef is full of! Add the right toppings and you’ve got yourself an amazing hamburger.