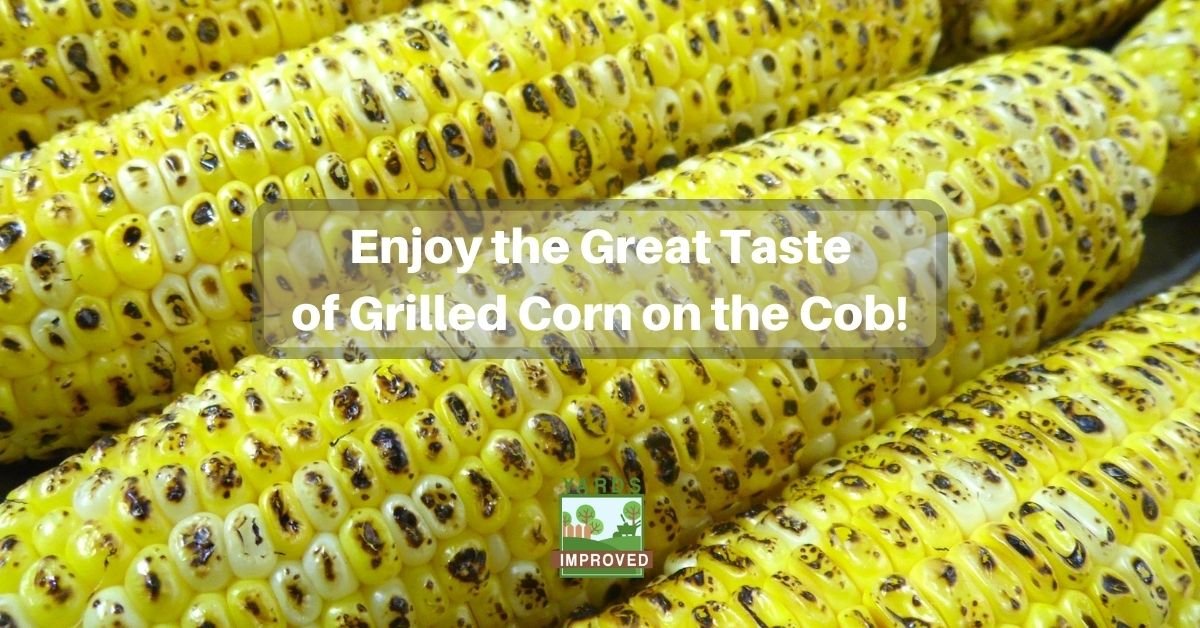
Grilled corn on the cob is a summertime favorite that captures the essence of outdoor cooking. Whether you’re hosting a backyard barbecue, going camping, or simply enjoying a warm evening on the patio, grilled corn is a flavorful addition to any meal. It can even be a great snack!
In this article, we will walk you through the steps to grill corn on the cob to perfection, from selecting the best ears to serving up a mouthwatering dish that will leave your guests asking for more.
Selecting the Perfect Corn
Whether you’re at the supermarket, the farmer’s market, or in your own garden, it’s important to know how to get the best ear of corn for your upcoming meal. These three points will help:
Freshness is Key: To start, select fresh corn with green, tightly wrapped husks. Avoid corn with dry, brown husks or kernels that look shriveled or discolored.
Feel for Plumpness: When you gently squeeze the ears, the kernels should feel plump and well-formed. This indicates the corn is at its prime.
Check for Worms: Peek inside the top of the husk to ensure there are no unwanted guests (like corn earworms). A few small holes are fine, but excessive damage means it’s best to choose another ear.
Preparing the Corn
You also have to do a little preparation to get your corn ready for cooking. The best corn comes still wrapped in its husk, which helps keep it fresh.
Start by husking it. Peel back the outer husks, but leave them attached at the base. Remove the silk threads as best as you can. To make husking easier, soak the corn in water for 15-30 minutes before grilling.
The next step is to add seasoning. Before grilling, brush the corn with melted butter or olive oil and season with salt, pepper, or your favorite spices. This step is optional but adds extra flavor.
To Foil or Not to Foil
One common debate about grilling corn on the cob is whether or not to wrap it in foil. Both methods have merits; the choice depends on your preferred flavor and cooking style.
Grilling Husked Corn Without Foil
If you prefer a smoky, charred flavor, grill the corn directly on the grates without foil. This method allows the corn to develop a nice char on the kernels and infuses it with a distinct grilled flavor. Follow the grilling instructions mentioned below.
Grilling with Foil
Alternatively, you can wrap the corn in aluminum foil before grilling. This method steams the corn, resulting in a tender, juicier ear with less charring. To do this, place each ear on a piece of foil, season it, add a pat of butter if desired, and wrap it tightly. Grill the foil-wrapped corn for about 15-20 minutes, turning occasionally.
Grilling Corn In The Husk
If you like your corn a bit more charred, you can grill it over the fire without removing the husk first. It cooks more quickly this way – about ten minutes will do it. You could mix butter and seasoning and open the husks a little to apply them. Or you could soak them in a flavored liquid, as we talk about below.
Preparing the Grill
Start by preheating your grill to medium-high heat (around 350-400°F or 175-200°C). As it warms, take advantage of the heat to clean the grates. Oil them lightly, too, to prevent sticking.
Grilling the Corn
Once the grill is heated up, it’s time to place the ears on the grate.
Place the prepared corn on the grill over indirect heat. This means that the corn should not be directly over the flames but beside them. This prevents the husks from burning too quickly.
Grill the corn for about 15-20 minutes, turning the ears occasionally to ensure even cooking. You can also rotate them to char the husks evenly.
Check whether the corn is ready by inserting a knife or fork into a kernel. It should be tender but still have a slight crunch. If you prefer your corn more charred, leave it on the grill for a few more minutes.
Once your corn on the cob is grilled to perfection, carefully remove it from the grill. Serve it hot with your favorite toppings, such as melted butter, grated Parmesan cheese, or a sprinkle of fresh herbs.
What are your other favorites from the barbecue grill? Check out our guides for these awesome cookout foods!
Additional Tips
These two less common steps can add something special to your corn on the cob. Have you ever tried them? If not, it might be the right time!
Soak the husks: We already mentioned soaking the husks in water before grilling to provide extra moisture. But you could also use a flavored liquid like beer or broth before grilling for something more unique!
Flavor Variations: Experiment with different seasonings and toppings like garlic powder, paprika, or a squeeze of lime juice to create unique flavor profiles. It’s all up to you!
Grilling corn on the cob is a simple yet rewarding culinary experience that elevates the humble corn into a delicious, smoky delight. Use the freshest corn possible and prepare it with care. You have a couple of ways to grill it, and once it’s ready, serve it alongside your favorite main course. So, fire up your grill and enjoy the irresistible taste of grilled corn on the cob at your next outdoor get-together!

