There’s something deeply satisfying about enjoying the bounty of your home garden. And you can preserve that enjoyment by canning some of your vegetables and fruits! Whether you have an abundance of tomatoes, cucumbers, or berries, canning allows you to enjoy your homegrown produce throughout the year.
This article will walk you through the art of canning, from the tools and supplies you’ll need to a step-by-step process, including tips on which vegetables and fruits are best for canning and how to store your canned products for long-lasting enjoyment.
Tools and Supplies for Canning
Before you dive into canning, make sure you have the following tools and supplies on hand:
- Canning Jars: Select jars of appropriate sizes for your vegetables or fruits. Mason jars are a popular choice.
- Lids and Bands: Ensure you have new, undamaged lids and bands for sealing the jars.
Check out this set of 12 Mason jars with lids on Amazon. - Canning Pots: You’ll need a large, deep pot with a rack to hold the jars and allow water to circulate. A smaller pot to sterilize the lids and seals is also important.
- Canning Funnel: This funnel makes it easier to fill jars without spills.
- Lid Lifter: A magnetic tool for lifting hot lids.
- Jar Lifter: A tool for safely handling hot jars.
- Bubble Remover/Head Space Tool: To remove air bubbles and measure the appropriate headspace.
- Timer and Thermometer: For accurate processing times and temperature monitoring.
- Kitchen Towels and Potholders: For handling hot jars and lids.
- Labels and a Marker: for labeling your jars with the contents and date
- Ingredients: Fresh homegrown vegetables or fruits are the core. Vinegar, salt, sugar, or any additional spices or flavorings round out the taste for your specific recipes.
This kit, available on Amazon, includes two magnetic lid lifters and two bubble poppers.
Selecting Vegetables and Fruits for Canning
Some vegetables and fruits are well-suited for canning. But others may not produce good results. Excellent candidates for canning include:
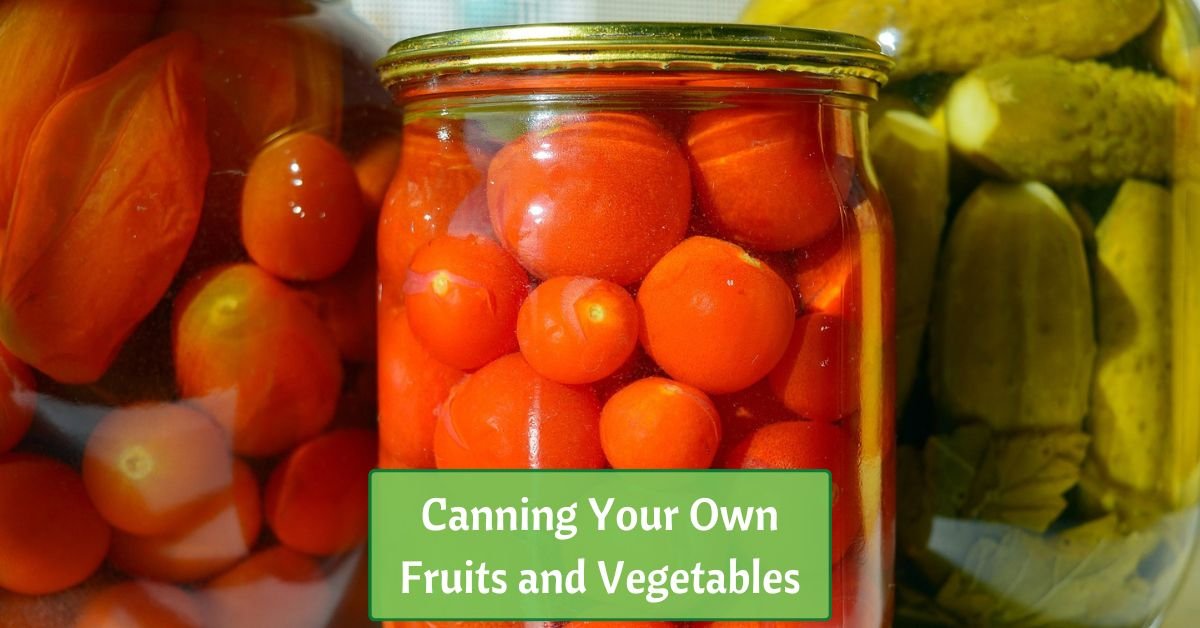
- Tomatoes: Perfect for making sauces, salsas, and canned tomatoes.
- Cucumbers: Ideal for pickling to make dill or bread-and-butter pickles.
- Berries: Great for jams, jellies, and fruit preserves.
- Peppers: Suitable for pickling or canning in vinegar-based solutions.
- Apples and Pears: Delicious when canned as pie fillings or fruit preserves.
However, some vegetables and fruits are less suitable for canning due to their texture or water content. Lettuce, watermelon, and zucchini tend to become mushy when canned.
The Canning Process
Now, let’s walk through the canning process step by step:
1. Prepare Your Jars and Lids
- Wash your canning jars, lids, and bands in hot, soapy water. Rinse them thoroughly.
- Place the jars in your canning pot, filled with water, and simmer them to sterilize. Keep the lids and bands in a separate pot of hot (but not boiling) water to soften the rubber seals.
2. Prepare Your Produce
- Wash and peel (if necessary) your vegetables or fruits. Remove any blemishes.
- Follow your chosen canning recipe for specific preparation instructions, including cutting, slicing, or dicing your produce.
3. Create Your Canning Liquid
- Depending on your recipe, combine vinegar, water, sugar, salt, or any other spices and flavorings in a saucepan. Bring this mixture to a boil.
4. Pack the Jars
- Using a canning funnel, carefully pack your prepared produce into the hot, sterilized jars, leaving the recommended headspace as per your recipe.
5. Remove Air Bubbles
- Slide a bubble remover or headspace tool along the inside of the jar to release trapped air bubbles.
6. Add the Canning Liquid
- Pour the hot canning liquid over the produce in the jars, maintaining the recommended headspace.
7. Seal the Jars
- Wipe the jar rims clean with a damp cloth to ensure a proper seal.
- Place the sterilized lids on the jars, followed by the bands. Tighten the bands until they are fingertip-tight; do not over-tighten.
8. Process the Jars
- Using a jar lifter, carefully place the filled jars onto the rack in your canning pot.
- Ensure the jars are covered with at least one inch of boiling water.
- Place the lid on the pot and start the processing time according to your recipe. Maintain a gentle boil throughout the process.
9. Cool and Test Seals
- After processing, turn off the heat and allow the jars to sit for a few minutes in the pot.
- Remove the jars and place them on a clean, dry towel or cooling rack.
- As the jars cool, you’ll hear a satisfying “ping” as the lids seal. Ensure all lids have sealed properly by pressing down on the center of each; if it doesn’t pop back, it’s sealed.
10. Store Your Canned Products
- Label the sealed jars with the date and contents.
- Store your canned vegetables and fruits in a cool, dark, and dry place away from direct sunlight.
How Long Can You Keep Canned Products?
Properly canned products can be stored for an extended period. Most canned vegetables and fruits have a shelf life of 12 to 18 months or longer. However, it’s a good practice to use them within a year for optimal taste and quality.
Canning vegetables and fruits from your home garden is a fulfilling and practical way to enjoy your produce year-round. With the right tools and recipes and proper care during each step of the process, you can savor the flavors of your garden’s bounty long after the growing season has passed.