A koi pond can be a wonderful addition to almost any yard! If you love fish, koi make great pets that can survive outdoors even in cold climates. Their rich colors make them an attractive option, too. They can even help with bug control!
Installing and caring for a koi pond may be easier than you’d expect. Yes, it does take some work. And we’re talking about care for living things, so ongoing care is essential. Still, it can be less demanding than you’d expect. Let’s look at how to go about creating your pond!
First Things … Last?
When you want to set up a koi pond, one of the first things on your mind, of course, is picking out your fish! It’s only natural. But it’s important to remember that you are going to need some time to set everything up first.
Don’t expect to make a single trip to purchase all your supplies and your fish together. You’ll need at least several days for the setup. There’s not that much work, but you do have to let the water in the pond stand for several days before adding your koi.
It’s great to be excited, but if you want everything to work out right, then take your time and have patience. You’ll love the results!
Some Benefits Of A Koi Pond
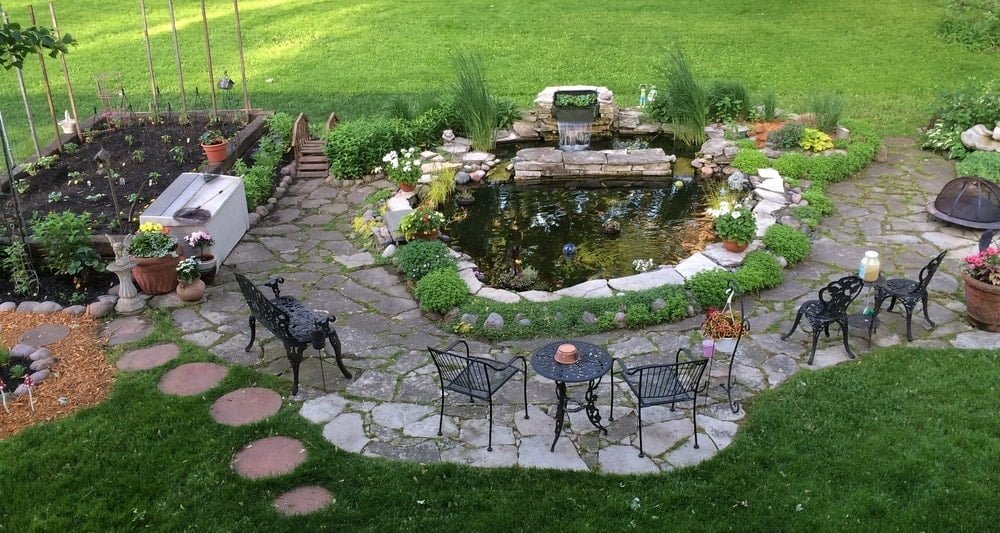
A koi pond offers a lot of benefits for your yard.
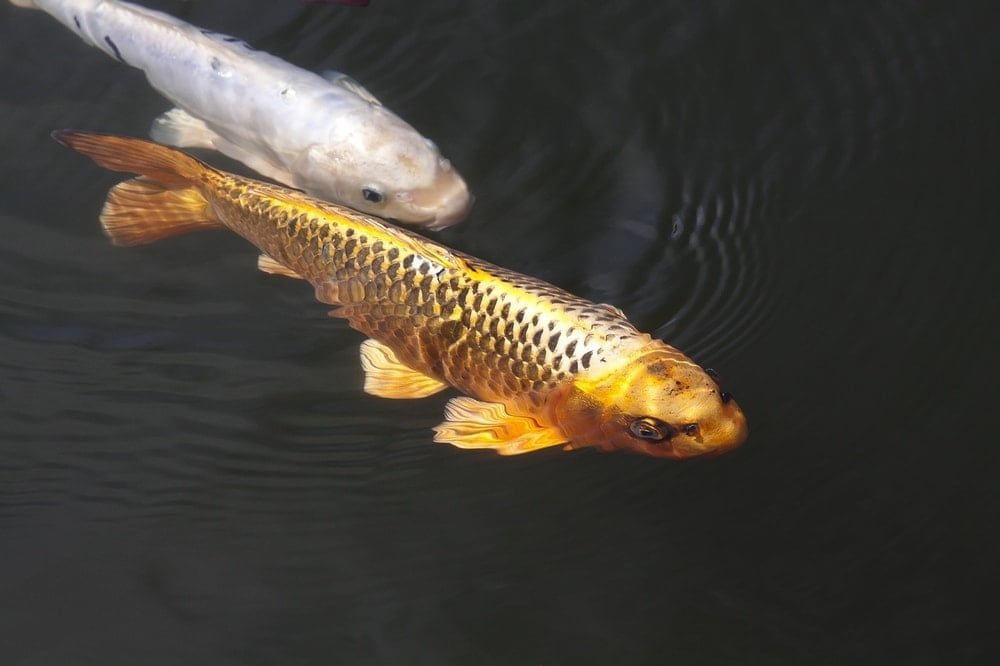
First, it creates a sense of beauty and peacefulness. A pond is relaxing on its own, but even better with these amazing fish. Their colors and motion go well in contrast to the typical scenery of a garden and yard.
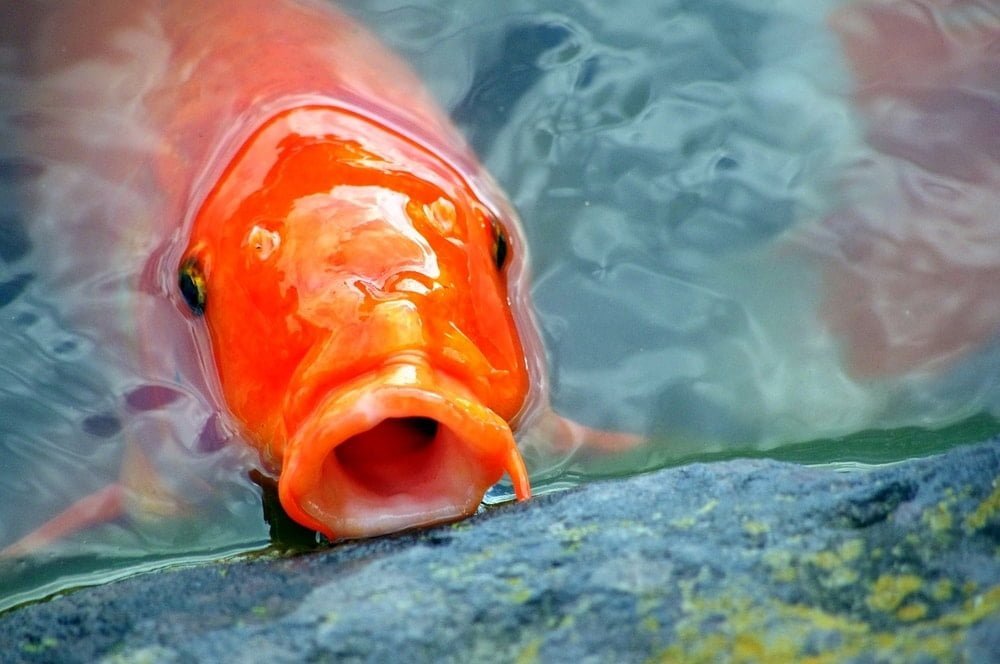
It’s also fun to feed them! Koi often learn to recognize passing shadows and know that they’re about to be fed. That leads them to hungrily congregate at the side of the pond and poke their mouths out of the water. Sometimes, they even allow themselves to be touched, although we don’t recommend it since it can remove the coating from their scales that helps protect them.
But koi offer more than just a beautiful addition. They can also help keep the mosquito population under control. Mosquitoes lay their eggs in water, so a pond or other standing water will attract them. But the koi will eat the larvae – a single female koi (which are larger than the males) can eat hundreds of larvae in a single day! That means you’ll have fewer pests in your yard.
A pond – with or without koi – can also be a beautiful extension of your gardening. There are many types of plants that grow in or around a pond and they’ll help create a beautiful oasis in your yard. But the water and plants can also attract other creates, from frogs to dragonflies to deer, all of which can help add to your enjoyment of your yard.
Will A Pond Work In Your Climate?
Of course, one of the most common concerns about koi ponds is whether they’ll work with the weather in your area. Fortunately, a backyard koi pond will work almost anywhere.
As you know, water freezes from the surface down. And if it freezes over, the ice can serve as an insulating layer. That means the water below the surface stays much warmer.
Of course, the most important factor here is that your pond is deep enough. If it is too shallow, you may have to move your koi to an indoor tank for the winter. If the water does freeze over, it’s often a good idea to drill a hole to insert an air hose to oxygenate the water.
There are also ways to make sure that the pond stays ice-free, preserving its beauty and the optimal conditions for your koi and pond plants.
Where Can I Put My Pond?
The main requirement for your pond is enough space in an area where you can dig a few feet deep to install it. However, you need to remember that you’ll need a little more space than just the pond itself. Be sure to allot square footage for your filter and other equipment.
Remember that your fish need plenty of room to swim. A small pond may hold two or three koi comfortably, but avoid overcrowding. On the upper size limit, 12 to 13 feet across is a good limit. That will allow you (with the help of a net) to catch fish in the center or to skim debris off the surface. Of course, that assumes you can walk completely around the pool.
You can always make the pond as long as space allows. You’ll likely also want to have plant and rock features around the edge of your pond, so be sure to take that into account as well.
First Steps To Installing Your Pond
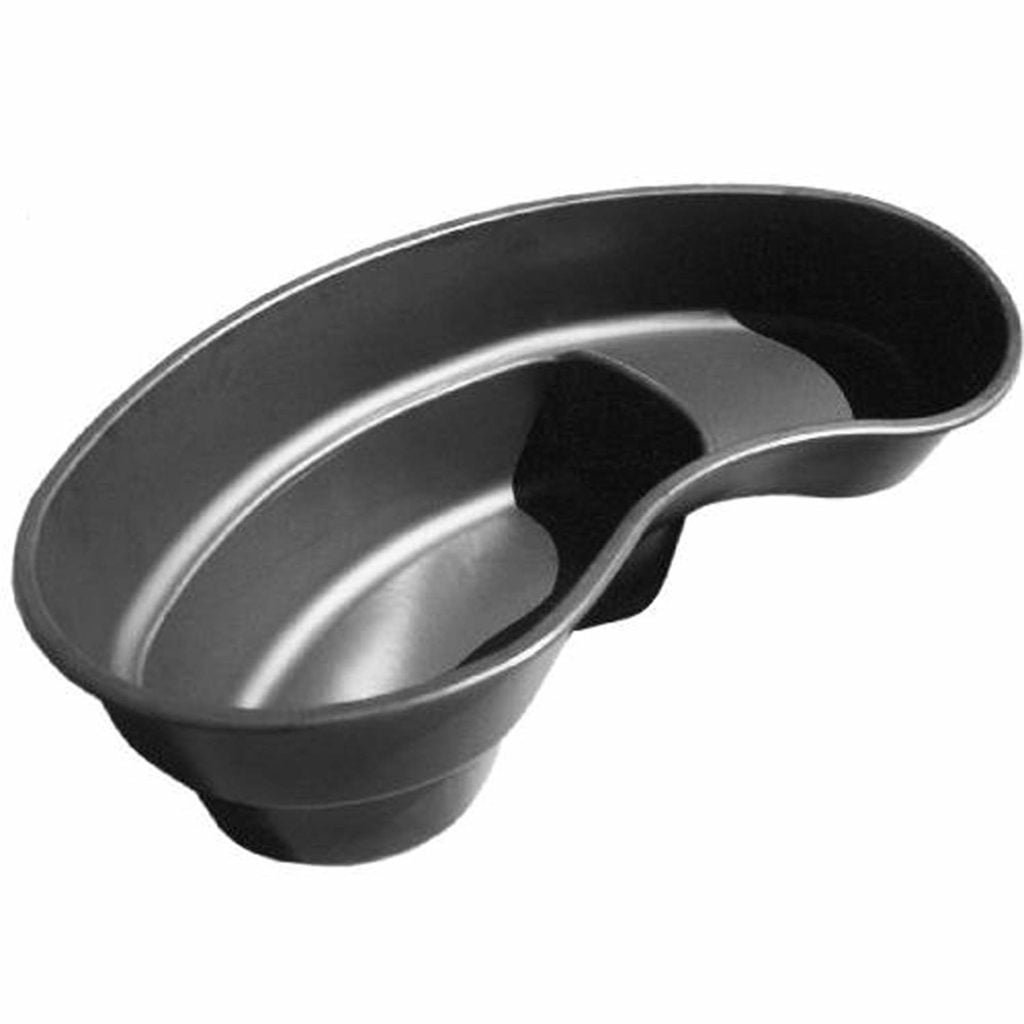
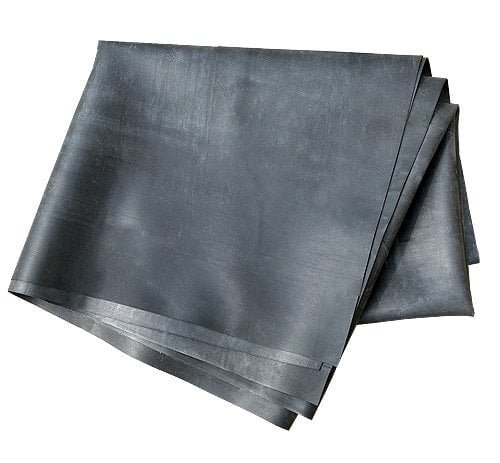
Once you’ve decided where you want to place your pond, you’ll have to decide what material to use. You can get a preformed pond liner from a pet supply store or a big box hardware store. Remember that it has to be bigger than the planned surface area of your pond. You have to account for the sides. You’ll also need to add extra so that you can fasten it down at ground level. For this, you should add 6 feet to the length and another six to the width.
Digging The Hole
You’ll need to dig out the area to between three and four feet deep, depending on the depth you want to have. This is deep enough for the fish to survive underneath the ice in winter. It also allows them plenty of room to swim comfortably.
Mark off the shape of the pool There’s no need to make the sides upright; it works better if they have a slight slope to them.
Once the hole is dug, be sure there are no sharp rocks left in it. You don’t have to make the ground perfectly smooth, though. It’s ok if there are some small bumps as long as the liner can conform to them.
If you’re using a preformed liner, you just have to slide it into the hole. Then skip to the next heading.
Place the liner into the hole, leaving a roughly even amount of extra on each side. To secure it, place rocks on the edge (that is, the level of the lawn).
To help prevent fertilizer and other runoff from your lawn from reaching the pond, you can create a ridge of dirt along the outer edge of these rocks. Make sure the pond liner reaches the top of this ridge. That way, anything that washes in from the lawn will go under the liner instead of into the pool.
Filling Your Pond
You’ve done the hardest part by digging the hole. At this stage, you can see your pond taking shape.
Use a hose to add water to your pond. If your water is chlorinated, you’ll want to use a dechlorinating agent or allow it to sit a few days to let the chlorine evaporate. In the future, you’ll need to treat water before adding it to the pond, because chlorine can be toxic to fish.
You’ll also want to test the pH level of your new pond. It should be between 7.0 and 8.6. If you have a pool water test kit, you can use the same test, although the acceptable range for your pond is much broader than for a pool. You can also get a kit at a pet store. You’ll want a kit that also tests for nitrogen and nitrites. See our article on koi pond care and maintenance for more information.
Set Up Filter
You’ll next want to add your filter system. There will be a drain that goes on the bottom of the pond, and filtering units that sit on the side. Remember that you’ll want to keep them accessible but also be able to disguise them among your plants and decorations. You’ll also need access to an electrical outlet, of course.
An aerator is another important addition to your pond. This keeps the water moving and helps oxygen mix into the water, which is essential for the health of your fish. It can also keep the water from freezing early in the cold season.
Once the equipment is installed, it’s ok to turn it on and allow it to start running. We suggest allowing it to run at least a few days before adding fish. Also, run your water tests again to make sure everything checks out again. Keep treating it until everything is in good shape.
Finishing It Off
There’s one last step before adding fish to your wonderful new pond. We encourage you to do any decorating now. If you’re going to add rocks or plants within the pond, it’s best to do it before the fish are trying to get accustomed to their new home.
Even if you just want to finish the decorations around the edge, it’s a good idea to do them at this stage. As you plant or move rocks near the pool, dirt will likely fall into the water. That can change water chemistry and also disturb the animals, so it’s better to do it ahead of time.
Choosing and Adding Fish
Finally, it’s time to add the fish! Remember that the fish you buy will probably continue to grow, so you have to take that into account when deciding how many fish you can have. Some aquarists will give a general rule of thumb, but it’s best to talk to your pet store about the exact conditions of your pond. The amount of sun your pond gets, the level of filtration you provide, and other factors can all affect how many fish can live healthily in your pond.
When you bring the fish home, don’t dump them directly into the pond. Instead, allow the bag to float in the water for about 30 minutes. If it’s a sunny day, cover the bags with a towel. The water and fish inside will heat up quickly otherwise, the same way a car heats up.
This allows the temperature to slowly equalize between the two. Then open the bag and add pond water to it, making a mix of about 50% aquarium water and 50% pond water. Let it sit another half an hour. After that, carefully allow the fish to slide out of the bag into the pond.
Conclusion
A koi pond makes a fantastic addition to your yard, no matter where you live. Even though it does take a lot of digging to set it up, you’ll love the result. These beautiful fish can live for decades and will add a great point of interest that’s relaxing and great-looking.

