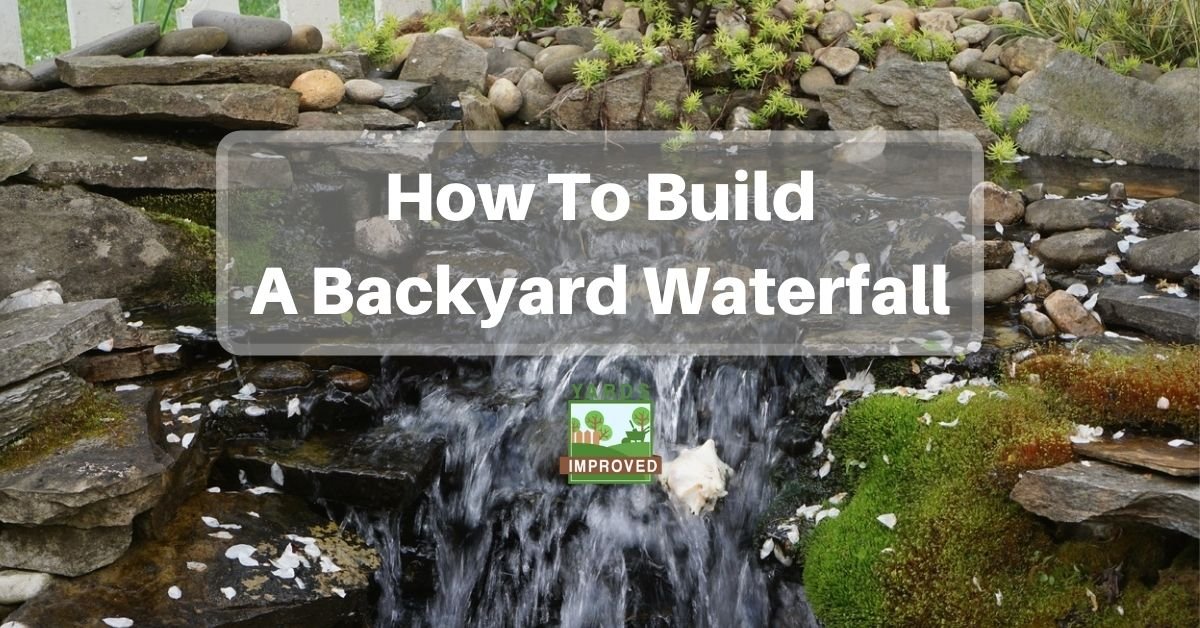
A waterfall is a thing of beauty! The sight and sound of water splashing down on rocks make a great addition to any yard. It adds to the beauty and relaxation of the place, helping you feel like you’ve escaped to a peaceful oasis. And that’s the goal, right? Your sense of peace will be magnified as you listen to the water splashing down the rocks.
Creating a waterfall may be simpler than you think. With just a few tools and some basic materials, you can build your own in a couple of hours. It’s also easy to maintain so you don’t have to worry about a lot of work later on.
Tools And Supplies You’ll Need
There aren’t any “special” tools you’ll need to install your waterfall. You’re likely to have them all in your garage or shed already. Here’s what we think you’ll need:
- Shovel. A garden spade can be best for breaking the soil up, but a flat shovel is designed for moving it out of the hole.
- Level
- Garden Hose
Supplies aren’t too complicated, either:
- Cinder blocks
- Rocks
- Submersible pump
- Tubing (diameter to match output on your pump; length to go from the bottom of your pond to top of your waterfall)
If you don’t already have a pond, you’ll also need:
- Pond Liner
- Sand
And that’s it! The hardest part will be picking rocks to fit your design. If you have a large property, you may have enough rocks around to create your waterfall. We encourage you to not take rocks and stone from other natural areas, especially from streams, since it can have a big effect on the water’s flow.
Getting Started
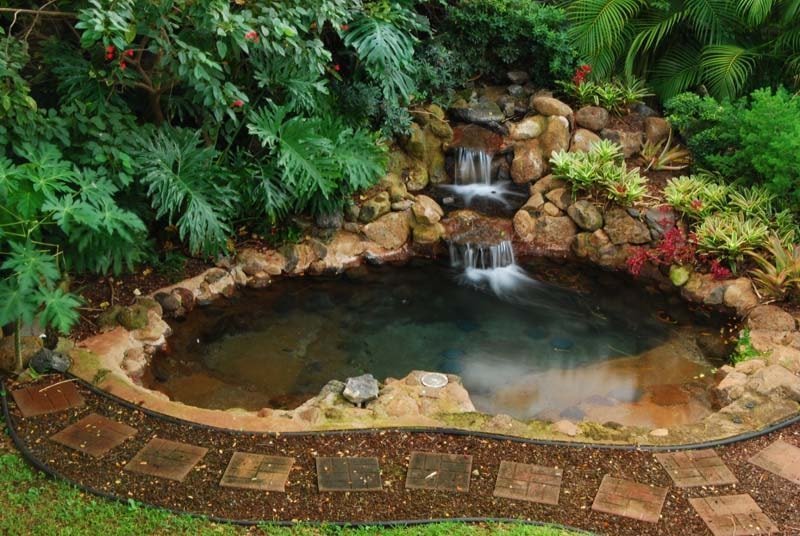
The first part of your waterfall has to be the destination. It may seem backward, but before we can talk about water falling, you have to know what it’s going to fall into.
Some sort of receptacle is necessary. It could be a pond or stream. It can be small if you don’t have much space. You just need it to hold enough water to completely submerge your pump while the water is circulating. Of course, for safety, it should all the pump to be submerged a few inches under the surface so that the water level doesn’t dip below the pump.
We won’t get into the details of building your pond here, but you can check out our article on how to build a koi pond. The principles of installing it are the same whether you plan to stock it with fish or not.
Choosing And Placing Your Pump
To get the water to the top of your waterfall, you’re going to need a pump. Often, a pond pump is sufficient, but if your waterfall is high, you may need one specifically designed for a waterfall.
Pumps have two principal measures to look at: gallons per hour (gph) and head pressure. GPH measures how fast the water comes out of the tube. Head pressure refers to the height above pond level that the pump will work.
To find the head pressure you need, simply measure the height of your waterfall. GPH is a bit more subjective since it depends on how fast you want the water to flow. A 1500 gph pump will produce a good stream across a one-foot surface. But you can go with a 1000 gph for a slower effect, or 2000 for a more forceful waterfall.
You’ll also need to consider how wide your top rock is (where the water first starts flowing out of the tubing). If you want the water to spread across 2 foot, then multiply your GPH by 2. But if it’s only 6 inches, then multiply by ½. So if you want 1500 gph across a 2-foot outlet rock, you’ll need a 3000 gph pump.
Attaching your tubing to the pump and place it as low as possible in the pond. Of course, you’ll have to be sure its electric cord is long enough.
Run your tube from the pump to the edge of the pond, using rocks to hold it down. You’re going to be building your waterfall around the tube, so be sure to direct it to that edge.
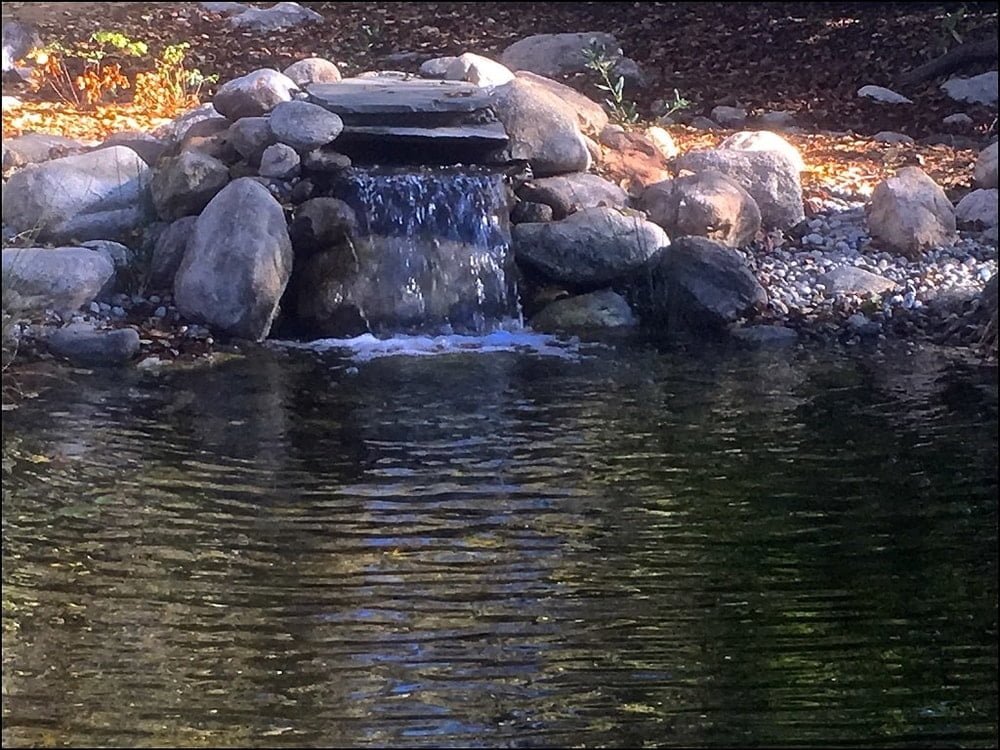
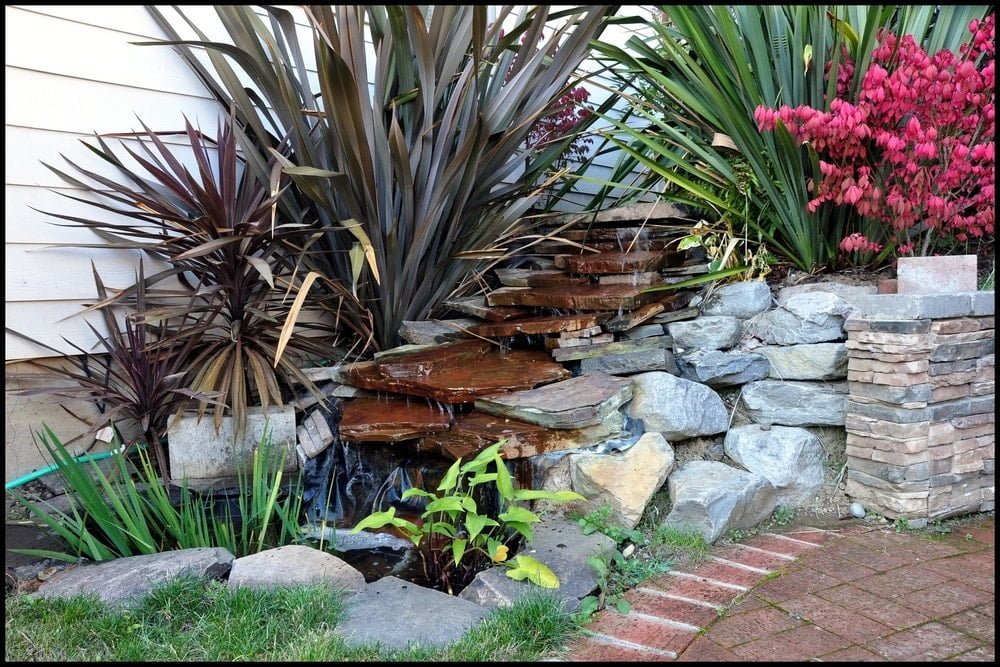
Choosing Your Rocks
Once your pond and filter are set, you’ll want to pick the rocks for building your waterfall. Flat rocks will be the most stable and the easiest to stack.They don’t have to be completely flat, but a regular surface works best. In general, you’ll want the largest ones as your base with the size decreasing as you build upward.
Add a more stable inner section to build around and to protect your water tube. Use cinder blocks or other materials arranged as a pyramid or as steps, depending on the design you want. Dig a small channel underneath to pass your tube under the block and then up through the holes. Then stack your rocks on and around the cinder block base.
Water is always going to find its own path, so you’ll want to guide it as much as you can. Be sure that your waterfall has “steps” that can catch the water. These steps have to be angled toward the next step down so that the water will always flow in the right direction. They don’t have to be totally flat, but they should at least have a definite direction that the water will flow when it hits them. Otherwise, it may disappear inside your rock pile and lose the effect.
At the top of your waterfall, you’ll want a flatter rock where the water will begin to pour out of the tubing. Using other large rock to hold it in place and to hide the tube. Remember that you can’t allow heavy rocks to rest on the tube, though – otherwise the water won’t flow!
Starting the Water’s Flow
Once your waterfall structure is stable and satisfactory, it’s time to get moving – or at least to get that water moving!
Be sure to fill your pond before turning on your pump. Once the pump is underwater, it’s safe to turn it on. Within a few seconds, water should start pouring over your new waterfall.
If there isn’t any water coming out, be sure the tube is still connected to the pump; it might have gotten disconnected while you were moving it. Also check to be sure no rocks are crushing the tube anywhere along its path and that the tube isn’t bent, blocking the flow.
As we said, water will go where it wants, so you might find that not everything flows how you planned. You might find that you want to partially dismantle the waterfall and rearrange some of the rocks.
Maintaining Your Backyard Waterfall
There isn’t much you have to do to keep your waterfall working well. Normal pond care will take care of most of it.
Be sure that the intakes on your pump don’t get clogged with leaves or other materials. You’ll probably notice the effects before a regularly-planned cleaning. If the water slows down, this is the most likely cause. If the intakes are clear, check your tube for twists or leaks.
Always be sure to keep the water deep enough to cover the pump, too. Otherwise, it could burn out. Water will evaporate more quickly when the waterfall is running since it has more exposure to the air, so you’ll need to be attentive to the water level.
You can keep your waterfall running as much as you want, but there’s no problem with turning it off, either. A long as the water is deep enough, you’ll just need to switch it back on to start again.
Conclusion
The appearance and sound of a waterfall is a great addition to any yard. It can be an easy project to add to your backyard pond. Hours of peaceful enjoyment await with this great feature!