Ok, there are some Billy Joel fans out there who love his tune “We Didn’t Start The Fire.” But no one wants to be taunted with it when you’re trying to get the fire pit or bonfire going! Getting a fire going can be challenging if you don’t have the materials and method, though.
We’re going to look at what you need to start a fire, how to arrange it, and how to keep it from burning out too soon. And for good measure – and good safety practices – we’ll talk about putting it out, too!
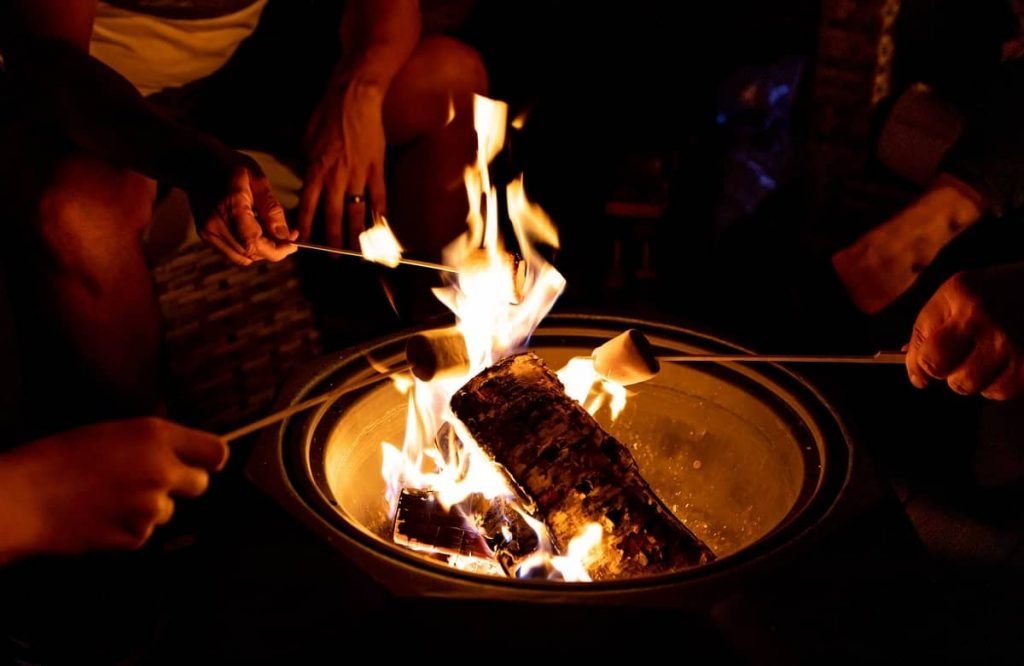
So, grab your supplies, including the ingredients for S’mores! And let’s get that fire started!
Gathering Materials
Of course, the main “ingredients” for a fire are the pieces of wood you’re going to burn. But you can’t just take some logs and apply a flame. It’s almost impossible to do it like that! Instead, you have to work up from easier-to-burn materials to sturdier pieces. Here’s your basic progression:
Tinder
Tinder refers to easy-to-burn materials that are great for starting a fire. It generally burns quickly, but it helps spread the flame to the kindling. It’s small, lightweight, and dry.
Dry grass or leaves can make good tinder. Balled-up sheets of newspaper do the job, too. Cardboard is another option.
Be sure to have enough of this material that it won’t burn out so quickly that the kindling won’t have a chance to start burning.
You can also buy tinder commercially. It usually consists of short logs or squares made up primarily of sawdust and wood shavings. You may not need these, but they help make sure you’re ready if you can’t find anything else appropriate! They also burn long enough (about 10 minutes) to get the fire going.
Kindling
The next step up is kindling. It consists of small branches and twigs that will easily catch fire. It’s a step up from tinder and will burn longer. Of course, the kindling needs to be dry.
You’ll need a decent supply. It could be a small fire in itself, but you’ll add more, larger wood on top to get things going. It will have to burn long enough and hot enough to make those logs catch fire, though.
Logs
Now we’re moving into the heart of the matter! To have a substantial fire burning, you need heavier pieces of wood. Be sure it’s split and cured ahead of time so that it will burn well!
You don’t have to do the chopping yourself, of course. Big box hardware stores and department stores often sell it in bundles. You can even order it from Amazon. But there are many small, local stores that will carry it.
If you do decide to split your own firewood, though, here’s how!
Getting The Fire Started
To get the fire started, you’ll need to arrange your wood correctly. Of course, you’ll also need a spark!
Keep the tinder to the side to begin. It will be easy to stuff into place when you’re ready to light the fire.
So your first step is to arrange the kindling. Don’t just toss it in, though! Instead, build a teepee-like structure in the center of your fire pit (or fire circle).
You can have a couple of small logs leaning on your structure now, but go slowly with these.
Take some of your tinder and stick it into holes in your stack of kindling. It’s usually best to find three or four spots on different sides. Then use matches or a lighter to light it. Allow the flame to spread to the kindling.
You can then add more kindling and slowly add larger logs, too. Don’t go too quickly, or you’ll smother the fire. As long as the fire is burning, you don’t have to worry about preserving the teepee shape.
Alternative Ways To Spark Your Fire
There are some alternative ways to get your fire started. They can make the whole process easier!
We don’t recommend charcoal lighter fluid, though. Even for barbecuing, it’s not usually necessary. Use it only as a last resort.
Never, ever, spray lighter fluid on a lit fire – the whole stream can catch fire, right up to your hand!
Electric fire starters are easy to use and effective. They are the simplest alternative, too. They replace your tinder and get the fire started in a few minutes by lighting it from their steel tube. You do need a place to plug it in. Don’t walk away, either, because you’ll want to remove it once the flame catches.
For a fire pit, it’s also possible to install a gas lighter in the base. That means you’ll need a fuel line. If you have natural gas in your house, you may be able to tap into this. Or you could use an LP tank. However, local laws often restrict how you can use these outdoors, so be sure to check.
Keeping It Going
To stay lit, you’ll need to keep your fire well-fueled. As long as the flames are burning well, you can add larger pieces. If things start to die down, some more kindling may be necessary.
If you want to keep the fire going, you only need to give it more fuel. The only consideration is to be sure not to overpower the flames. A little patience goes a long way! With a roaring fire, you can add larger pieces than if it’s a low flame.
Be careful when adding wood after the fire has started. The pieces already in the pit will shift unexpectedly. It can toss off sparks and embers that can burn you or start a fire outside the fire pit.
Putting It Out
Speaking of sparks and embers, be sure to keep a bucket of water or a hose nearby in case something does catch fire outside the designated area.
But as long as the fire stays where it belongs, it’s best to let it burn out on its own.
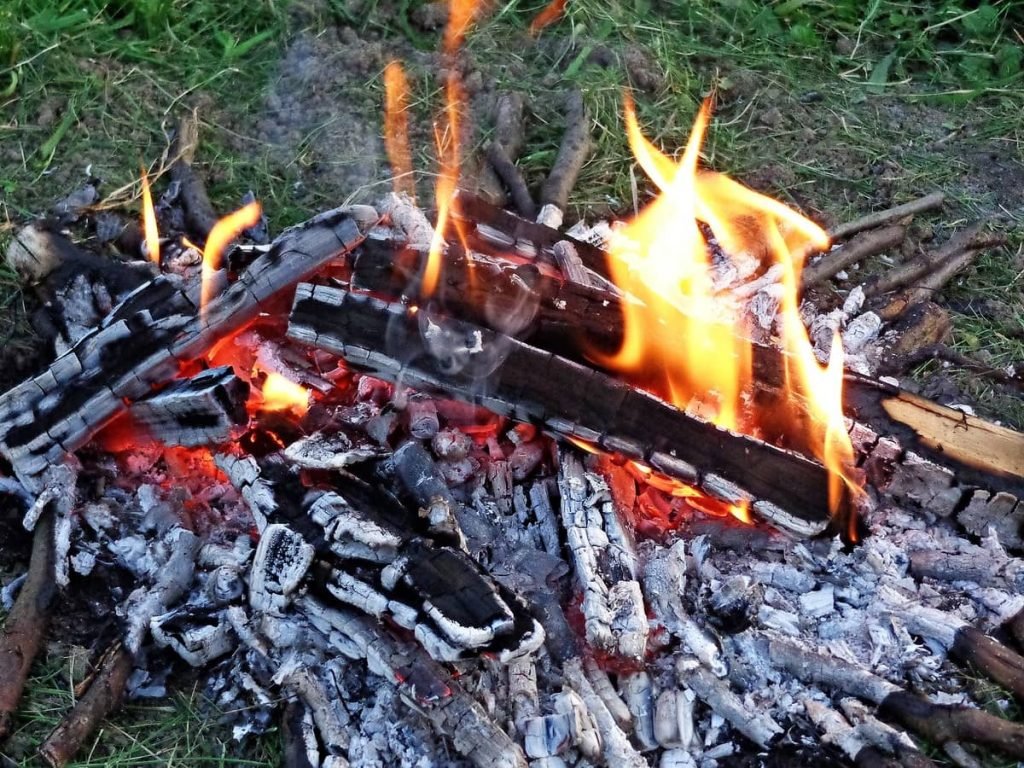
Don’t forget that hot, burning embers can remain underneath the ash on the surface. Use a bow rake to mix the remains of the fire so that these embers come to the surface and die out.
You should check a fire several times to confirm it’s going out, including the morning after. If you are in a rush and need to leave, though, you can pour water on it. Be sure to pour it slowly and mix the water in with a rake. However, this can leave a sticky, heavy mess that you’ll have to clean up later.
Conclusion
The joy of having a fire pit is, of course, having a roaring fire in it! But getting the fire started can be a bit of a challenge if you’ve never done it before. Remember to go slowly and build up to the heavier logs! Always be careful, too, so that you can enjoy it with your friends and family for years to come.

