
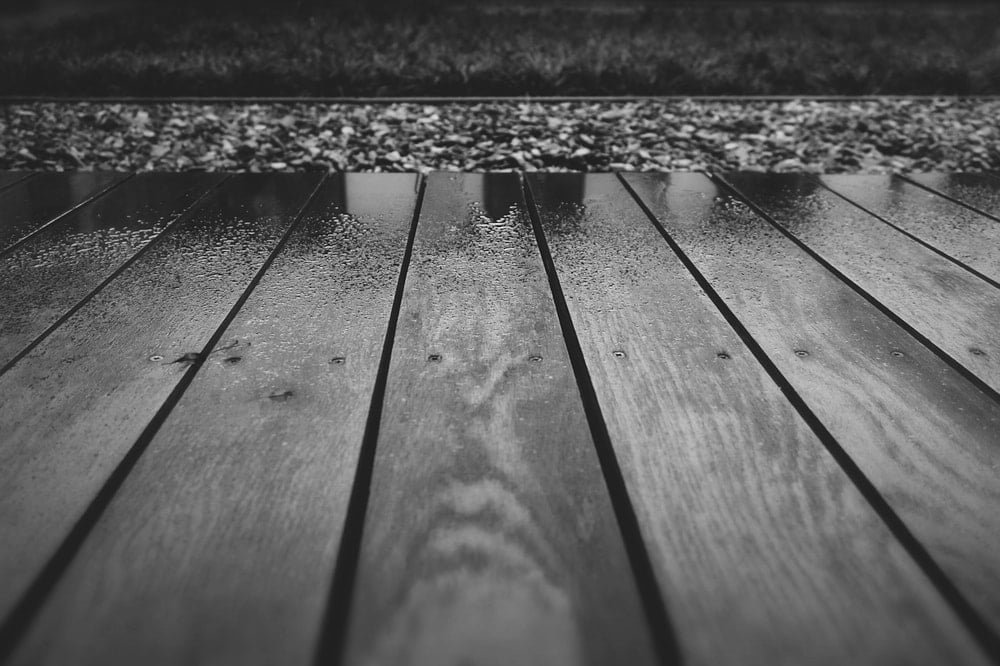
Sitting out on the deck is one of the simple pleasures in life. At sunrise or at sunset, under the sun or under the stars, it’s a great little escape. It’s a place to catch up on reading or pop in the earbuds and listen to your favorite tunes. You might want to eat there or just sip on a cold beer. Catch up on some alone time or enjoy it with friends and family. The deck can have so many uses. But to get the most enjoyment out of it, you want to keep it looking great.
Staining a deck can be a real annoyance, yet it’s one we have to put up with. What’s involved in it and how often should the deck be restained? Let’s look at how (and when) to go about the job.
How Often To Stain Your Deck
It always seems that decks have to be stained far too often. It’s a relatively annoying job to do. It seems to need doing more often than it should. But your deck is exposed to the elements, which means it takes a lot of abuse. The main culprit is the sun – ultraviolet rays beating down summer and winter really do a job on the finish.
Under normal conditions, your deck’s stain should hold up at least two or three years. The flat areas of your deck – that is, the deck itself, steps, and the tops of railings – are those that degrade fastest. That’s because they have more exposure to the sun. Upright pieces like posts take less direct sunlight. The difference is so marked that you might even be able to skip staining them every other time.
The lifespan of your stain can depend on how well you did the job last time. Weather conditions also play a role. Acrylic and oil-based stains both have the same longevity, though. The difference is in how they look when their usefulness has run out.
Acrylic stains will start to peel over time. Oils will fade as they are absorbed into the wood. In either case, it’s pretty obvious when the time has come.
Again, two to three years is a general rule. If the surface wasn’t properly prepared or conditions are especially extreme, it may need to be done every year. With a well-done job, cooperation from Mother Nature, and some luck, you may be able to get away with doing it less often.
Oil-based vs. Water-based Stains
There are basically two types of stains, oil-based and water-based (aka acrylics). It’s always best to stick with what you’ve used in the past, both in terms of the type and the color of the stain.
If you’re not sure what kind of stain was used before, it’s pretty easy to find out. Water-based stain actually creates a layer on top of the wood. When it’s wearing out, it starts to chip off.
Oil-based stains, on the other hand, actually penetrate the wood. Over time, they’ll be absorbed more into the interior of the board. So instead of chipping, you’ll be left with a look more like untreated wood. Another way to test is to dip a rag in mineral spirits and rub it on an out-of-the-way spot. The spirits will wipe away oil-based stain but not water-based types.
Oil and water don’t mix, of course. Trying to switch from one to the other can produce the worst conceivable results. One will repel the other. That means that your new layer of stains won’t be able to do its job at all.
We also hinted at the issues with changing colors. This is especially important with acrylics. As the stain ages and breaks down, you can end up with a mix of your new color, your old color, and the raw wood. So to keep the best look, it’s always best to stick to the original color.
In case you’re just starting out, we’ll mention some of the benefits of each type.
Water-based stain dries more quickly and won’t subject you to the strong odor that comes with its oil-based counterpart. It’s also easier to clean up after the job.
Oil-based stain penetrates the wood and can help preserve it longer. It dries slower but that can help the end product to look more consistent and finished.
When To Stain
A key to getting the most of your stain is applying it at the right time. Or, really, when the weather conditions are right.
You’ll need a couple days of dry weather for prep, application, and drying. You’ll also want mild weather. Seventy degrees (70° F) is the ideal temperature. Again, this is ideal for application and drying. Hopefully, you’ll be able to get about three days in a row with weather like that.
That means spring is your likely season for staining the deck. Fall might work as well, but you’ll have less time to enjoy the deck before the cold rolls in.
Preparing Tools For The Job
As with any job, it’s important to have all your tools lined up before you started. Staining doesn’t require a ton of equipment. Let’s look at what you should get together to do the job right.
- Work clothes. This is going to be a messy job, so wear clothes you don’t mind ruining.
- Knee pads will also help while you’re painting the surface
- Pressure washer. While you may get away cleaning the deck without this, it will definitely same time and energy.
- Deck cleaner
- Hammer
- Painter’s tape
- Stain
- Paintbrush. You might also want to use a roller or sprayer, but it’s still important to do a coat with a brush. Also, sometimes applying stain with a rag can help it look smoother, but the brush will help get in between boards.
Doing The Job
A large part of staining is in the prep work. If you do that right, it will allow you to easily apply a good coat of stain that should last for a couple of years.
Clean The Wood
The first and most important step is to make sure your surface is clean. The best and easiest way to do this is with a pressure washer. Thoroughly spray off all areas of the deck. Don’t forget to get under the railing, between planks, and between the house and the first board. You don’t want to get stuck staining over dust, dirt, spider webs, or dead bugs. Also, the pressure washer will help reveal any chips from peeling acrylic stain.
Check out our pressure washer reviews!
A good deck cleaner used here can help get rid of any stains and make sure you have a cleaner surface.
If you don’t have access to a pressure washer, sweep the entire deck thoroughly then hose it down as completely as possible.
Fix Any Loose Nails
Next, you’ll want to make sure all the nails in your deck are firmly in place. Look closely at both the railings and the floor, section by section. Any areas where nails are sticking up, hammer them down firmly.
Mark Off Edges
Use painter’s tape to mark any spots that should not be painted. This includes where the deck and railing meet the house, the base of any lights or other tubes that may pass through the deck, and other edges.
Make sure the wood dries thoroughly before beginning to stain.
Apply Your Stain
Once the surface is prepared, it’s time to start staining.
If you’re going to need more than one container of stain, it’s best to combine them first and stir completely. Even the same stain can have slight color variations between batches. This mixture will help make sure your finished deck will have a consistent look.
First, be sure to plan the direction you’ll work in. Make sure there’s a way off the deck at the point you’re going to end up at. Don’t get yourself stuck in a corner!
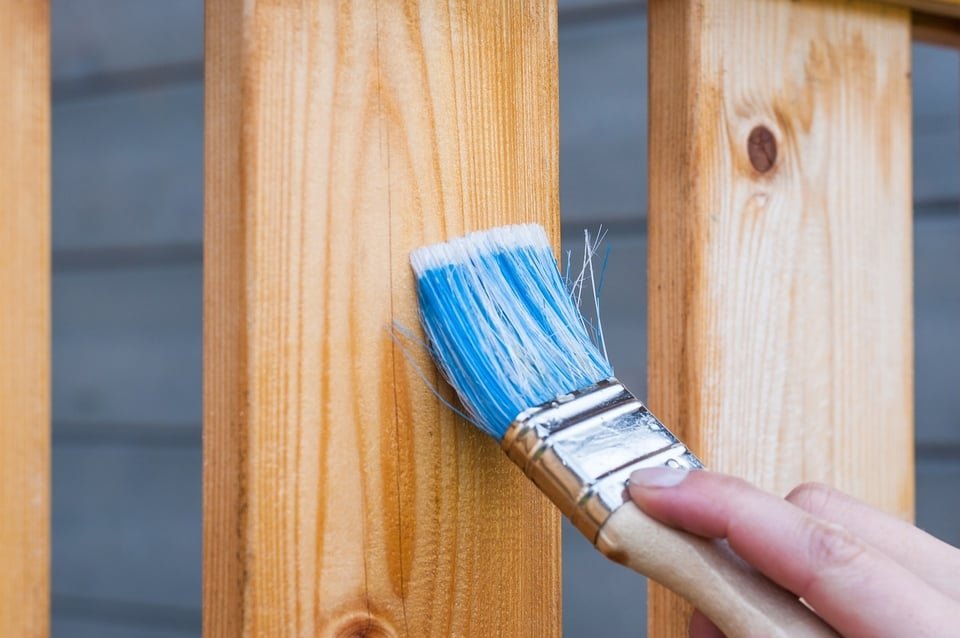
Start by applying a thin coat of stain with your rag, brush, or roller. Be sure to apply it with a steady stroke. Blend each section together as you go along. That is, you want to mix the last couple inches of the previous stroke with the first inches of the next one. This will keep “lips” from forming at the spot you stopped.
We recommend that you work entire lengths of board before moving over. You can do several boards at a time, but do that grouping from one end to the other. This is another way to keep that smooth, consistent feel that doesn’t show starts and stops.
Be sure that you’re not just getting the surface but also down between the boards. This will help you to have a more consistent look.
Once you’ve finished the whole surface, be sure to let it dry at least 24 hours. You can then apply a second coat if you’d like. Again, be sure to be thorough and get into all the spaces between boards and around joints. Allow another 24 hours after the second coat before walking on the surface or returning deck furniture to its place.
Conclusion
Staining your deck is a necessary part of routine maintenance. Yes, it can be messy and it can be a hassle. But it’s worthwhile so that you can enjoy it When done right, the horizontal parts of the deck should hold up a couple years and the vertical even longer. Keep your deck looking great and enjoy the outdoors even more!