String lights are a great option for your front or backyard. They provide a sense of charm as well as being functional. They’re a great option for providing patio light or even to light up a pathway. But it’s important to be sure they’re installed correctly to make sure they stay in place, providing both beauty and safety.
Let’s have a look at the basic steps for installing your string lights. You’ll love them once they’re up, so we want to make sure they get there as easy as possible and stay for years to come!
Plan It Out
The first, and maybe most important, step to getting your string lights in place is to plan ahead.
Even though the temptation might be to rush ahead and get the job done, it will actually save time and frustration if you take the time to figure out exactly how you’ll do the installation.
First, we recommend grabbing an old-fashioned pen and paper to draw out how you’ll do the installation. Graph paper may work best because you’ll have to measure as well. Where do you want to start the lights, and where will they end? Will they run in a single straight line, several parallel lines, or in a criss-cross pattern?
Don’t forget where your electrical outlet is, too! It might not line up perfectly with the ends of your run. For that reason, you might want to decide to have two separate sections, both of which have their plugs in the same place.
Once you know what it will look like, you’ll need to measure to find out how long a string you need – or how many strings. Grab the ruler and figure out the distance between every two points. Be sure to measure from the wall of your house, if they’re going to be attached there. Don’t attach them to the overhang since it doesn’t provide as much support. Mark it down on your drawing so you can add them up later. Also, note how many points you’ll be hanging the string from – you’re going to need enough hooks!
Once you have your measurements, you can start buying your supplies. Here’s what you’ll need:
- String lights
- Hooks – at least one hook for every point your string changes direction; possibly more if you have to add support points in the middle of a straight run
- Eye-to-eye turnbuckles
- Zip ties – you’ll probably need them every yard or so, plus a couple in the corners to support the guy wires.
- Guy wire
Choose Your Lights
Of course, you have a lot of options when it comes to the style of lights you want to use. It all depends on your own taste!
Be sure, though, that you are picking lights suitable for outdoor use. Not all string lights are designed to hold up to exposure to the elements.
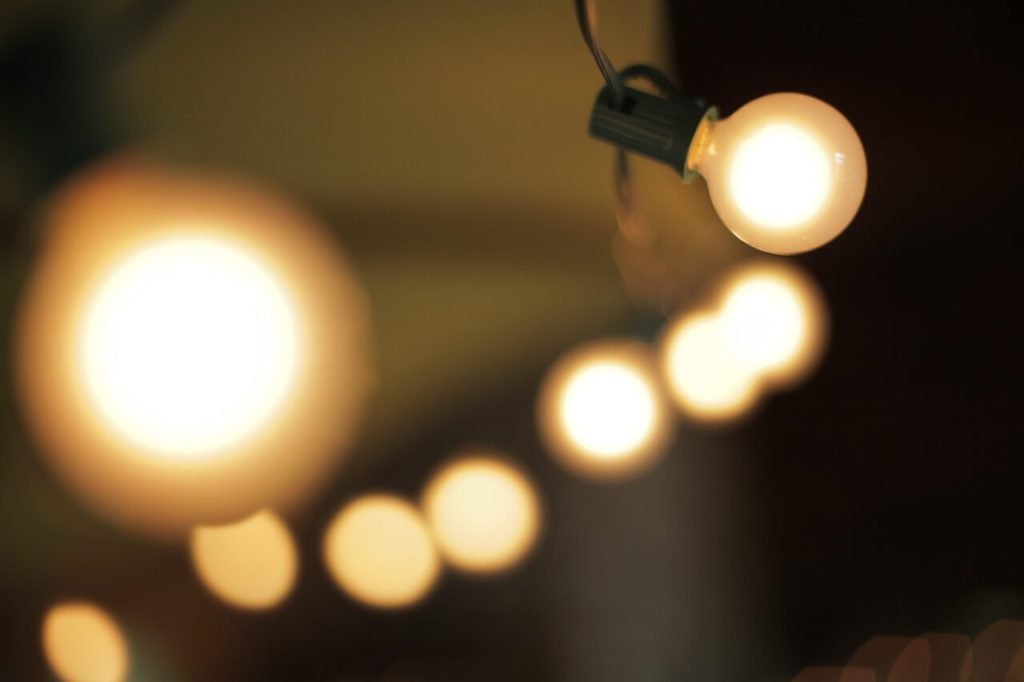
Two of the main considerations are the size of the bulbs and the “color” of light they give off.
Bulb sizes can run from Christmas light size right up to spherical bulbs a couple inches in diameter.
The bulbs also have different finishes (or no finish at all). This dictates the brightness of the light. It also affects how the color will appear – anywhere from white light to a more subdued look.
Clear bulbs give off the most light, although there are also painted bulbs that can add colors while still giving off a strong glow. Another choice has a pearl or satin finish, which has less glare and seems more gentle. Multicolor bulbs can be used in almost any style, too.
You can also mix and match with a variety of types of screw-in lights. A mix of bulb shapes, sizes, and finishes can add a lot of character!
Hanging Your Lights
Now we get to the labor! Hanging your lights is going to take a bit of exertion (mostly from moving the ladder) but it’s all going to pay off as part of your beautiful new outdoor decor. Of course, safety has to be taken into account, too.
Just realize you need a new ladder? Check these out!
Your guy wire is going to provide support to your lights. The electrical line by itself would sag. That also creates stress on it, which would lead to a decreased lifespan. The added support of the more rigid guy line will provide the necessary strength.
First, you’ll want to attach your hooks at each spot along your walls, posts, or trees where the lights will hang. You may have to drill starter holes first. Be sure the hooks are strong enough to hold the weight of the wire and are screwed in tightly.
Your first and last hooks need one turnbuckle. The rest need two each. To hold them in place, use zip tips on the eyes nearest the hooks. Allow enough space to create the angle at which your lights will lead out from that point.
Run the guy line from hook to hook – one length of guy line between the two hooks where the lights will hang. Pull it to the tautness you want. Be sure it’s high enough that no one will have to duck underneath!
Once the guy line is in place and tightened, begin stringing your lights along it. Use zip ties to attach it. With heavier wire and larger bulbs, you’ll want to attach the electrical wire to the guy line at every bulb and perhaps halfway between bulbs, too. With lighter lines and bulbs, you may be able to do it every few bulbs.
As you hang your bulbs, don’t forget you have to plug it in! It’s terrible to get them all installed then realize you left the plug at the wrong end. Also, examine the insulation as you go along to make sure it’s in good shape. Also make sure bulbs aren’t too close to tree branches, gutters, or walls; the heat could potentially cause a fire especially if the bulb comes into contact with dry leaves.
Conclusion
Installing string lights does take a bit of planning and work. But the effort you put into it will pay off and you’ll be able to enjoy your yard and patio even more once they’re installed. Plan carefully and be safe – and above all enjoy your beautiful yard!