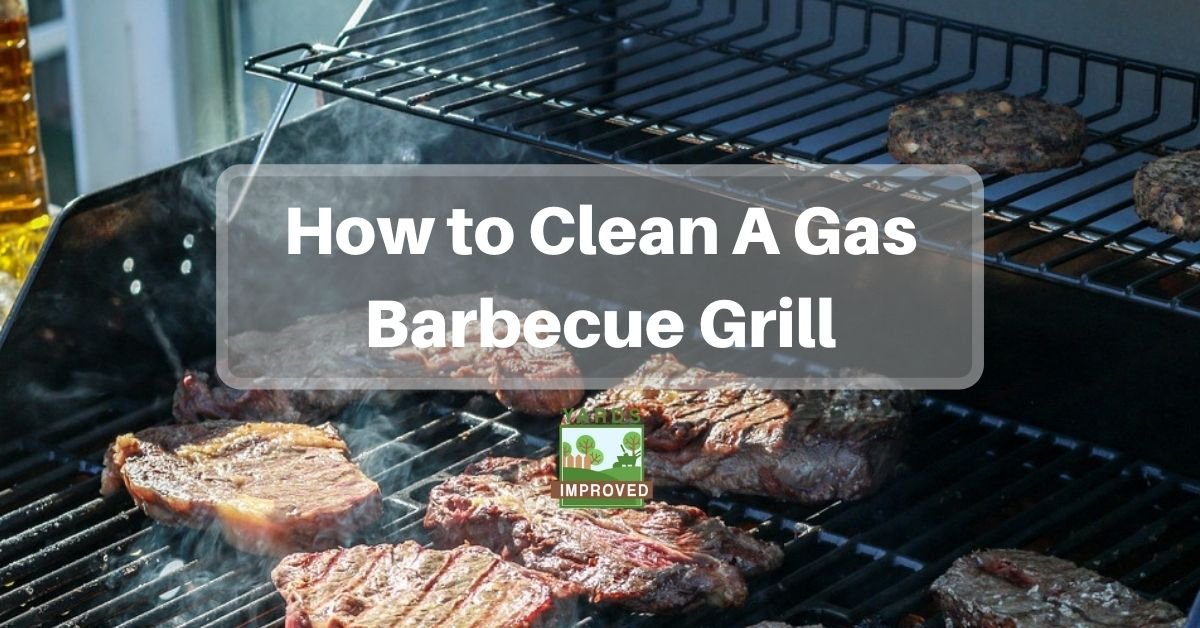
Few summer pleasures can compete with breaking out the barbecue grill. You might go for simple favorites like hot dogs and hamburgers. Or maybe you want to go all out with steaks, baked potatoes, and corn on the cob. In every case, there’s something special about the taste – and the grilling itself. Being the grill master of the family or even of the neighborhood can bring a huge level of satisfaction.
But there’s a dark and dirty side of grilling – and that’s the cleaning up. Cleaning an oven is bad enough, but a grill presents its own unique challenges. So it’s important to understand what you need, how often you should clean, and how to go about it.
Let’s look here at how to clean a gas barbecue grill since it’s pretty distinct from cleaning a charcoal grill. Cleaning your gas grill will help keep it looking great, will make it healthier, and will even keep your flame stronger and more even!
Gathering the Tools
Being organized almost always helps things go more smoothly. One of the first steps to get organized is having the right tools on hand before you start working. So here’s what you’ll need to clean your propane or natural gas barbecue grill:
- Wire brush
- Wire scrubbing pad – to help you get where the brush can’t
- Dish sponge
- Bucket
- Dishwashing liquid
- Warm water
- Dishwashing gloves
For a deep cleaning you also might want to use:
- A vacuum (the “shop-vac” type works great, but any vacuum with a hose and attachments is good here)
- Vegetable oil – to cover the grill and help prevent rust
- Stainless steel polish – if you have a stainless steel grill, this will help keep it looking great!
Find out about the best gas grills with some nice features!
Scrubbing the Grates
Now that you’ve got all your tools, it’s time to dig in and start working!
The first step is also the one you’ll want to do most regularly. In fact, it’s a good idea to clean the grates every time you cook.
To do this, it’s best to heat your grill up as high as it can go. This will help loosen the grease and leftover food stuck to it. Once it’s at high heat, turn it off and close the lid.
Allow the grill to stand for about 15 minutes. If it’s cool enough to work on, you can start using your wire brush to brush as much debris as possible off the grates. For safety’s sake, be sure to wear your gloves – they’ll protect you somewhat from heat but also from getting pricked by the wires. Be sure to get the whole surface – you can use the wire scrubbing pad if the brush can’t get into all the corners.
Once you’ve scraped off the primary debris, place the grates in a bucket of warm, soapy water. You don’t need to do this after every time you cook, but this will help you clean it more thoroughly when the situation warrants it. Allow it to soak for about 10 minutes then remove and hose it off. You might want to rub it down here with the dish sponge too.
After the grates are clean of both debris and soapy water, you can rub a thin layer of vegetable oil over it to help prevent rust.
Inside the Grill
You’ll also want to clean out the insides of the grill, including the drip pan, the lava rocks and the burner itself. Both can accumulate debris and grease that can leave a nasty smell. The burner could even end up with some ports blocked, causing an irregular flame. For this, wait until your grill is completely cooled down.
A drip pan catches sauces and juices from cooking so you can reuse them, but that also means they quickly become dirty. Like the grates, they can be soaked in a bucket of warm, soapy water then scrubbed off.
Lava rocks can be cleaned, but it’s best to just replace them once a year or so. But if you do want to clean them, soaking them in soapy water then rinsing in clean water can help.
When it’s time to clean the burner, it’s best to consult your owner’s manual. Instructions can vary by model. But you’ll want to be sure the gas is shut off or even better, disconnected.
While you have everything out of the grill, brush down the insides with the wire brush and the scrubbing pad. Remember to start inside the lid – that way everything can fall down inside where it will be easier to gather up. Move down to the lower area to get the entire inside area. You may be able to force most of the debris out through ventilation holes, but this is where the vacuum comes in handy to suck everything up.
Cleaning The Outside Of Your Grill
Now we come to the easy part. The outside of the grill is the easiest part to clean since normally there’s no food debris accumulating on it.
A dish sponge or clean rag with soapy water can be used to wipe everything down, from top to bottom. Don’t use an abrasive cleaner or brush so you can avoid scratching the surface.
The soap will help cut any grease that has accumulated naturally. Be sure to get the handles, the column, the hoses, and the fuel tank.
If you have a stainless steel grill, you can bring back its shine with polish.
After you’re done cleaning, it’s a good idea to heat it up again and let it stay hot for another 15 minutes. This will make sure any soap or other chemicals are completely burned off and won’t make their way into your food.
Conclusion
Cleaning your gas barbecue grill is a necessary evil. It’s a lot easier when you have a system in place that covers all parts of the grill. It can also help your grill last longer and keep your food from having an aftertaste from the last time you grilled. With these simple steps, you can keep your grill in good shape and enjoy it even more!


