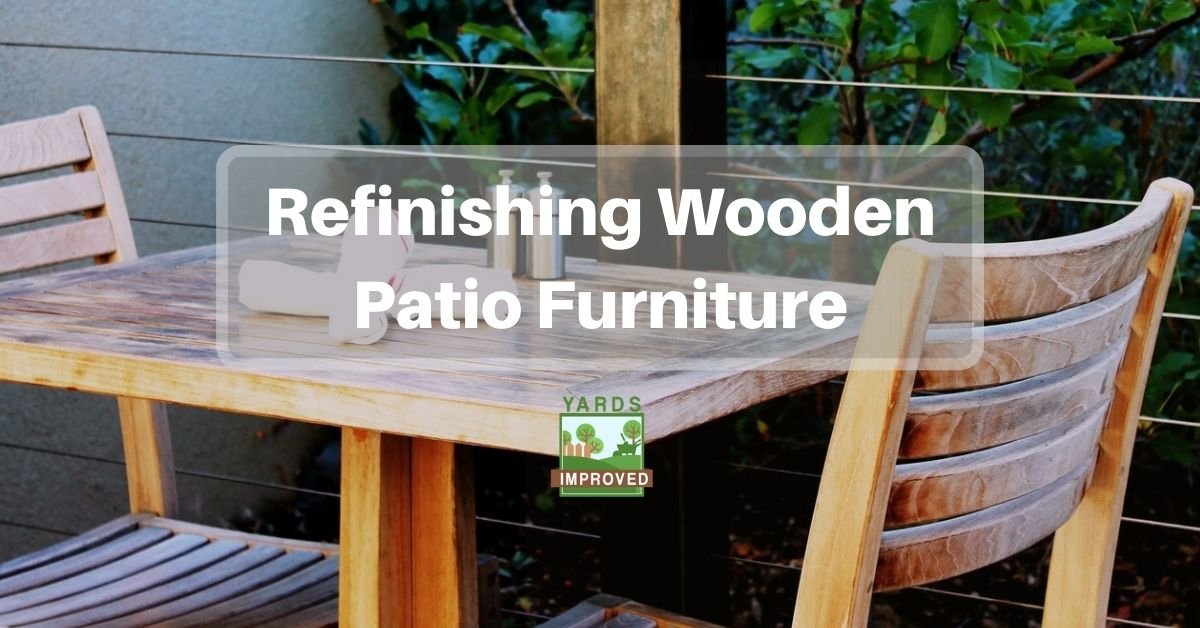
Outdoor furniture is a key part of your patio experience, both for its usefulness and its looks. Since it’s designed to hold up to the elements, it should serve you well for a long time. Still, there comes a point when it will need some extra care. That’s especially true with wood furniture. Is it worth the effort to restore it? And how do you go about it? That’s what we’ll look at in this article.
Is It Worth It?
If your wood patio furniture is in good shape structurally, it’s worth cleaning it up, stripping and repainting it. Wood furniture tends to be expensive, so you don’t want to replace it if it can still do the job. Most wood furniture also has a great appearance that goes nicely with the outdoors. So even if you have to tighten a few screws and sand some rough spots, you’ll usually want to restore these pieces.
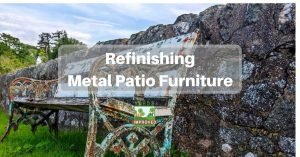
You can restore metal patio furniture, too!
Of course, there may come a time when it’s just too far gone. Wood can deteriorate if not properly treated. It could also become a meal for termites. Sometimes, the places where pieces are fastened together wear poorly and the joints become loose. A skilled craftsperson can help salvage these pieces in some cases. At other times, you might have to just give it and turn a damaged chair into fuel for your firepit.
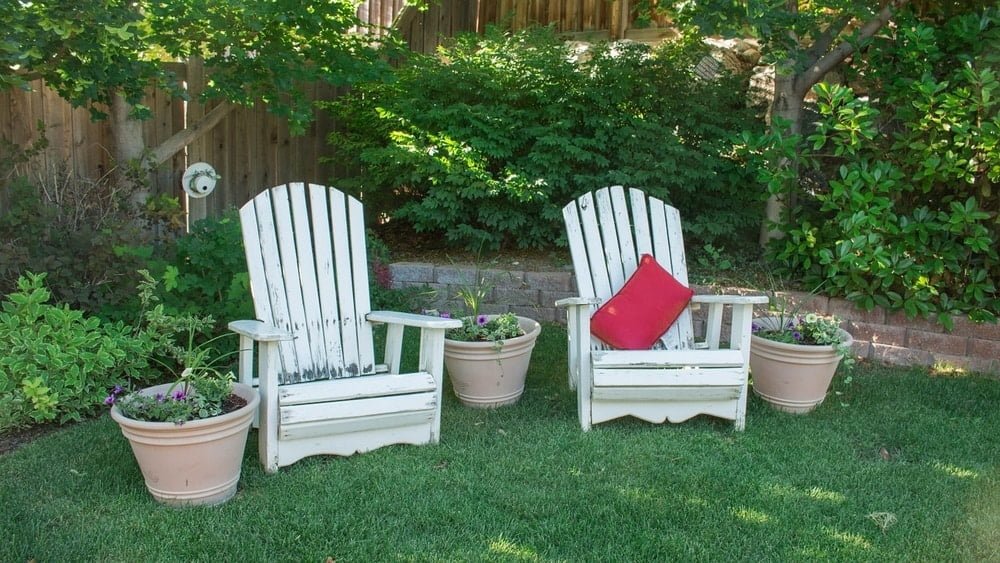
Routine wear and tear, though, is possible to overcome with a little work. Even some damage can be repaired or covered up. Whether you want to restore a piece to how it originally looked or update it with a more modern color palette, you can make your wooden patio furniture look like new!
Tools and Supplies To Restore Outdoor Wooden Furniture
The tools you need can depend on the condition of your furniture. Regardless, it’s a short list.
Pressure washer or hose
Whenever you’re going to paint or stain a surface, it’s important to start with a clean surface. Dirt and grime can cause a new coat of paint to chip and flake. A pressure washer can make the job go quickly, although a garden hose can get the job done, too.
Detergent
Dish detergent or the cleanser you use with your power washer will work.
Paint Stripper
If your furniture was already painted, you may want to strip the old coat of paint, especially if it’s showing signs of damage. This does mean extra work but it will help create a better surface.
Putty Knife or Scraper
You’ll use this to remove the paint after applying the stripper.
Sandpaper and Orbital Sander (optional)
You’ll also want to make sure that the wood is smooth. An orbital sander can make the job go quicker, but sandpaper is a requirement here so that you can get into all the corners, spaces, and cracks.
Screwdriver, Hammer, Pliers
These tools will be needed to do small fixes.
Paint Brushes
Unless you elect to use spray paint, you’ll need the brushes to apply paint or stain. You may want to use several sizes – one for large, flat areas and others for getting into smaller spaces.
Primer/Sealer
Before painting, be sure to apply a primer or sealer so that the paint will
Paint
Be sure to use a paint that’s designed for exterior use. There are both “regular” paints on spray paints available that will do the job.

Step-by-step Guide To Restoring Your Outdoor Wooden Furniture
Let’s go through the process of refinishing your outdoor wooden furniture, one step at a time.
Clean It Up
Your first step should be to make sure your furniture is clean. Use a hose or power washer to clean it off thoroughly. Adding some detergent is important to help break up grease or remove mildew that may have grown.
Strip It
After the wood dries, you may want to strip the surface. Stripping the old paint or stain layer isn’t always necessary, but sometimes you want to get back to the original wood. This can help the new application look better. But it will also adhere to the surface more firmly, too.
Be sure to work in a well-ventilated area. Apply stripper liberally and allow it to soak in for about 30 minutes. The old paint or stain will start to bubble up and loosen from the surface.
Then scrape it off with a putty knife or plastic blade.
Sand It Down
Be sure your material is dry before moving on to sanding.
The next step would be to sand it and remove any rough spots. An orbital sander is great to take care of larger surfaces. You’ll like need to use sandpaper to get into spaces between slats or around joints.
Check The Nuts And Bolts
As you’re going along, you’ll start to notice whether there are any nuts, bolts, or screws loose, or nails whose heads have pulled out of the wood a bit.
In many cases, you can simply tighten nuts and screws or hammer down nails. You want them level with the wood, or countersunk if the original design allowed for that.
Sometimes, the holes will have widened a bit and the bolt or nail won’t hold tightly. In that case, you may have to fill the hole with wood putty, allow it to dry, then reattach the pieces.
Apply Primer
If you’ll be painting (as opposed to staining), you should apply primer before the first layer of paint. This helps prepare the wood and provides an important base level for the paint.
Paint or Stain
You’re finally ready to paint or stain, depending on your preference! Of course, you’ll need to be sure your primer dried, but you should paint as soon as possible after that.
Be sure to use smooth, even strokes. A smaller brush will help with details.
You should apply 3 or 4 coats to make sure it will hold up over time.
Enjoy!
Finally, it’s time to take advantage of the wooden patio furniture you’ve worked so hard to restore. Be sure not to set in wet paint though! With some basic care, your repainted seats and tables will remain in good shape for several years.