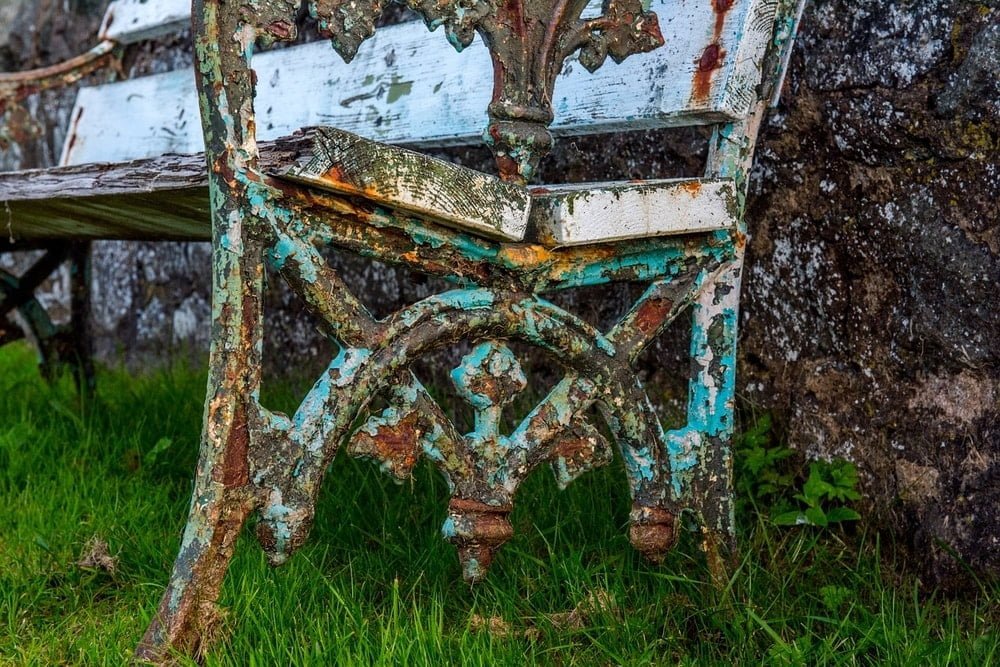
Over time, even the best outdoor furniture gets worn down, no matter what it’s made of. Even metal furniture, sturdy as it may be, will lose its luster and may even begin to rust. However, it can usually be restored to its original state with a little work.
Restoring metal patio furniture takes a little patience, a bit of care, and a few simple tools that you can find at your local hardware store. It all pays off, though, with chairs, tables and other pieces restored to their former beauty.
Need to refinish your wooden patio furnish? Find out how!
What You’ll Need
Before all else, you’ll need to set aside a bit of time for your refinishing project. There are several stages to the task, but some of them have to be done right after one another. We’ll come back to this later.
Here are the tools you’ll need:
- Tarp of a decent size to work on
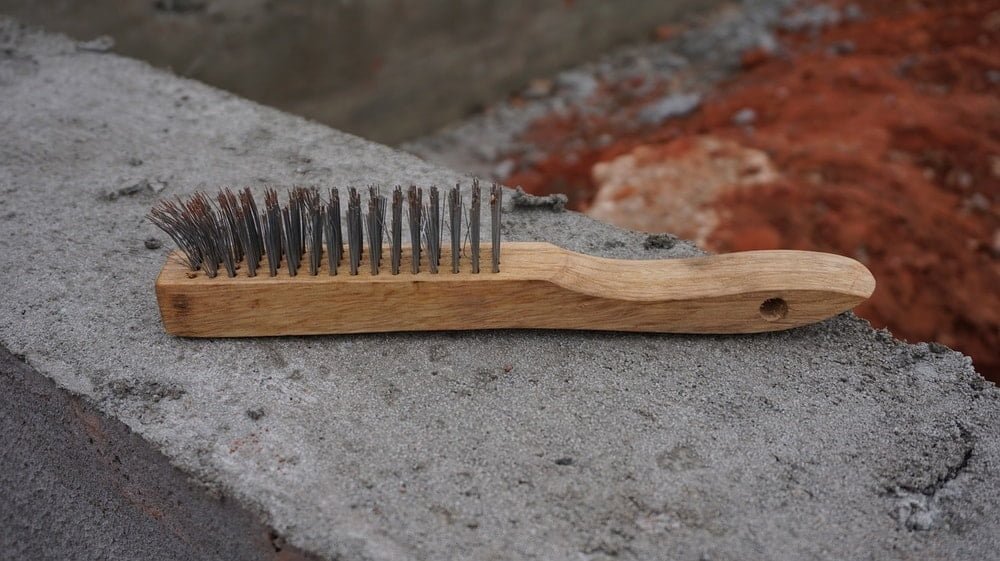
- Wire brush
- Rust remover solution, if your furniture has a lot of rust (muriatic acid or another rust remover). Naval jelly is a good alternative also, but only if your furniture is made of steel or iron.
- Rust converter
- Sandpaper
- Old, clean towels or rags
- Metal primer (available as a “traditional” paint or spray paint)
- Metal paint (also available as a “traditional” paint or spray paint)
- Paint brushes (optional, depending on the type of paint you’ll use)
You should also use the following safety equipment.
- Rubber gloves
- Safety glasses
- Respiratory mask
Paint, primer, and rust remover can all harm your skin, nose, and lungs. Please be sure to exercise due caution and protect yourself appropriately!
Before You Start
It’s important to choose an appropriate place to do your work. This matters for health and cleanliness reasons.
Step 1: Prepare Your Workspace
Your work area should be open and have sufficient ventilation. You’ll be dealing with various chemicals, including paints. If you’re using a rust remover, it will contain acid as well. Both the paint and the rust remover can have harmful fumes. They can quickly overwhelm you. Even if not, they are harmful. They may also be explosive if they build up.
Also, you want to be in a spot where fragments of rust and paint particles can escape. They can easily get into cracks and crevices and become embedded in softer materials.
Lay your tarp in an open area of the patio or lawn. Work away from windows if at all possible. Also be careful not to spray paint toward walls, other pieces of furniture, or any item that you don’t want to have tiny marks of a different color.
Preparing the Furniture
Once your work area is prepared, you can start getting your piece of furniture ready. Never rush in and start painting without getting it ready! That would lead to more damage which you’ll have to repair again soon.
Step 2: Remove Rust
If your furniture is rusty, you want to thoroughly remove the loose rust first. The method will depend on how badly it’s damaged.
If the rust isn’t too bad yet, you can probably remove it with sandpaper. You may need rougher sandpaper to start. A wire brush is also a good alternative. As the surface becomes smoother, you can use finer sandpaper to make the surface smoother.
It’s usually a good idea to use fine sandpaper on your metal before painting even if it’s not rusty. This will help your primer and paint have something to “grip.”
When the rust is more stubborn, though, you may need to use rust remover. Don’t forget to use the proper safety gear, because most rust removers contain some kind of acid.
Muriatic acid, naval jelly, or other rust removers can be used according to the manufacturer’s instructions. Remember that naval jelly cannot be used on chrome, aluminum, or other materials other than steel or iron! Be sure to thoroughly remove them according to the instructions for each. Some may need to be rinsed off with water; dry your furniture thoroughly afterward.
Rust converter can also be used on iron or steel. It helps the remaining rust on the surface become inert, meaning that it won’t react to the paint applied to it. It’s available in spray or liquid forms. This can help it get into corners or joints where you might have trouble sanding, too.
The liquid form usually takes two coats while the spray takes four. Allow 20 to 60 minutes between coats, and four to eight hours after the last coat before applying primer and paint.
Step 3: Prepare The Surface
Once the rust is removed, you’ll want to apply a base to help prevent (or at least delay) future rust.
First, be sure to wipe down your item again with a clean, damp cloth. This is to get rid of any dirt, including rust particles that may have come from your sanding.

Apply primer thinly and evenly. Thick coats will leave runs in the final product. Thin applications, though, will help it end up smooth. Three coats of primer should be sufficient. Remember that it’s easiest for you to move around the furniture rather than moving the furniture itself. This will help avoid any handprints in the wet surface!
Even though the primer may feel dry after a couple of hours, leave about a day between coats for optimal results. The time may vary depending on the type of primer you’re using.
Step 4: Painting!
Finally, it’s time to paint. As with priming, it’s important to apply thin, even coats. And normally three coats is best. Be sure you’re using appropriate metal paint so that it will adhere to the surface.
Again, remember that paint may look and feel dry before it’s really dry. Allow at least 24 hours from when you do the job until when you use your surface. Otherwise, you may end up with fresh paint on your clothes or skin.
Conclusion
Even the best metal outdoor furniture will need fresh paint from time to time. Not only does this help it look better for longer, but it also helps it stand up to time by slowing the spread of rust. With just a little work, you can bring your patio furniture back to its former glory, give it a new look, and make it useful for years to come!