Whether you’re planning on having a crowd over for a cookout or just hanging out on the deck alone, it’s always great to have a cooler packed for the day.
A cold drink is so much better when you hardly have to move to get it. Burgers, hot dogs, and other meats should stay cold until they get tossed on the grill. And cold salads and other food taste so much more delicious when they’re kept at the right temperature.
There’s more to using your cooler than just pouring in ice and adding cans or trays. To help you get the most out of it, here are some pointers.
Prepare the Cooler
Coolers are often big and clunky. They get stored wherever there’s space. And many times, that’s in a hot garage or shed.
To make your cooler more efficient, bring it into a cooler area the day before you plan to use it. Simply setting in the hallway or kitchen, in the shade, will help bring the temperature down. Take advantage of this to wipe it down thoroughly with dish soap. Don’t forget to rinse, too!
Keep it open so the heat dissipates from the outer shell and inside, too.
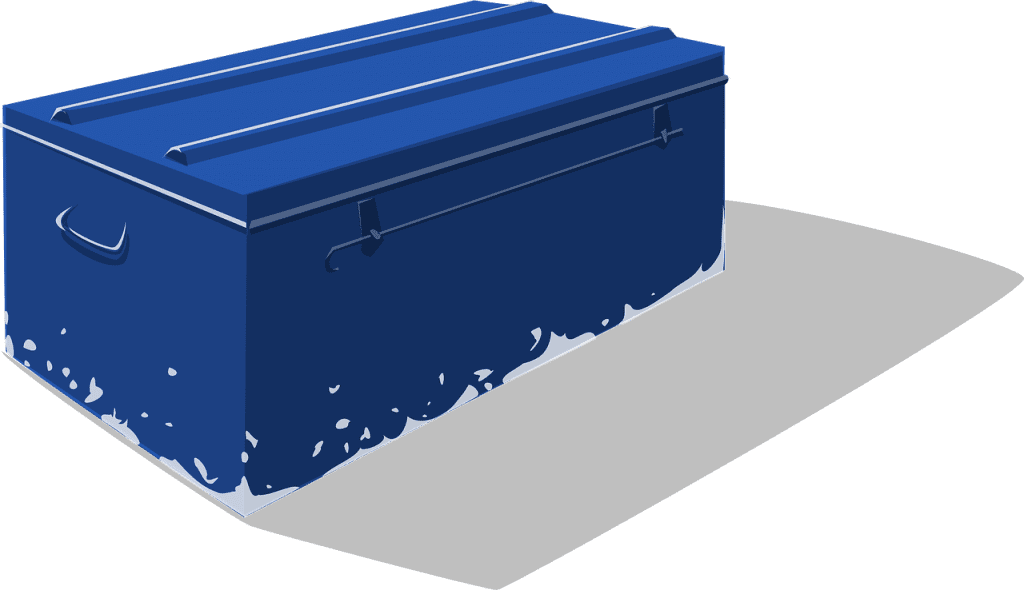
If you’re in the market for a cooler for camping trips or good-sized gatherings, you’ll love these!
Prepare the Food and Drink
It takes much less energy to keep food cold than to make it cold. That’s not an issue with most food, of course – you’ll have it refrigerated anyway. But it’s best to chill your drinks, too, before adding them to the cooler.
Stick the cans or bottles in the fridge overnight. This way they’ll give off less heat. The cooler and the ice you add will need to do less “work.” That means the ice won’t melt as quickly.
Choose The Right Ice
Speaking of melting ice, it’s important to use the right kind of ice if you want it to stay frozen as long as possible.
Smaller cubes will melt faster than sheets or blocks of ice because they have a greater surface area. That means they have more exposure to warmer air.
Block ice is ideal. You can make your own in your freezer – just freeze water in a plastic container. The reusable ice packs are great also. Save the cubes for in the drinks!
Get Enough Ice
Don’t’ freak out about exact proportions; you’re not baking a cake. However, it’s best to use about two parts ice to one part food or drink.
You’ll probably need at least 10-15 pounds of ice to keep a 12-pack of 12-ounce cans cool for an afternoon assuming the cans were already chilled.
We don’t expect you to do the math. Just try to keep the ice twice as thick as what you’re cooling. But if you’re a real math nerd, you can check out the calculus for ice in your cooler on Wired.
Separate and Keep Dry
As far as possible, keep different products separate. Heavier items like cans and bottles should go on the bottom. Separate meats, produce, and drinks in different layers or sections of the cooler.
Also, be sure that you keep foods protected. Seal them in plastic bags so that water doesn’t get in.
Layer
To get the most out of your cooler and ice, it’s best to pack in layers.
Add food or drinks first before pouring in any ice. There’s no need for ice under your product because cold air moves down anyway. Also, as the ice starts to melt, the cold water will work its way underneath anyway.
Fill ‘Er Up
Of course, more ice never hurts. It’s better to have too much than not enough
You want to minimize the amount of air that gets into the cooler, so the more you fill it, the better. After you’ve added your cans, food, and ice layers, top it off with ice so the cooler is full.
Don’t Drain The Water
Sooner or later, the ice in your cooler is going to melt. It can be tempting to drain the water. But it’s usually best not to.
Water temperature changes more slowly than the air temperature. So even melted ice in your cooler is going to be colder than the air that takes its place.
Of course, if you have an endless supply of ice, you can just keep refilling the chest after draining the water. But that means going back and forth to the freezer all the time. And that kind of contradicts the whole purpose of having a cooler on hand.
Keep It Closed and Cool
The more your cooler is opened, the more warm air will enter. This speeds up the melting process.
When you’re not taking something out, be sure it’s close tightly. Try not to open and close it constantly, either, because the lid’s movement can fan warm air onto the ice.
Place your cooler in the shade as far as possible, too. Even the best coolers will heat up inside if they’re hot on the outside.
Conclusion
Coolers are awesome for keeping drinks and food cold. A few basic tricks can help them do so more effectively. Be sure to start with cold products, add enough of the right kind of ice, and pack it well so that you’ll have great cold refreshments whenever you’re in the yard!