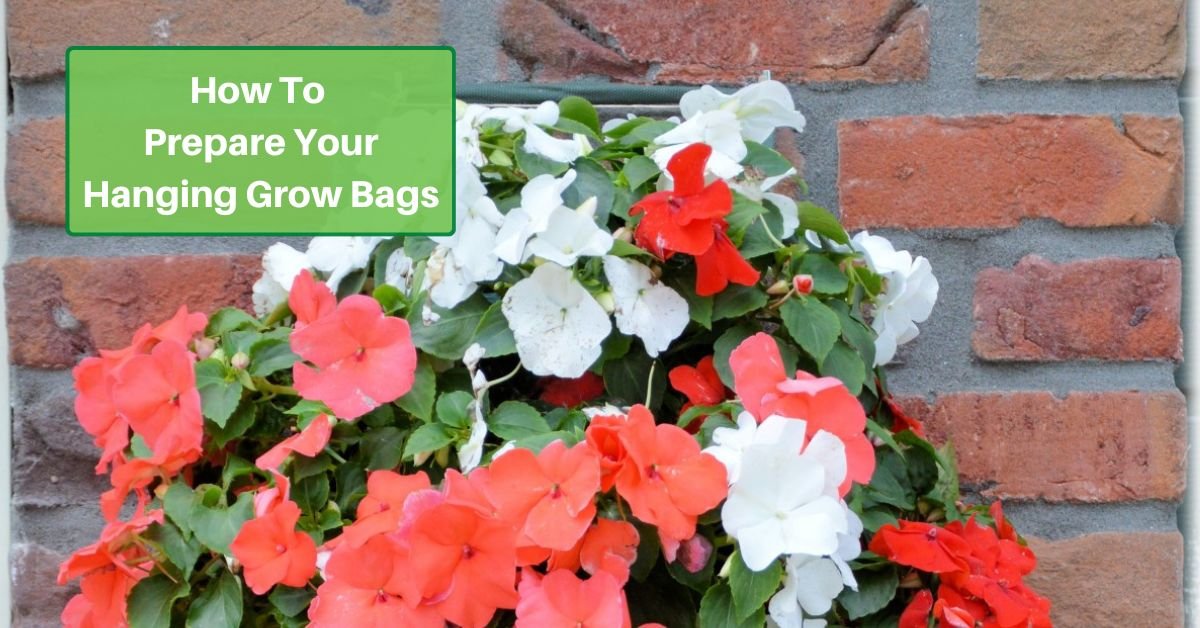
If you’re looking to hang pocket planters, this is the guide for you! It’s a simple process but if you’re unsure of how to go about it, we invite you to read this short introduction.
Pocket planters are a great way to dress up a vertical space, whether it’s a wall or the space between two porch uprights. Many different styles are available, from individual bags to large pieces with multiple rows of pouches.
Tools and Supplies
Here’s your simple guide to what to get together for your project.
Supplies:
- Hanging grow bags
- Hooks or bolts to attach it to the wall/beam.
- Materials
- Potting soil
- Fertilizer
- Plants (annual are best!)
Tools:
That’s it! This is a simple one.
Then follow these steps. This order works best for a single pocket or even a small set of three or four. For larger wall hangings, you may want to hang them first then fill the pockets.
- Prepare where you’ll hang the pocket planter
We’re not going to go into detail here about preparing the spot where you’ll hang your bag. We just want to point out that it’s important to be sure that the hardware you use, and the wall or support that it’s attached to, must be strong enough to support the weight of the potter, soil, and plants! - Mix and add soil
Add fertilizer to your topsoil (unless it came with fertilizer). Use your trowel to fill each pocket. Shake the pocket to make sure the soil spreads out to the corners at the bottom. You want to fill the pocket nearly to the top, so after settling it, you may need to add a little more. - Prepare the Plant
Most plants suitable for a pocket planter will fit easily in the bag, but sometimes you may have to trim off some long roots. - Add the plant to the bag
Place the plant in the soil, making sure to cover the roots but not the crown. - Water
Water your plant thoroughly as you would when planting any new flower. - Hang the plant bag
Carefully hang the pocket planter in its place, being sure it’s attached firmly. - Care for your plants
Be sure to water your plants regularly, and provide fertilizer seasonally. You may find that pocket planters dry out more quickly since they are more “exposed” than plants in the ground.
Pocket planters are awesome at adding life and color to vertical spaces that may otherwise remain empty. As you can see, they’re easy to set up, and soon you’ll be enjoying this brilliant new way of gardening!