Kale is a nutritious and delicious leafy green that can be easily grown in your garden. It’s great to grow even for beginners, but tasty enough that veteran gardeners will keep planting it. That means it’s a fantastic addition to any garden.
In this article, we’ll walk you through the steps to successfully cultivate kale, from planting to harvest.
Choosing the Right Time to Plant
Before you start growing kale, it’s crucial to know when to plant it. Kale is a cool-season crop, which means it thrives in cooler temperatures. Here’s what you need to consider:
Spring Planting
You can plant kale in the spring, usually 2-4 weeks before the last expected frost date in your area. Yes, kale can be planted outdoors even before the last frost!
Check your local weather forecast or gardening calendar for this date.
Fall Planting
Kale also grows well in the fall. Aim to plant it 6-8 weeks before the first expected frost in your region. Again, consult your local gardening resources for this information.
Seeds or Seedlings
Kale can be grown from both seeds and seedlings. Each option has its benefits, so you can choose what works best for you:
Seeds
Growing kale from seeds gives you more choices of varieties. You can find kale seeds at your local garden center or online. Sow the seeds directly in your garden about 1/4 inch deep and space them 12-18 inches apart in rows. As they grow, thin the seedlings to about 8-12 inches apart.
Seedlings
If you’re looking for a head start, you can buy kale seedlings from a nursery or garden store. Transplant them into your garden when they are a few inches tall, following the spacing guidelines mentioned above.
Order Kale Seeds Online
Choosing the Right Soil
Kale likes well-drained soil that’s rich in nutrients. Here’s how to prepare your soil for kale:
Soil Type
Kale grows best in loamy soil. This mix of sand, silt, and clay allows for good water drainage but also retains moisture well.
Soil pH
Kale prefers a slightly acidic to neutral soil with a pH level between 6.0 and 7.0. You can test your soil’s pH using a simple kit available at garden stores.
Amend the Soil
Before planting, mix in some compost or well-rotted manure to improve soil fertility and help it retain water.
Fertilizing Your Kale
While kale is a relatively low-maintenance crop, it does benefit from some fertilizer. Here’s how to keep your kale plants healthy:
Pre-Planting
Before planting your kale, work a balanced organic fertilizer into the soil. Follow the package instructions for the right amount.
Monthly Feeding
During the growing season, you can give your kale a boost by side-dressing it with compost or a balanced granular fertilizer once a month. This helps to provide the necessary nutrients for growth.
Caring for Your Kale as it Grows
Kale is a hardy plant, but it still needs some attention to thrive. Here’s how to take care of it::
Watering
Keep the soil consistently moist, but avoid overwatering, which could lead to root rot. Water at the base of the plant to prevent moisture on the leaves, which can attract diseases. Even better, use a soaker hose.
Mulching
Apply a layer of mulch around your kale plants to help retain moisture, suppress weeds, and regulate soil temperature. This will also keep the soil cooler during hot summer months.
Pest Control
Watch out for common pests like aphids, cabbage worms, and flea beetles. If you spot these critters, use organic methods like hand-picking or insecticidal soap to protect your kale.
Preventing Bolting
Kale may start to flower and go to seed in hot weather, a process known as bolting. To prevent this, provide some shade during the hottest parts of the day.
Time to Maturity
One of the great things about kale is how quickly it matures. On average, kale can be ready to harvest in 55-75 days. However, you can start enjoying baby kale leaves in as little as 3-4 weeks after planting by picking the outer leaves.
Identifying Mature Kale
When your kale is mature and ready for harvest, it will display certain characteristics:
Leaf Size
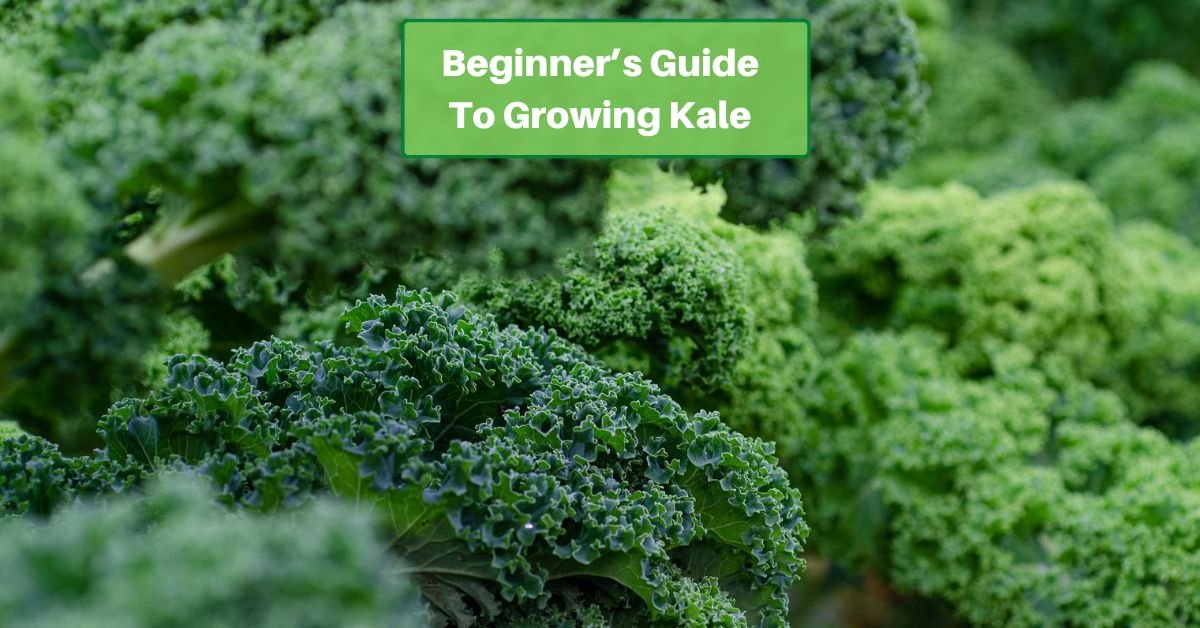
Mature kale leaves are usually 8-10 inches long.
Color and Texture
They should be dark green and slightly wrinkled, with a fresh and vibrant appearance.
Avoid Over-Harvesting
It’s essential not to take more than two-thirds of the leaves at once, allowing the plant to continue growing.
Harvesting Your Kale
Harvesting kale is easy and rewarding. Here’s how to do it:
Use Tools
To avoid damaging the plant, use scissors or a sharp knife to cut the outer leaves. Leave the center leaves intact to keep your kale producing.
Best Time to Harvest
Kale is at its best when harvested in the morning. The leaves are crisp and full of moisture, ensuring a fresh taste.
Regular Maintenance
Be sure to remove any yellowing or damaged leaves regularly to encourage new growth and keep your kale plant healthy.
Growing kale in your garden can be a fun and nutritious experience. Whether you’re enjoying it fresh in salads or cooked in various dishes, homegrown kale is a delightful addition to your kitchen. So, get your garden gloves on and start planting for a tasty and healthy addition to your garden.


