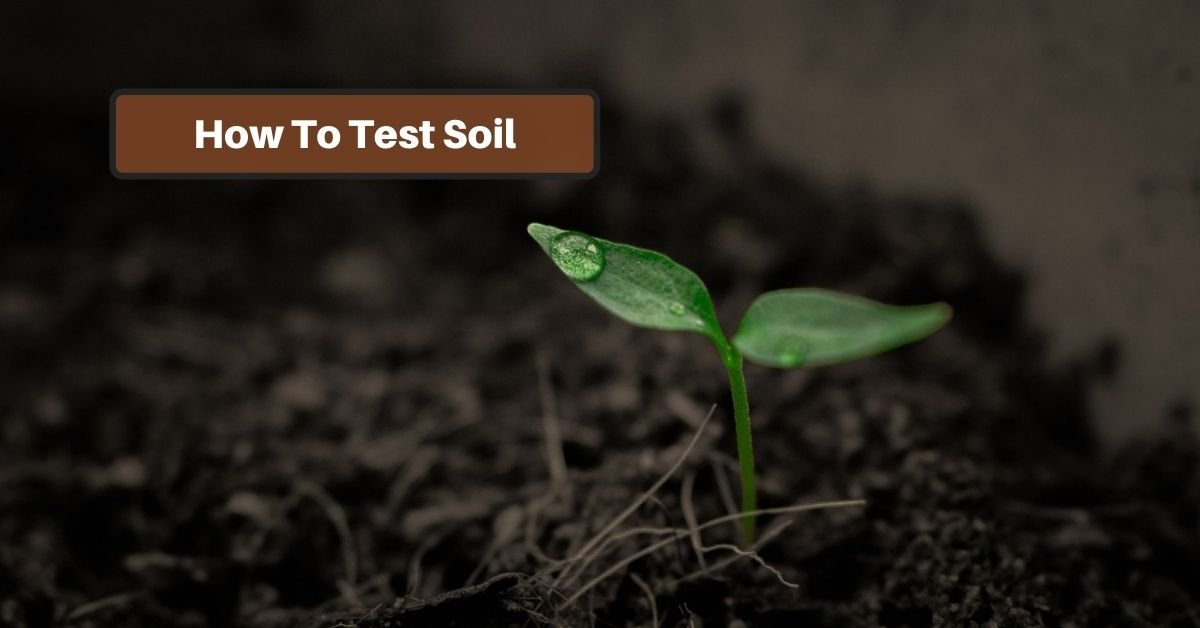
The grass might not always be greener on the other side of the fence. But it is always greener when it’s growing in healthy soil. And that’s equally true for other plants, bushes, and trees. The right chemical balance in the soil is vital for a vibrant lawn or garden. But how do you know what to test for, how often, and how to do it?
There are several ways to test your soil for at least some important chemicals, from inserting a probe into the ground to sending samples to a lab. You can even do a simple test of pH levels without any special equipment at all!
Let’s take a look at why testing is important, what you’re looking for, and how it’s done. Then we’ll finish up with a cool way to do one test – with something you’ll find in your garden!
Why You’re Testing Your Soil
Plants draw their nutrients from the soil. But just like people, they need the right food to thrive. That’s not present in all soil! In many cases, you can fertilize to add what’s needed.
Testing your soil lets you know what nutrients are lacking in your soil and if the pH level is on target for the plants you want to grow. Many plants have different requirements; you have to investigate what fertilizer you need to add.
If you don’t test your soil, you’re going to become aware of deficiencies sooner or later anywhere. Your grass may turn yellow. Your plants won’t thrive or produce fruit. Ultimately, they will die.
Of course, you don’t want to deal with the visible effects. Soil testing helps you get the jump on problems so your lawn and garden can always look great.
What You’re Testing For
There are four essential tests for soil: pH, nitrogen, phosphorus, and potassium (potash). You could find even more information, but these are the essential components.
The pH level measures the acidity of your soil The range is from 0 to 14. A score of 7 is neutral. Lower than 7 means the soil is acidic; higher than 7 means it’s alkaline.
Lemon juice, for example, has a pH of about 2; orange juice is around 3. Alkaline substances can taste soapy or chalky. Nearly everything we eat is on the acid side of the scale! Even alkaline water and foods promoted as part of an alkaline diet are usually just “less” acidic. Very few have a pH even slightly over 7.
Most plants prefer a soil pH between 6.2 and 7.2. Some prefer something a little further on either end of the scale. It’s important to choose the right plants for your soil or be ready to make adjustments to the soil for the sake of your plants. (Hint: it’s much easier to choose plants that will thrive in the soil you have!)
If your soil leans to the alkaline of the scale, you’ll still have a large and varied number of options!
Nitrogen levels are another key for healthy soil. This element provides nutrients directly to the plant and improves plant growth. Over time, plants consume the nitrogen in the soil. You have to be sure to add it back with fertilizer.
Too much nitrogen isn’t good either, though. The roots can’t keep up with the incredible amount of growth above the soil!
Phosphorus helps roots develop. Of course, those roots are essential to keeping your plant healthy. And that’s important for survival through the winter, too!
Finally, potassium encourages growth and improves the yield of your flora. That means you get better fruit and flowers!
The abbreviation NPK refers to nitrogen, phosphorus, and potassium. K is the chemical symbol for potassium, in case you forgot your high school chem class! You’ll see this abbreviation on bags of fertilization to indicate the ratios of these three elements in the mix.
Basic Principles Of Testing
You can find numerous kits to test soil levels. You can also buy kits that let you send soil samples to a lab. These give more accurate results and usually provide even greater detail about the makeup of your soil.
You can also test pH by mixing a chemical with a soil sample or by using a metal probe. In the former case, the mixture will change colors. You then compare this color to a chart to get an approximate reading of your levels.
In the latter, the reaction inside the probe uses a digital or analog readout to indicate the level.
Tests for nitrogen, phosphorus, and potash work the same as the first way of testing the pH.
For these tests, you need a soil sample. It should come from four inches below the surface. You then have to mix it with water, let it dry, then mix with a reactive chemical. Within a couple of minutes, you’ll be able to read the results.
If you’re preparing a new garden bed or lawn, test about six inches deep.
Also, don’t do just a single test. Choose about 5 or 6 spots to pull your soil cores from. This will give you a better perspective of the area as a whole. Otherwise, you may end up testing a spot that’s not representative of the whole situation.
When To Test
We would suggest testing in both fall and spring, but if you’re only going to do it once, go with fall. That will help show the state of your soil after your plants have used vital chemicals all during the growing season. This determines the kind and quantity of fertilizer to use.
A Home pH Test Without A Kit
This is a cool science experiment for adults and kids alike. All you need is a soil sample (again, from about 4 inches down), some water, 2 cups, baking soda, and white vinegar. It’s not an exact test, but it will at least tell you which side of the scale your soil falls on.
Dig a hole about four inches, then take a sample of soil. Pick out any sticks, leaves, or worms.
Divide the soil equally between the two cups.
Add water to each – just enough to make it muddy.
Add ½ cup of white vinegar to one cup. Watch and listen – is there fizzing? If there is, your soil is alkaline.
Add ½ cup of baking soda to the other cup of mud. Does this one fizz? Then the soil is acidic.
The more fizzing, the further your soil falls on that side of the scale.
Did nothing happen? Try again! If you still get no result from either test, then your soil is neutral.
Conclusion
Your plants need certain conditions to thrive. Sunlight and water are important, but you also have to provide the right levels of fertilizer. Testing your soil – whether you do it yourself or send it to a lab – is the best way to be sure you’re giving them all they need to thrive!