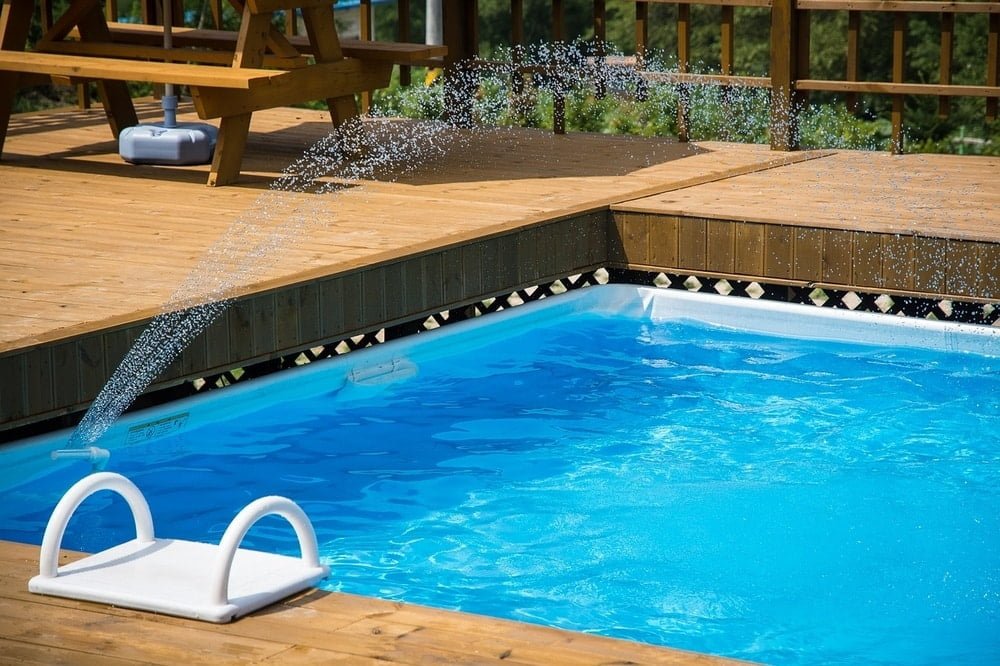
Having a pool is great, but it requires a lot of work to keep it clean and fit for swimming. Regular cleaning is important. However, there are also times when you need to treat the water with something more powerful. That’s called “shocking” it, and if you care for your pool yourself, it’s something you should be doing at least once a year.
What Does Shocking A Swimming Pool Do?
Shocking a pool means treating the water with an extra dose of chemicals to help restore proper levels of chlorine to the pool. In turn, this helps keep pollutants under control so that the water stays healthy.
When you shock the pool, you add an extra load of chlorine (or a chlorine alternative) to the pool. This helps get rid of bacteria, algae, and other contaminants. It also sets the basis for the ongoing cleaning and treatment of your pool.
Several factors can get things seriously out of whack and call for a shock. Here are the main times that you should shock your pool:
- Opening the pool at the beginning of the season
- Larger-than-usual pool parties
- Prolonged hot, sunny weather (the sun burns off the chlorine)
- Heavy rains (even if the pool is covered, water can sometimes run underneath the cover and contaminate the pool)
- When there’s a strong smell of chlorine or irritation of the eyes and skin – these are the results of byproducts of losing chlorine, not of having too much!
- At the end of the season when closing the pool (leave it in good shape so it’ll be easier to open next year!)
Do a basic cleaning of your pool before shocking it. Remove any debris with a skimmer and hose down the deck. Hold off on brushing inside the pool until after the shock.
What Tools and Equipment Do You Need?
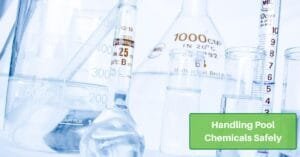
When it’s time to shock your pool, it’s important to get all your equipment together. You’ll need chemicals and tools. It’s also especially important to use proper safety equipment since you’ll be dealing with chemicals that may be harmful to your skin, eyes, and lungs.
Safety Equipment
Again, it’s particularly important to protect yourself when shocking your pool.
Before doing any work with the chemicals, get yourself well-covered:
- Goggles to protect your eyes
- Rubber gloves to protect your hands
- Old clothes – preferably a long-sleeve shirt and long pants, along with beat-up shoes.
Remember, chlorine can bleach or burn your clothes and cause serious irritation to your eyes and lungs.
Tools
There isn’t a whole lot you’ll need to shock your pool. A 5-gallon bucket is the main item. Fill the bucket with water – you can use pool water for this.
A stirring stick is also helpful. A long plastic handle is good for this. A paint stirrer can help but isn’t long enough to thoroughly stir a 5-gallon bucket.
Chemicals
Pool shock is sold in different formats, although for chlorine pools there are packets available. Be sure to read the instructions on the package! In most cases, one packet treats 10,000 gallons of pool water. This could vary by manufacturer, though.


Steps To Shocking Your Pool
Once you have everything gathered up, you can start the work.
These instructions are for most types of shock. However, always read the instructions as there may be some variation.
Also, shock your pool after the sun goes down. The evening is definitely the time of day when you’ll get the most out of the shock. Sunlight evaporates chlorine, so you don’t want to do it in the morning or during the day where you’ll lose much of the effectiveness.
Step 1
Pour your packets of shock treatment into the bucket of water. Always pour the treatment into the water. Don’t pour water on top of the treatment, as this can cause splashing and generate more hazards.
Step 2
Stir the mixture with the stirrer.
Step 3
Slowly pour the mixture into the pool. Again, avoid splashing so that you don’t get it on yourself.
Step 4
Allow the pool to sit for at least 8 hours unused. Run the filters during this time so that the shock treatment will spread evenly throughout the water.
Step 5
Test the water. Your chlorine levels should be between 1 – 3 ppm. If the shock didn’t get it to this level, shock the pool again with a stronger mixture.
Keep an eye on the chlorine level whenever you test the water. Whenever it gets outside this optimal range, it’s time to shock it again.
Conclusion
Shocking your pool keeps the water healthy – and that will help keep you and your guests healthy as well. Be sure to test the water regularly so you know if the chlorine levels get out of the optimal range, and shock as necessary. You’ll get a lot more enjoyment out of your pool when you take good care of it with proper treatment!