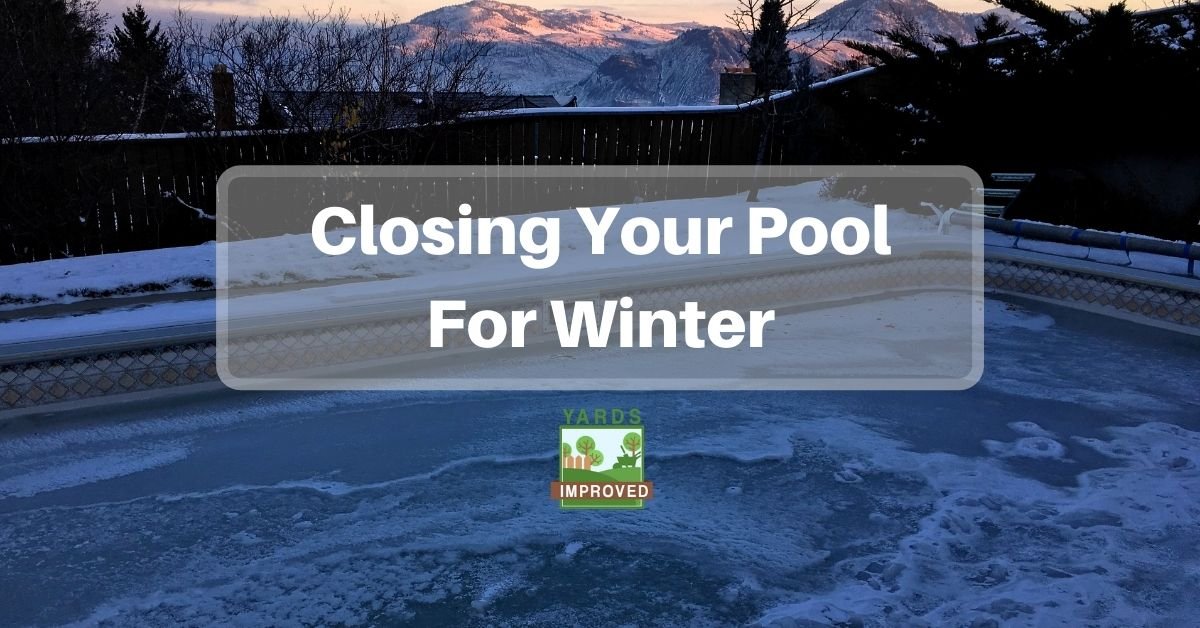
All good things must come to an end, and it’s a sad moment when the time comes to close down your swimming pool for the summer. Hopefully, it’s brought a lot of great moments all through the summer! But when the weather turns cool, it’s time to make sure it’s ready to survive the winter.
Closing your pool isn’t too hard but you should be careful to make sure you do it correctly. Proper care will make sure it stands up well to the stress of the cold. That will also make it easier to get running again when spring rolls around!
Why Does A Pool Need To Be Closed
There are a couple of reasons that you want to close your pool down for winter. Of course, this only applies in colder climates. If you live where “cold” means nighttime temperatures never drop down to freezing, all you have to do is a more thorough cleaning. For everyone else, though, closing the pool is an important part of its care.
One reason to close the pool is simple economics. Odds are that you aren’t going to have the desire to take a dip when the mercury drops. So it doesn’t make sense to continue to pay high electric costs while also treating the water to keep it healthy, all while not using it.
Another reason is to do a profound cleaning. All summer long, you’ve worked hard to skim out bugs, leaves, and whatever else may have fallen into the water. You’ve run your filter to pull out visible and invisible impurities. Still, there are contaminants that you haven’t caught. Closing your pool lets yet really get it clean so that it will be fresher and healthier next year.
There’s also the possibility of ice forming if the pool is not properly winterized. This is unlikely to happen as long as the filter is running since it keeps the water moving. However, if you lose power overnight, you could face big problems. Ice can damage the pool liner as well as the plumbing.
Finally, it will save work for you. You won’t have to brave the cold to skim the pool or check the filter. You won’t need to test or treat the water.
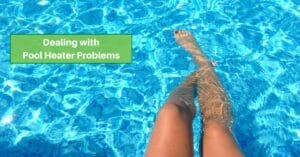
Don’t want to go all winter without a dip in the pool? You’ll need to add a pool heater!
When To Think About Closing Your Pool
The decision on when to close your pool (and when to open it) is somewhat subjective.
Deciding when to close the pool for the winter can be a difficult decision. Warm weather can continue well after Labor Day. And there’s always that one week after it starts to cool off that mid-summer temperatures return. So you might be tempted to leave the task of closing out the season for as late as possible.
You can leave the pool open rather late if you want. If you have a pool heater, you can get maximum use out of it from early spring through the fall. Of course, there are those who don’t mind taking a dip even when it’s chiller! But if you’re not using it, you’re probably generating unnecessary expenses. In any case, do the work before the temperature is going to drop below the freezing point if not sooner.
Steps To Close Your Pool
Closing your pool isn’t overly complicated, but it’s important to follow all the steps to make sure you do it right. Let’s look at what you need to do when the time comes.
First, gather the equipment you’ll need for the job. Most of these are items you’ll have on hand for your regular pool maintenance regimen.
- Pool skimmer
- Pool vacuum
- Water test kit
- Regular array of pool chemicals, including:
- Chlorine stabilizer
- Granular chlorine
- pH decreaser and increaser
- Total alkalinity increaser
- Water hardness (calcium) increaser
- Scale metal/stain controller
- Algaecide
- Shock treatment (at least 65% hypochlorite if you use a chlorine treatment; or the equivalent in a substitute).
- Bucket (if you need to dissolve chlorine or other chemicals before adding them to the water
- Pool water antifreeze (this is likely the only item you haven’t been using all year)
- Safety equipment
- Respirator mask is recommended
- Rubber gloves
- Safety glasses
Also, make sure that you have your pool cover and plugs for the tubes on hand.
Want to know how warm your pool water is? A thermometer is the right tool!
Achieving Chemical Balance
The first step actually comes a few days before closing your pool. Around 4 to 7 days ahead of time, test your pool water and treat it to get everything in line. Be sure to use your protective gear whenever handling pool chemicals.
At this time, you’ll want to shock your pool with a chlorine dose or a substitute. As always, it’s best to shock your pool at night. This should be an extra-strong dose. If you usually use a shock that lets you swim right away, that’s not the right one. Your goal is to bring the chlorine levels up to about 12 ppm (parts per million) so that it will kill any bacteria or algae in the water or filter.
Some types of shock treatment can be added directly to the pool, while others first need to be dissolved. For those that need to be dissolved, fill a 5-gallon bucket with warm water. Then add the appropriate amount of chlorine for your pool size according to the instructions on the chlorine. Be sure to fill the bucket with water first to avoid splashing or popping of the chemical. That is, don’t add water after the chlorine! Stir the mix slowly until the chlorine dissolves.
Pour the bucket into the pool, walking around the edge as you do so to provide a better mix. If you find there are still solid chlorine granules in the bucket, dip the bucket in the pool to get some water, stir until the granules dissolve, then pour it into the pool.
It will take several days for your pool to return to normal chlorine levels (or the level of other chemicals). During that time, you can’t use the pool. Wait until chlorine returns to its normal levels of 1 – 3 ppm to proceed.
Once chlorine levels are back to normal, you should add a pool-safe algaecide suited for winter. This will help kill any algae in the pool itself as well as in the filter system.
You can also add pool antifreeze. Please note – this is not the same as automotive antifreeze. Pool antifreeze is safe and will keep your systems from freezing up during the cold. If you drain your filter system thoroughly, the antifreeze isn’t necessary. Still, it’s a good backup. If you live in very frigid areas, you want to be sure to just go ahead and drain everything thoroughly because the antifreeze won’t suffice.
Get It Clean
Once your water is treated, it’s time to start emptying the pool. But we’re not quite ready to siphon off water yet! First, all accessory and equipment need to be removed.
Take out any toys or other objects that were used in the pool. But also remove skimmer baskets, hoses, pumps, ladders, and the like. Wash them down thoroughly and let them dry before storing them in your shed, garage, or wherever you’ve set space aside.
Once everything’s out and it’s the day you’re going to close the pool, skim your pool to make sure you’ve caught any leaves, trash, or anything else that may have fallen into or worked loose in the water.
Now it’s time to do a thorough cleaning with your pool brush and vacuum. Brush the bottom and sides so that they are as clean as possible before moving on.
Lower The Water Level
At this point, it’s time to drain the pool. You don’t want to drain it completely; however, you do want it below the level of any drain or filter lines. The primary reason to lower the water level is so that it has room to expand when it freezes.
How far below the lines? That depends on the type of cover you’re using. With a vinyl cover, it’s enough to be an inch below the line. However, you’ll need to drain much more if you use a mesh cover. A foot and a half or two foot is best.
Your pool filter system likely has a “Waste” outlet. You’ll just need to attach a hose to direct the water away from the pool if it’s not already tied into a drain. Be sure to find out what the laws in your area are about how you can drain the water.
You could also use a vacuum hose below the level of the skimmer to suck water out.
Clean Out The Inside Of The Filter
We’re getting close to the end, but there are still a couple of important steps. The next one will be to clean your filters.
If you have a cartridge filter, remove the cartridge and clean it thoroughly with pool filter cleaner. Make sure it dries completely before replacing it because you don’t want any water inside your equipment.
If you have a sand filter or diatomaceous earth, backwashing is the appropriate method for cleaning them.
Once the filter is clean, remove the plug and allow the water to drain. Store the plug where you won’t lose it – filter baskets are a great place!
If your area is so cold that even antifreeze won’t work or for some reason you don’t want to use it, you do have to get all the water out of the system. However, it’s best to hire a pro for this, because it can cause seriously damage to your system.
If you are comfortable with blowing out the lines, though, use a shop vac to blow air through the system. Be sure the waste valve is still open, of course. Blow the air through each skimmer outlet pipe so that all the lines are cleared. Again, this is a delicate process and we don’t recommend it unless you have experience.
Leave the skimmer valves open for the winter.
Cover It Up
Now you’re down to one last step, and it’s rather direct although it can be a bit awkward. All you need to do is put on the pool cover!
If you have a cover that attaches to the edges around the top of the pool, be sure to fasten it down firmly. If you’re using a floating cover, it should float on the water with the excess laying on the deck. Use bags of water or sand at the corners and along the sides to hold it down.
Check our guide to pool covers for above-ground pools.
If your pool is above ground, you might want to use an air pillow so that rainwater won’t sit in the middle of the cover and freeze. The pillow floats and holds the center of the cover up to prevent water from running that way
Keep an eye on the liner to see you need to remove leaves or other debris. In case rainwater accumulates, you may have to pump it out.
Also, just because your pool is closed, it doesn’t mean you can forget safety measures. Children and pets may still be curious and venture near the pool. And the pool itself may develops problems. Be sure to check out our guide to winter pools safety!
Conclusion
Closing your pool for the winter, at least in areas where it gets too cold to use it, is necessary to keep it in good shape. It will also make it far easier to open next spring. It’s not a difficult process and you can do most of it yourself. Be sure to follow the instructions for all chemicals and be careful when draining the pool and blowing it out. It’s a necessary step but you’ll be able to enjoy it again next year!