Dried corn is a popular decoration each autumn, especially around Thanksgiving. Often known as “Indian corn”, this plant captures the spirit of the season. And it’s a wonderful and easy task to dry the corn and prepare it yourself. You can even grow it in your yard if you’d like!
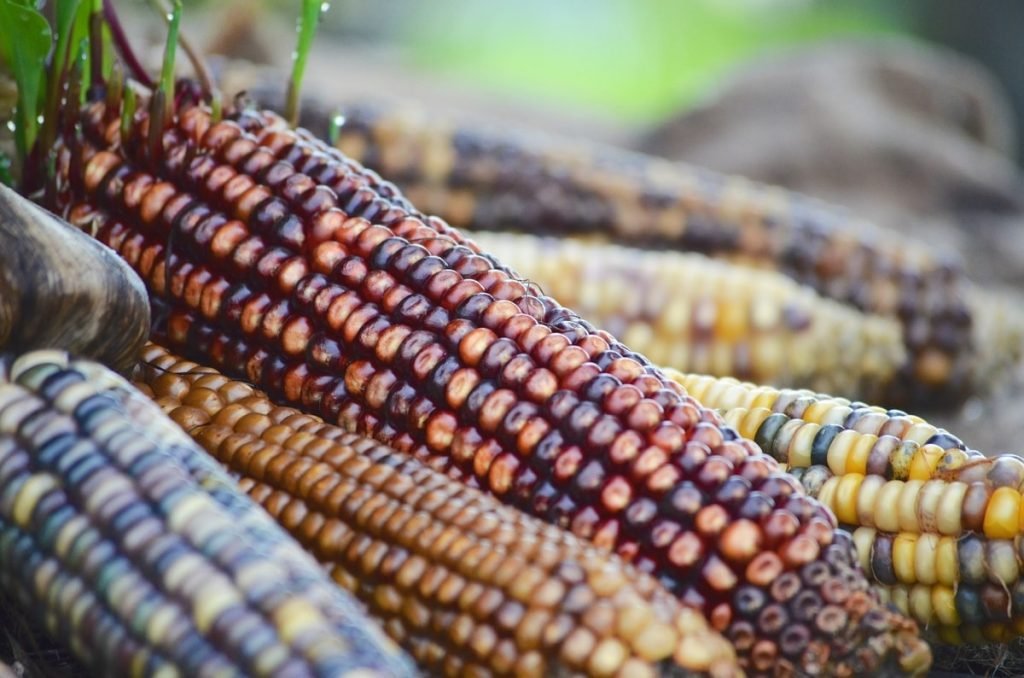
The colors are reflective of the time of year – subdued and faded yet still varied and rich. They show the end of the life cycle. But the corn itself is a symbol of life. This particular strain of corn is what sustained Native American communities through the winters.
We’ll look at the whole process, from planting to decorating. But if you plan to buy your stalks and cobs rather than grow them, just keep the first section.
We’ve got more great fall decoration ideas, too!
Growing Indian Corn
To make your fall decorating experience complete, you can cultivate the corn right in your yard. Of course, you’ll have to start early because corn takes a while to grow.
You can start early, though, since you can preserve the corn once it’s ripe. Corn can be planted shortly after the last frost of the season and thrives in the summer heat and sun, so early to mid-May is ideal planting time (assuming the northern hemisphere, of course).
Indian corn is a particular strain that has kernels of various colors. Also known as flint corn or calico corn, its scientific name is Z.m. indurate. There are several other colorful corn types you might also try.
Dent corn (z.m. indentata) can be colorful. Its “Bloody Butcher” hybrid has cobs that are 8 – 12 inches long. The kernels are dark red. “Earth Tones” is similar in size but has a unique, pastel color palette. A slightly smaller cob comes from “Hopi Blue”, which has deep blue kernels. “Rainbow” gives a broad variety of colors – it can be gold, red, blue, orange, white, and purple.
Flour corn (z.m. amylacea) is another species with dark kernels. Its kernels can be dark blue, almost black.
To plant corn, turn the soil to a depth of 6 to 12 inches. If you’ll have multiple rows, separate the rows by 18 inches to two feet. Plant your seeds about four inches apart in each row, mindful that not all will sprout. Once they reach about five inches high, space them so there’s a foot between each plant. You may be able to transplant some from areas that didn’t thrive.
Be sure to weed and water your corn. It will take three to four months to reach maturity.

Drying The Corn
Once your kernels have reached their full size, it’s time for the harvest!
Corn could be left on the stalk to dry, but that runs the risk of damage from insects or bad weather. So it’s usually best to harvest the corn, accelerate the drying process, and store it until it’s time to decorate.
When you do harvest, you should already have in mind the type of decorating you want to do. Do you want stalks or just cobs? Of course, that will determine where you cut the plant off.
In either case, simply cut the plant where you want.
For the best effect, you’ll want to hang your corn in a cool, dry place. The garage is often a great option. If you have to hang it outdoors, be sure it’s sheltered from the rain.
String a clothesline high enough that your plants can hang from them without reaching the ground. Also, be sure it’s long enough to allow some space between them. You want maximum exposure to the air.
Peel the husk back from your cobs. If you prefer, you don’t have to detach the husk; it can look great as part of the decoration!
Attach your stalks and cobs to the clothesline with twine. Hang them upside down so that any drops of water can fall out.
Leave your corn hanging for a week to ten days. You may be able to accelerate the process by directing a fan to blow at it.
Once it’s dry, store your corn in a dry, airtight place. You could cover it with plastic trash bags wrapped tightly, for instance.
How To Use Your Indian Corn
There are many great ways to decorate with Indian corn! Here are just a few ideas.
Take four or five cobs with the husks attached and tie them together at the base of the cob. Hang them from your front door like a wreath!
Using individual cobs, with or without husks, as decorations in the middle of your Thanksgiving dinner table.
Bundle three or more stalks with or without cobs attached and lean them against the wall on your porch.
Use dried Indian corn, pumpkins, and leaves to decorate an old chair. You can set cobs flat or tie them so they hang from the back of the chair.
Separate the husks and tie them together at one end in the shape of a sun. This can serve as a fantastic base for a centerpiece. Top it with a pumpkin or other ornament. You can even carve your own jack-o-lantern!
Origins Of Indian Corn
Corn developed thanks to human intervention; it didn’t evolve on its own. Native American people hybridized the teosinte plant until it evolved into its modern form. All this occurred over the last 10,000 years, but it quickly became a staple food.
Sweet corn is the yellow variety we love to eat all summer long. Dent corn has a similar appearance but isn’t as appealing to us. However, it’s the type commonly fed to livestock. It’s also where we get high fructose corn syrup and ethanol. But these two types are the most recently developed.
Indian corn has been cultivated and eaten longer. It was the type that was grown in the Americas when Europeans first arrived. It could be preserved after the harvest and helped allow survival during the winter months.
Conclusion
Dried Indian corn is a traditional and fantastic decoration for the fall season. It can look great indoors or outdoors. And it’s an easy do-it-yourself project! You can grow and dry the corn yourself and design your displays. It’s an awesome way to enjoy the season!


