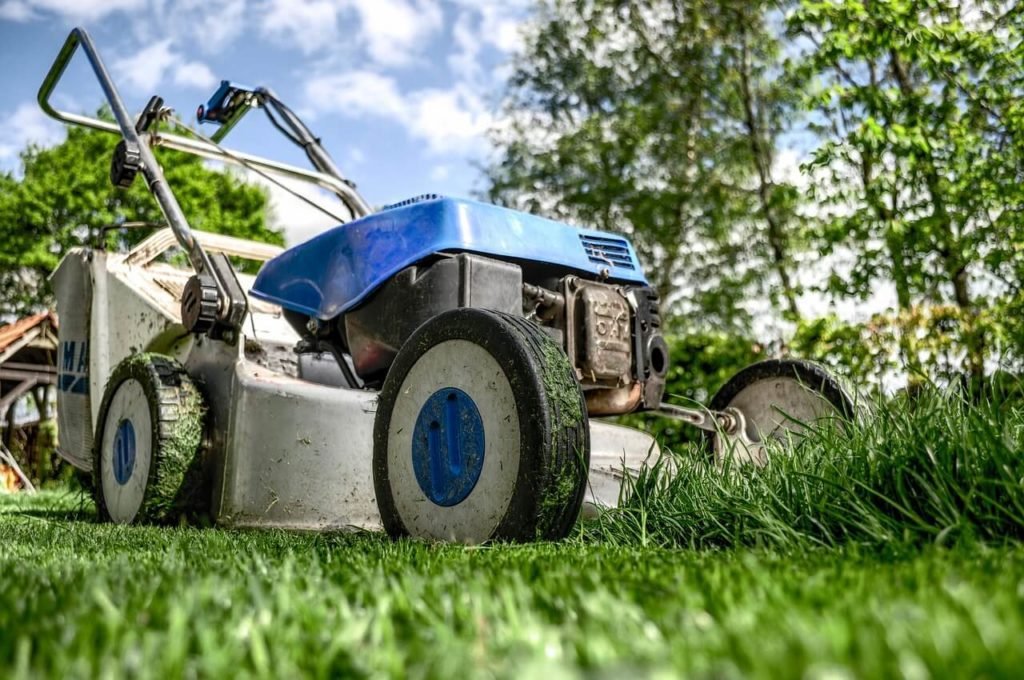
A beautiful lawn is a joy for any homeowner. Of course, it takes a lot of work to get it that way and keep it looking great. There are a lot of factors to take into account, but one of the most-often-overlooked is keeping a nice, sharp blade on your lawnmower.
Why is this a key? You might think that the grass ends up trimmed either way. In reality, though, it’s going to be a huge difference. A dull blade can tear your grass apart. But a sharp one will create a clean cut. That means healthier grass that’s able to continue growing and looking great!
Of course, a sharp blade will cut more quickly, too. That means you spend less time mowing under the hot sun!
How Often To Sharpen Mower Blades
If you’re a homeowner and using a lawnmower the right size for your yard, you should sharpen your blades about twice a season. It’s best to do it at the beginning of the season and then again about halfway through. For most of the US, April and July are good times for it.

If you’re mowing more than your lawnmower’s fair share – earning a few bucks around the neighborhood, helping while the next-door neighbor is away, or cutting a large lawn of your own with a small mower, you might want to sharpen the blade more often. Keep an eye on how well your machine cuts to help guide your routine.
Tools You’ll Need to Sharpen Your Lawnmower Blade
Before getting started, gather up the supplies you’ll need. Here’s a guide to help you organize your project:
- A piece of 2×4 – 4” – 6” long is plenty
- Socket wrench
- Small piece of plastic wrap (you’ll put this inside the gas tank lid to keep gas from spilling)
- Marker
- Rag
- WD-40 or similar lubricant/sealant
- File – if you want to file the blade by hand
- Bench grinder or belt sander – if you want to sharpen the blade with a machine
- Bucket of water – to keep the blade from overheating if you machine sharpen
- Vise or clamps
- Protective eyewear
- Heavy Gloves
Safety First
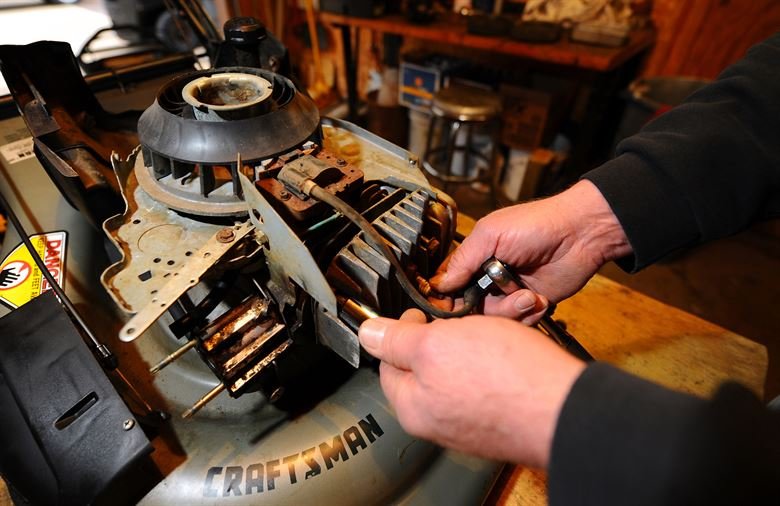
A lawnmower can be a dangerous tool, so it’s important to take necessary precautions when working with it. Even when it’s turned off, there are risks. Make sure it won’t start up accidentally or spill gas while you’re working on it!
First, if you’re working with a gas mower, you’ll want to seal the tank so it doesn’t leak. You’re going to be turning the mower on its side, but you don’t want to waste gas or have it damage your lawn or driveway.

Remove the gas tank cap and place a piece of plastic wrap over the opening. It doesn’t have to be huge – it’s enough to cover the opening and the threads. You might want to double it just for added security. Then replace the cap.
If you have an electric mower, you’ll want to be sure it’s unplugged. If it’s battery-powered, remove the battery if possible. If not, disconnect the leads to the battery itself.
Disconnect or remove the spark plug as well. The wire to disconnect it is obvious on most models.
Removing the Blade
To sharpen your blade, you’re first going to have to remove it from the mower.
Before doing that, though, you’ll want to use a marker to indicate which side of the blade goes down. It does have a top and bottom, and it won’t cut correctly if it’s upside down. So simply print “down” on the side that’s facing you to make it easier to put back correctly.
Now, let’s get to actually taking the blade out. Most blades are held in place with a single nut and bolt. But since this is designed to allow the blade to spin freely, you’ll need to brace the blade in place. Wedging a block of 2” x 4” between the blade and the frame does the trick well.
Use your socket wrench (or another type of wrench if you prefer) to remove the fastening nut. It might take some force since it’s intended to hold on a heavy blade traveling at high speeds!
Never try to hold the blade in place with your hand or use your foot or leg to brace it. Even a dull blade can do damage, especially as you’re using force to try to turn it.
Once you have the nut off, set it and any washers aside where you can easily find them. Wipe off any dirt or grass with a dry rag.
Sharpening Your Blade
Once you have the blade off, it’s time to get to the heart of the matter and sharpen it. You can do it by hand or choose to use a powered sharpening tool like a belt sander or a grinder.
If you’re going to use a file to manually sharpen your lawnmower blade, you’re going to want to place the blade in a vise. Alternatively, you could use C-clamps to hold it to your workbench.
It’s best to use protective equipment like goggles and gloves even when using this method to avoid getting metal particles in your mouth and eyes.
Use your file to stroke from the inside edge of the blade to the outside. Follow the angle of the blade in making your strokes, since you want to preserve the form of the blade. Continue until you have a shiny metal edge. Repeat on the other side of the blade.
Your goal is to have a reasonably sharp blade, but you don’t have to overdo it. There’s no need for a blade that would match up to the knives on late-night infomercials. Instead, it should have about the sharpness of a butter knife. The speed will take care of the rest.
If you use a machine to sharpen the blade, be particularly cautious since you will produce more dust and it will travel faster. Don’t skimp on safety measures.
A standard bench grinder will work well. Move the blade gently along it, again at the angle it was already cut. A belt sander with the belt facing up can also work well (you’ll want to lock it in the “on” position; otherwise it’s too hard to manipulate).
Remember that machine sharpening your blade can make it warm up quickly because of the friction. It can become hot enough to deform the metal, in fact. Periodically dip the blade in a bucket of water to keep it cool. Dry it off with a rag then resume sanding.
Before finishing, check to be sure the blade is balanced. Find a nail or hook in the wall, and hang the blade through the center hole. Adjust it to be horizontal. If it stays in position, you’re in good shape. However, if one side drops lower than the other, you’re out of balance and can end up with an uneven cut to your lawn. File some more on the side that dipped lower, then repeat to see if you’re balanced.
Once the blade is sharpened and in balance, it’s time to return it to the mower.
First, use a lubricant on the bolt and nut to help prevent rust. You might also want to spray a light coat on the blade itself, but dab off any excess to keep it from contaminating your lawn.
Place the blade back on the bolt, making sure the correct side is facing down (toward you). Attach the fastening bolt firmly.
Turn the mower back upright, reconnect the spark plug (and battery), and plug it in or remove the plastic wrap from under the gas cap. You’ll be all ready to go!
Is It Time To Replace Your Lawnmower Blade?
Your lawnmower blade should last a good long time. However, if it’s clunked against rocks, tree roots, or even the curb, it can develop defects that make it less effective and even dangerous.

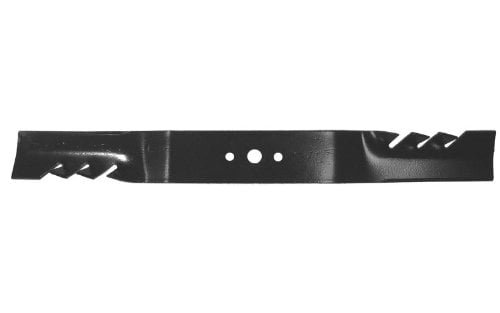
Oregon 95-621 replacement lawnmower blade available on Amazon
If there are large chips or cracks in your blade, it’s definitely worth replacing it. These will throw off the balance or could even break off and throw a piece of sharp metal across the yard. Lawn care stores and big box stores, and anywhere that sells mowers, will usually carry blades that fit major brands. Of course, you’ll be able to find them online as well.
Conclusion
You’ll put a lot of hard work into creating a beautiful lawn, so it’s worthwhile to take care of the tools that you use to care for it. Don’t overlook your lawnmower blade. It doesn’t take long to sharpen it, and normally only has to be done a couple times of year. Your grass will thank you for it by staying healthier and greener!


