Sometimes, it’s just better to start a lawn from scratch. Laying sod is a fantastic alternative to seeding a bare space. It creates a fuller, more beautiful lawn quickly. Sod is especially useful when things were in bad shape before.
What Is Sod?
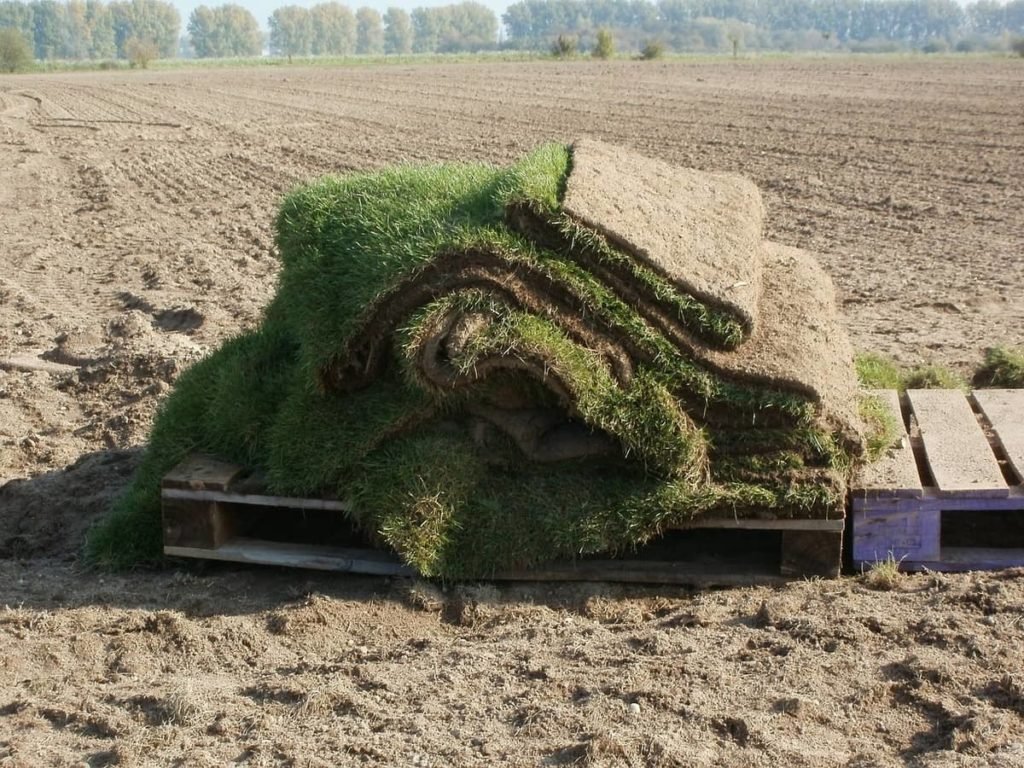
Sod consists of slabs or strips of grass with a layer of soil still attached to them. It’s grown on a farm and cut into sections you place in your yard. It’s available from garden centers, big-box home improvement stores, and landscaping services.
Slabs are easier to work with. But if you have to cover a larger area, it might be easier to get long strips that you unroll.
Depending on how much space you need to fill, you might prefer to have it delivered.
When Is The Time To Use Sod?
A lot of factors may destroy a lawn. Drought or lack of care can play a role. Or you could decide to remove a patio or swimming pool, leaving an ugly bare spot. Regular seeding can take a long time to fill in the area. Sodding still takes some work, but you’ll have a ready-made green space! And it will stay that way when it’s properly cared for.
Steps To Installing Sod
Sod will “take” best if you lay it in late summer or early fall. The warm weather helps it continue to thrive as it attaches itself to the soil of your lawn. It will have enough time to adjust to the shock and build enough strength for the cold weather!
When you’re ready to get started, here’s what you need to do:
Prep and Fertilize
Of course, you’re not going to plop your sod down without getting things ready! It takes a little bit of prep work. It’s best to start this about a month before buying your sod.
Clear any grass or weeds from the area to be sodded. You can use a herbicide and cover the soil with compost to suppress growth.
Once you’re confident that plant life isn’t returning, till the soil. It’s easiest with a rototiller, but you can also do it with a rake and a shovel. Till it to a depth of four to six inches.
Test the soil pH and add topsoil or fertilizer if needed to reach optimal levels.
Level the surface as well. You’ll want to keep the soil level about an inch below the level of adjacent paved areas to account for the thickness of the sod.
Measure and purchase
Next, you need to figure out how much sod you need and buy it. If you know the dimensions of your yard, you’re off to a good start!
If not, grab a tape measure and get to work. Or you can walk off the space. Walk off the length and multiply it by three, then do the same with the width. Why three? That’s the length of an average person’s stride. If you’re shorter, multiply by 2.5 instead of three.
Multiply these two numbers together to get the area of your lawn. If you have curved edges or other unusual shapes, make an educated guess of their area.
So, now you have the area of your yard in square feet. Whether you choose strips or slabs, you’ll need to purchase at least that much sod. You need to calculate how many pieces you need based on what type you will buy; both strips and slabs come in various dimensions.
Lay Your Sod In Rows
Once you get your sod home, it’s time to start laying it in place!
Start working along a solid and straight edge, like along the sidewalk. This helps you keep the rows straight.
Use whole pieces for now; fill in any gaps afterward.
Fill In the Oddly-shaped Sections
Now it’s time to go back and fill the gaps and irregularly-shaped areas. You can use a utility knife or a turf knife to cut edges to fit.
Cut out around sprinkler heads or other areas that need access, too.
Water The New Sod
Right off the bat, you need to water your sod. If you have a decent-sized lawn, you may even want to water sections as you get them done.
From then, water daily or even twice a day for the first week so that the roots will remain strong. After that, you can switch to every other day.
Remember, the roots are still growing into the soil so they need all the help they can get.
Keep Off The Grass
Another way to help keep your grass healthy is to keep off of it for a few weeks! Two weeks is usually sufficient. By then, the roots will have started to take hold and the grass will be able to recover from the damage.
The First Cut
Give your sod time to grow before taking the mower to it for the first time. Let it reach about three inches then cut it back to two. You can gradually cut it shorter in the future. But go slowly. As with other points here, you need to allow your grass time to grow strong.
Fertilizing Your Sod
After the first cut, add fertilizer. It might not be the time of year for this, but remember, this new grass is in shock and needs support.
After this, you can fertilize according to a normal schedule.
Conclusion
Sod is a great way to have a lush green lawn, especially when there wasn’t much to work with at the start. With some preparation and care, you’ll turn a yellow or bare patch into a thriving source of pride!