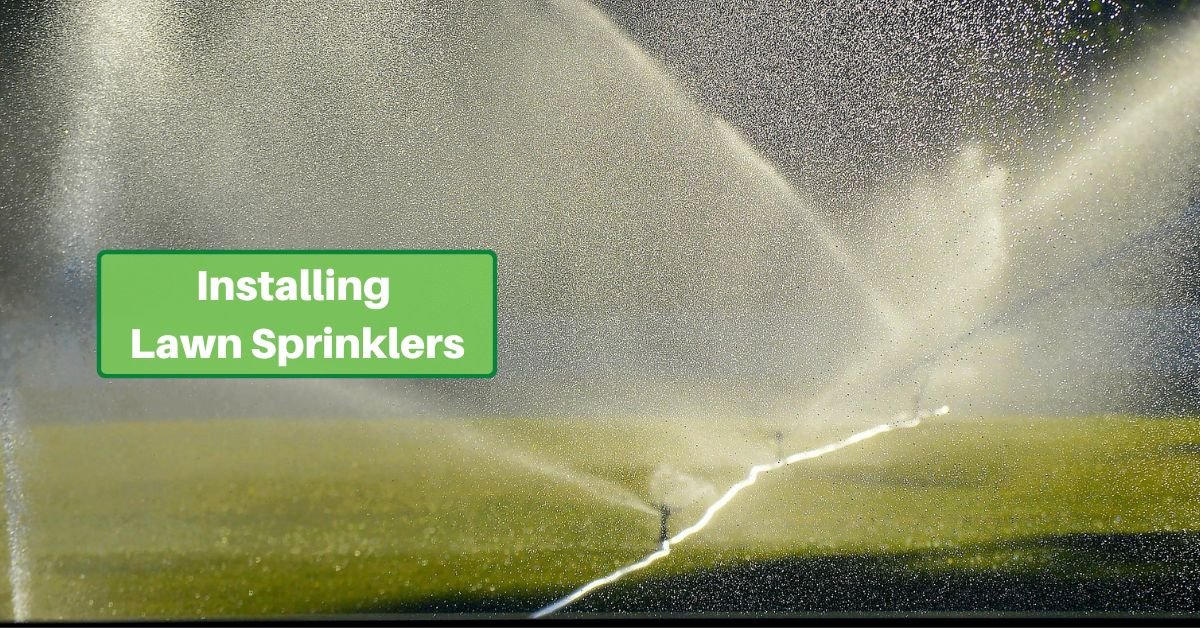
A pop-up sprinkler system offers amazing advantages for your lawn and garden! Most importantly, it helps guarantee that the grass and other plants get the water they need, even when you’re busy. It will also save you time and energy.
What you may not realize is that it’s not all that hard to install a system, even one that’s fully automated! It takes some time and sweat, but the skill level is low. So even if you’re not all that handy, you can get the job done over a full weekend – or less, with some help!
We’ll lay out the basic steps that you’ll need to follow when you install your lawn sprinkler. Of course, the size of your yard and other specific factors will affect how long your project will take.
Under Pressure?
Water pressure is a huge factor in choosing the right components for your sprinkler system. It’s remarkably easy to measure, fortunately. And with this figure in hand, you’ll be able to pick the right equipment. Some sprinkler equipment manufacturers will even give you a list of recommended parts and a plan for your yard if you provide them with the pressure and a diagram of your yard.
The sprinkler heads themselves run based on pressure, so if the pressure is too low, they won’t pop up or spray.
Water pressure is measured in gallons per minute. So all you need is a bucket and a stopwatch (or be able to count “Mississippis” reliably!)
Put the bucket under the tap and open the faucet all the way. How long does it take the bucket to fill?
Then take the size of your bucket and multiply by 60. Divide that by the number of seconds it took for the bucket to fill.
For instance, if you have a 3-gallon bucket, 3×60 is 180. If it fills in 15 seconds, 180 / 15 is 12. So your pressure is 12 GPM.
A 5-gallon bucket that fills in 20 seconds means 5×60 = 300, 300 /20 is 15 GPM.
Find The Water And The Power
You’re going to have to plan things out, but the most important thing is to know where you’ll tap into your water line and electricity.
An outdoor outlet is ideal for connecting to your timer system. If you don’t have one, we suggest having a qualified electrician install one.
An outdoor faucet is great, also. If you don’t have one, you’ll have to add one. Of course, this is best done by a plumber.
Ideally, the water line and electric line are near each other.
Make A Plan
For this step, you’ll need a pencil and paper! Before digging or anything else, you want to plan where you need your lines to run.
Start by sketching the whole area you want to water with your sprinkler system. Be sure to include measurements.
The goal is to make sure the whole yard is covered with just the right amount of water. You don’t want any areas left out. At the same time, you don’t want to drown any section.
Research the equipment for your system. How many feet will it cover? You’ll need to position all your lines to make sure the whole area gets watered. You’ll also want to consider the angle they covered. Some sprinkler heads cover a full 360° and are perfect for the center of your lawn. But sometimes, you need to have coverage on an edge, so 180° does the trick. Or if you have a corner of the yard that needs a sprinkler, there are 90° options.
Be sure to include the “service line” – the pipes that will supply water to the whole system. This is the one that runs from the source you already identified to deliver water to the lines where the sprinkler heads are.
This part of the job might take the most brain power, and you may have to play with a couple of options before finding the best.
You may want to have different zones that can be controlled separately. In that case, you’ll need to add zone valves at strategic locations. To get optimal water pressure, a zone should be no more than 1200 square feet.
Dig Dig Dig
Once you have your plan, it’s time to get dirty!
You can use string and stakes or otherwise mark the lawn where the pipes need to go. Then start digging your trench! Four inches wide is sufficient. And of course, it should run the length of the pipe you have to install.
Depth is a more open question and depends on the climate you live in. If you’re in an area where it never freezes, 4 inches is enough. But if you’re in the coldest climes, you need to bury your pipes a foot below the surface. It’s best to check with your local garden center to find out the recommendations in your region.
Install the Valves
You’ll next want to install valves to create zones for your system. Even if you have a smaller yard and don’t need zones, you’ll want valves at the beginning of the system, close to the water source. This will let you turn off the sprinkler water supply without turning off the water to the whole house.
Valves should be located to divide your yard into zones, with one near the start of the water flow.
You’ll need to dig a larger spot for these along the route of your supply line. Line the hole with gravel 2 inches thick on each side of the valve box.
You also want to include a backflow preventer so that contaminated water doesn’t flow back into your household line.
Place The Pipe
The next step is to place all your PVC pipe. Be sure to use tape and adhesive at each junction to avoid leaks.
Be sure to install your risers in the positions where you want your sprinkler heads!
Connect The Water
It’s finally time to hook up the water. Connect the line to the source. If you’re tying into the main line, don’t forget to shut off the main valve first.
Worried about your lines freezing in winter? Learn how to winterize your system!
Flush The System
Before connecting the sprinkler heads, though, you’ll want to flush out the whole system.
Turn on the water and open the zones, one by one. Allow the water to flow for a while and look over the ends of the lines to make sure you don’t see dirt coming out.
Once it seems like the lines are all clear, turn the water off.
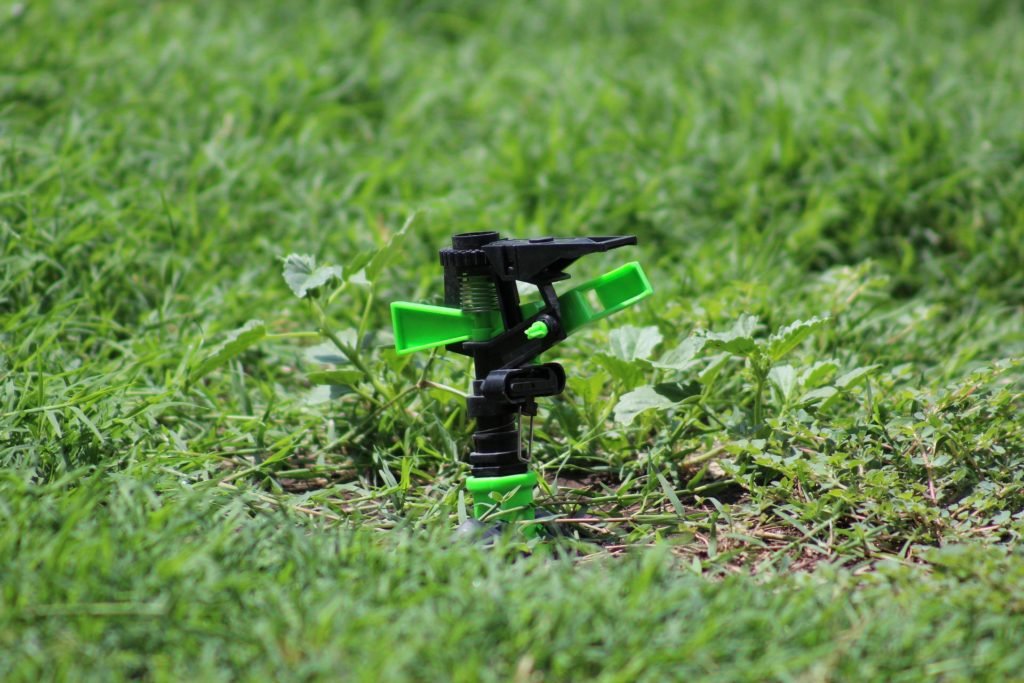
Install the Sprinklers
Now that the lines are clear, attach your sprinkler heads to the risers. Be careful to attach each type in the appropriate place.
Hook Up The Timers
It’s finally time to connect the timers. Usually, this is just a matter of plugging in your valve box and then setting the timers. With very large yards where you have multiple zones divided into smaller zones, you may have to run more wire.
Final Test
Before filling in the trenches, do a test to make sure everything is working correctly. Make sure to check each zone as well as the timers.
Fill It In
Once everything’s working correctly, fill in the trenches again. Take care not to get dirt into the sprinkler heads themselves so that they won’t clog. And- you’re all set! Double-check your timers, and it should be smooth sailing from here on.
Conclusion
An automatic lawn sprinkler system with pop-up sprinkler heads is a fantastic way to get your garden and lawn the water they need while cutting down on the work you have to do. It takes some planning and a solid weekend of labor, but it pays off in the end. You’ll love how easy everything becomes once it’s set up!