If a tree falls on your house, it’s going to make a sound – a pretty horrible one. To avoid that, it’s sometimes necessary for you to take it down before it comes down on your own. If you have a chainsaw, you’re off to a good start – but this isn’t a task you want to jump into without some careful planning!
Before you make the first cut, be sure to read through this guide. This is a dangerous task and it can lead to property damage, personal injury, and worse. So you must know what you’re doing before you start!
Check Your Tools and Equipment
As with any project, be sure you have the proper tools and safety equipment before starting.
Make sure your chainsaw is the right size and in good shape for the job. For cutting down small trees, a chainsaw should have a bar that’s from 16 to 20 inches.
Be sure the saw is well-maintained, also.
But you need more than a saw!
If the tree is more than 18 inches across, you will need wedges to keep your saw blade from getting stuck in the cut.
Be sure to use appropriate safety gear, too. Safety goggles, gloves, and a hard hat are indispensable! No matter how careful you may be, you can’t predict where sawdust or larger pieces of wood may fly. Twigs and branches may unexpectedly fall.
We also recommend wearing long sleeves and pants for the same reason.
Assess The Fall Path
One of the biggest reasons to fell a tree is to keep it from falling on your house, car, or other property. The last thing you want to do is for it to land there when you try to remove the tree!
Carefully examine the tree to see if it’s already leaning and whether most of its weight is on one side. No matter what you do to try to control the fall, it is going to fall where gravity pulls it.
Also, assess how far the tree will fall. It can be tough to guess this. A good trick is to take an ax and hold it straight up and down at arm’s length. Stand back from the tree so that the bottom and top of the tree line up with the bottom and top of the ax. Where you’re standing is about where the end of the tree will land.
Decide If It’s A Job For You
Now that you’ve checked your equipment and figured out where you think the tree will fall, it’s time to decide if this is a job you want to undertake.
Yes, we put this off for a little because we know that you plan to do the job. But if you don’t have the right gear, you shouldn’t try it. And if the tree is too big, you want to consider calling a pro. It might be necessary to trim branches or the top of the tree to bring it down without doing damage, and that’s not for most homeowners.
This is not a task to try if you’re not prepared for it; don’t hesitate to search for tree services in your area!
Plan Your Routes
If you’ve decided to go through with the job, you’ll need to know where you’re going when that huge, heavy piece of wood starts falling. You don’t want to stand nearby as it comes down. It may fall in a different direction than you expect, or it may kick back or bounce as it falls.
Have at least two clear routes that lead away from the direction you expect the tree to fall. Before cutting anything, make sure those routes are clear of obstacles or debris so that you can make a quick escape, if necessary.
Cut The Notch
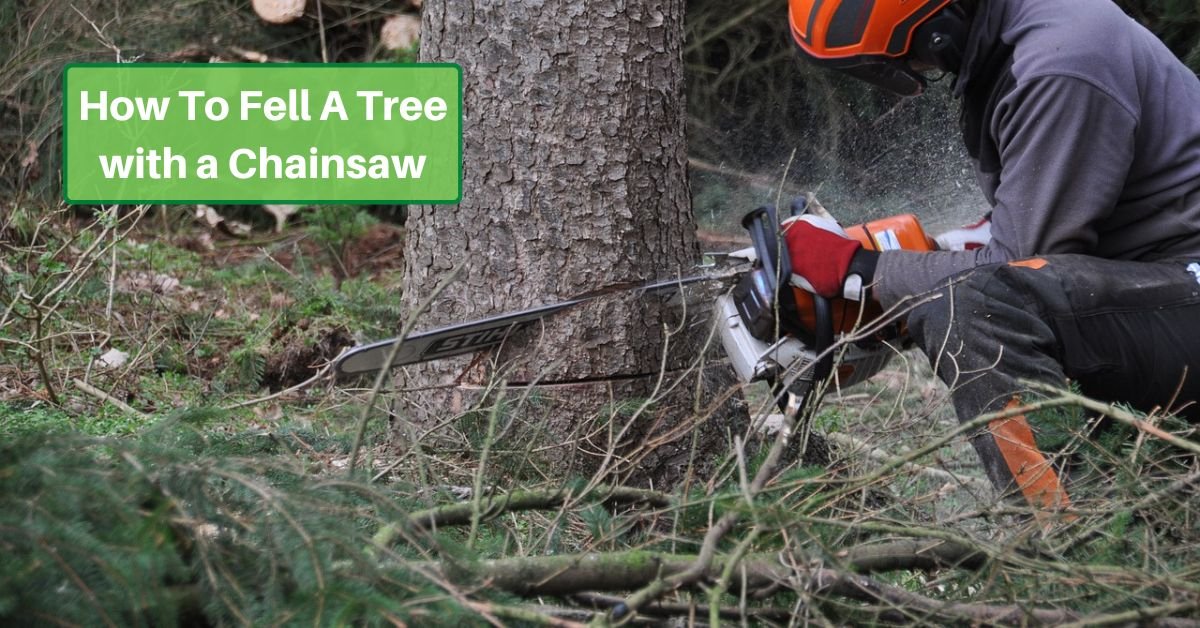
Once all your preparations are made, it’s ok to start cutting. The first step is to remove a triangular piece of wood by making two “face cuts.” This should be on the side that you want the tree to fall to.
This notch should be about four feet above the ground.
Start by cutting on a downward angle, aiming for a point about a third of the way across the tree. Once you reach that point, make another cut below it, this one horizontally, until it meets the first cut. You may have to adjust the cuts a bit if they don’t line up correctly. If you miscalculated where the face cuts will meet, it’s better to start a new cut than to cut too far across the tree.
You may be able to push the section out with your hands; however, you may need to use a mallet.
The Felling Cut
The back cut, also called the felling cut, is done from the opposite side of the tree. This cut should be slightly angled.
Start cutting on a downward angle, slightly above the height of the bottom of the notch on the other side. Aim for the inner point of the notch. By using an angle here, you reduce the risk of the tree splitting or falling prematurely.
Proceed with extra caution here, as this cut is going to bring down your tree, and it may fall well before you finish the cut!
Use Wedges If Necessary
The weight of a tree, particularly a large one, may press down on the blade of your saw as you try to cut. To prevent this, use wedges to help keep the back cut opened up. This is most necessary with trees of about 18 inches across.
As you cut, use a mallet to hammer in the wedge on the side across from where you were cutting.
Get Away!
When you see the tree start to lean, it’s time to move! Make a quick assessment to be sure it’s falling in the planned direction, then get out of the way as quickly as possible along one of your planned routes. This is not the time to stand there and admire your handiwork!
Limbing and Bucking
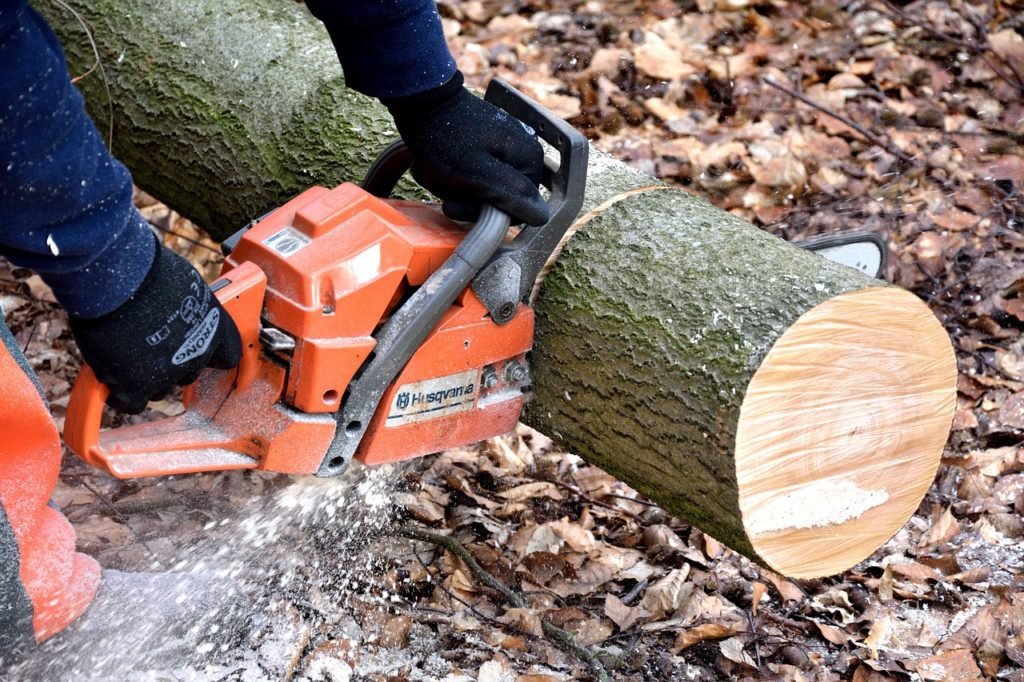
Once the tree is down, it’s time to cut it into manageable sections. Start by limbing it – that is, removing all the limbs and branches.
Next, you’ll want to cut it into sections about 16 inches long. This process is known as “bucking.” Later, you’ll chop these into logs, but for now, leaving them in larger pieces is good enough.
At some point, you’ll want to remove the stump, as well. But that can wait for another day!
Taking down a tree is a tough task, no doubt about it. It takes planning and care. Be sure to make an honest assessment regarding your ability to handle the particular tree that needs to be removed. But you can end up removing a risk, creating a healthier lawn, and providing yourself with enough firewood to last all winter long!