Starting your plants from seeds is rewarding, but may require some careful planning. Seed trays, also known as seedling trays or propagation trays, are essential tools that make this process more manageable and efficient.
Let’s explore what seed trays are, their types, and how to make the most of them to ensure a flourishing garden. We’ll also provide valuable tips and examples of plants you can start in these trays.
What Are Seed Trays?
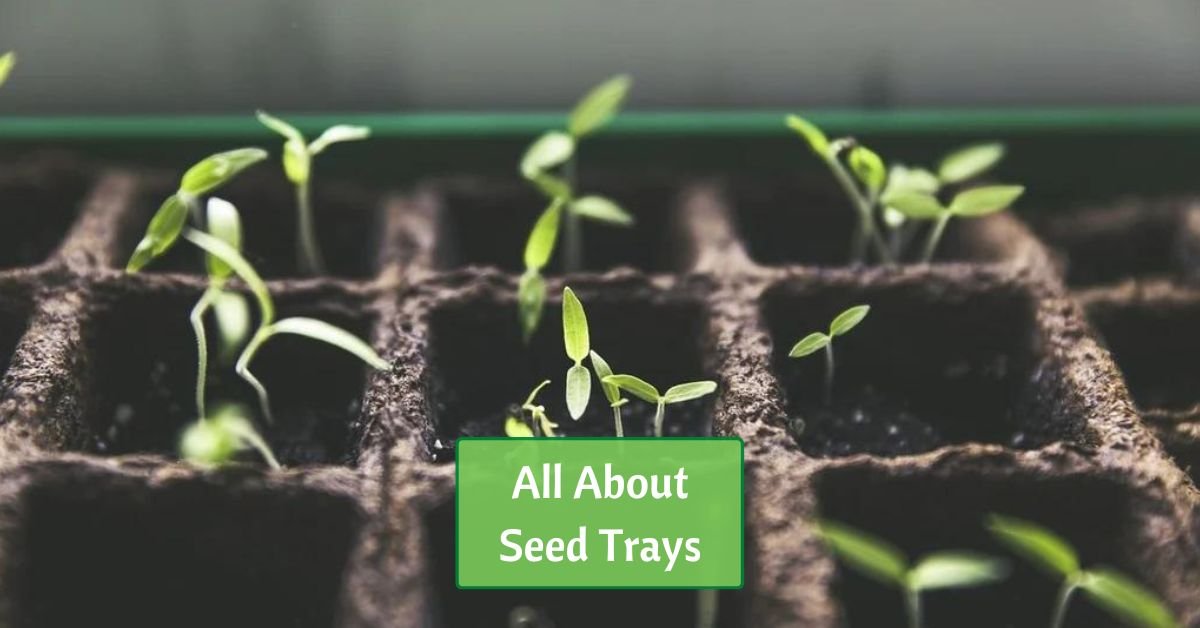
Seed trays are shallow, rectangular, or square containers designed for starting seeds and nurturing young seedlings. They come in various sizes, materials, and configurations. However, the fundamental purpose is the same: to create a controlled environment for germinating and growing seeds until they are ready to be transplanted into your garden.
Types of Seed Trays
Seed trays come in various sizes and shapes, depending on the plant the tray is designed for.
In general, each tray has several cells. Depending on the plant, you may add a single seed to each cell or several seeds.
We prefer biodegradable seed trays, although there are also plastic ones. The plastic ones tend to be more flimsy, although neither version holds up from one season to the next.
Biodegradable seed trays are often made of peat or coconut coir. When it comes time to transplant your seedlings, you can place the cell directly in the ground, reducing shock to the young plant.
Some trays also include clear plastic lids to help create a greenhouse effect, creating high humidity for optimal germination.
Using Seed Trays: Step-by-Step
Now let’s walk through the process of using seed trays effectively:
Choosing the Right Location
Place your seed tray in a location with ample sunlight. Most seeds require at least 6-8 hours of direct sunlight per day.
If natural light is limited, consider using artificial grow lights to provide sufficient illumination for your seedlings.
Preparing the Seed Trays
Ensure your seed trays are clean and sterilized to prevent the growth of harmful fungi or bacteria. Contamination can harm your seeds and seedlings, and you could end up transferring those issues to your entire garden.
If using biodegradable trays, wet them thoroughly before adding soil.
Adding Soil and Fertilizer
Fill the trays with a high-quality seed-starting mix, which is specially formulated for young plants and provides excellent drainage.
You can enrich the mix with a slow-release organic fertilizer to provide essential nutrients as the seedlings grow.
Sowing Seeds
Follow the specific sowing depth and spacing guidelines provided on the seed packet for each plant variety.
Gently press the seeds into the soil, ensuring good seed-to-soil contact.
Labeling
Place labels or markers in the trays to identify the types of seeds you’ve sown. This prevents confusion as your garden starts to flourish.
Watering
Use a gentle spray or misting nozzle to water the seeds evenly without disturbing them. A fine mist ensures the soil remains moist but not waterlogged.
You can also use a bottom-watering technique by placing the seed tray in a shallow container of water until the soil surface becomes damp.
Covering the Seeds
If your seed tray has a clear plastic lid or plastic wrap, cover the tray to create a mini-greenhouse effect. This helps retain moisture and provides a controlled environment for germination.
Remove the cover once the seeds have sprouted, typically after the first true leaves appear.
Providing Proper Ventilation
Ensure good airflow around the seedlings to prevent fungal issues. Once the cover is removed, keep a small fan on low nearby to gently circulate the air.
Transplanting
When your seedlings have developed several true leaves and are large enough to handle, carefully transplant them into larger containers or directly into your garden, ensuring proper spacing. Be sure to consider the air and soil temperature appropriate for the type of plant.
Examples of Plants for Seed Trays
Seed trays are versatile and can be used to start a wide variety of plants. Here are some examples:
- Tomatoes: Tomato seeds can be sown in seed trays. Once the seedlings are robust, transplant them into your garden or larger pots.
- Lettuce: Lettuce seeds can be densely sown in seed trays, and when they reach a certain size, you can transplant them to create neat rows in your garden.
- Herbs: Culinary herbs like basil, parsley, and cilantro can be easily started in seed trays and later moved to outdoor herb gardens or containers.
- Peppers: Pepper plants thrive when started in seed trays. Once they’re well-established, transplant them to your garden, ensuring they have sufficient space to grow.
- Flowers: Many annual and perennial flowers can be started in seed trays, offering a cost-effective way to fill your garden with vibrant blooms.
Seed trays are invaluable tools for gardeners looking to start plants from seeds and nurture them to maturity. By following these steps and selecting the right trays and materials, you can enjoy a successful gardening experience, full of homegrown produce and beautiful blooms.