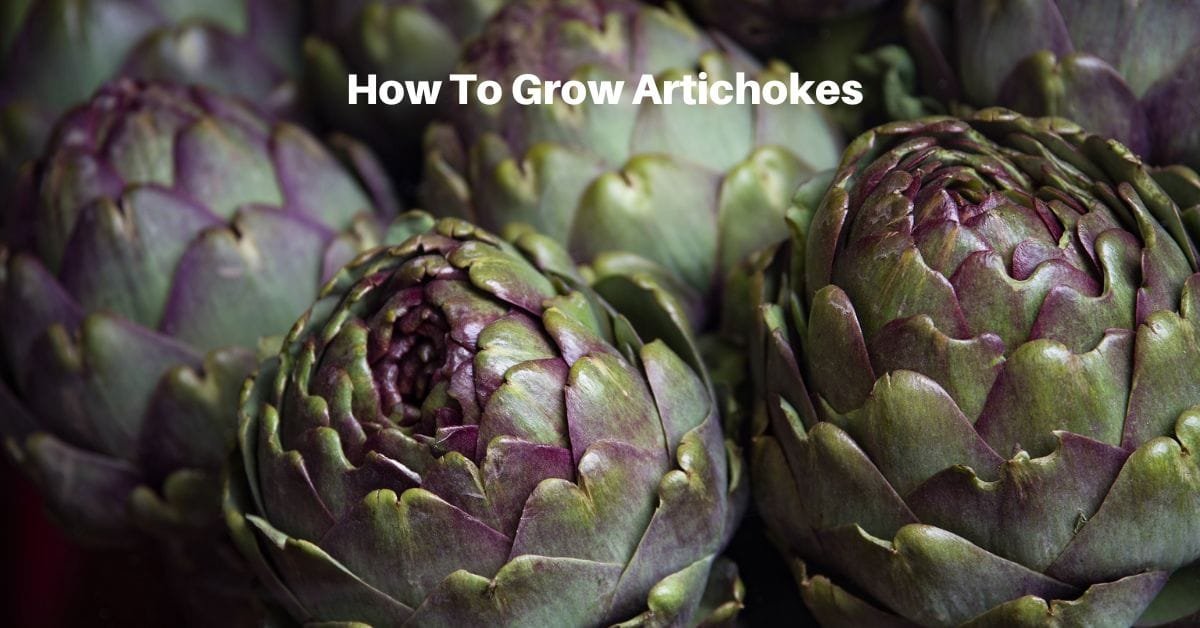
Artichokes are a unique addition to any garden. They have fantastic versatility in the kitchen but also stand out for their distinctive appearance. The edible flower buds and elegant foliage combine form and function, making them an excellent choice for gardeners looking to cultivate both aesthetic and edible crops.
Fortunately, you can cultivate this vegetable without being a seasoned gardener. Even beginners can experience the satisfaction of growing this delightful plant. Let’s look at how to get started and enjoy this delicious crop!
Choosing the Right Varieties
Artichoke varieties vary widely, so picking the right one for your garden is crucial. Popular varieties include:
- Green Globe: A classic choice, especially for beginners. Known for its large, tender buds and adaptability to various climates, it thrives in climate zones 7-9.
- Imperial Star: A more compact variety that performs well as an annual, making it ideal for cooler climates or gardeners in zones 4-6.
- Violetta di Chioggia: A striking Italian heirloom with deep purple heads. It’s ornamental and flavorful, suited for warmer areas.
When choosing a variety, consider your local growing conditions and personal preferences. Perennial varieties can provide years of productivity if you live in a region with mild winters. In colder areas, annual types like Imperial Star are better suited to shorter growing seasons.
Preparing Your Garden for Artichokes
Artichokes thrive if grown in the right environment. Careful preparation can be a massive boost to their success, of course! Here’s what you need to know to create the ideal conditions:
Soil Requirements
Artichokes prefer rich, well-drained soil with a slightly acidic to neutral pH (6.5 to 7.5). Adding plenty of organic matter, such as compost or well-rotted manure, helps ensure the soil has plenty of nutrients while retaining moisture without becoming waterlogged.
Consider planting artichokes in raised beds or mounded rows to improve drainage if your soil is heavy clay.
Sunlight and Spacing
Give your artichokes plenty of sun—at least 6-8 hours of direct sunlight daily.
Proper spacing is also essential. These plants can grow large, reaching 4 feet across when fully mature. Space plants at least 3 feet apart to allow for good air circulation and prevent overcrowding, which can lead to pest and disease issues.
Climate Considerations
Artichokes are native to Mediterranean regions and thrive in mild, frost-free climates. In USDA zones 7-9, they can be grown as perennials. In colder zones (4-6), they’re typically grown as annuals or overwintered indoors. To give your plants a head start in cooler climates, start seeds indoors 8-10 weeks before the last expected frost date.
Planting Techniques
You can grow artichokes from seeds, crowns, or divisions:
- Seeds: Start seeds indoors under grow lights because artichokes require a long growing season. Transplant seedlings to the garden after the danger of frost has passed.
- Crowns: Pre-established root systems are available from garden centers and offer faster growth.
- Divisions: If you already have mature plants, dividing them every few years rejuvenates their growth and provides new plants.
Once planted, mulch around the base of the plants to retain moisture and suppress weeds.
Planting and Early Care
After preparing the ideal environment, successful artichoke growth depends on thoughtful planting and diligent early care. Here’s how to ensure your young plants thrive:
Timing the Planting
The timing of your artichoke planting depends on your climate.
- Cooler Climates: If you’re growing artichokes as annuals, transplant seedlings outdoors after the danger of frost has passed and the soil has warmed to at least 50°F.
- Warmer Climates: In perennial zones, plant artichokes in early fall or late winter to allow them to establish before summer heat sets in.
Transplanting Seedlings
When your seedlings are 6-8 weeks old and have at least two sets of true leaves, they’re ready for transplanting.
- Harden off the seedlings by gradually exposing them to outdoor conditions over a week.
- Dig holes large enough to accommodate the root ball without crowding.
- Set the seedlings slightly deeper than their original growing depth and gently backfill with soil, firming it around the base.
Watering Strategies
Artichokes require consistent moisture, especially during their first few weeks. Keep the soil evenly moist but not soggy to prevent root rot. A drip irrigation system or soaker hose is ideal for delivering water directly to the roots without wetting the foliage, which can encourage disease.
Fertilizing for Growth
Artichokes are heavy feeders. Apply a balanced fertilizer, such as 10-10-10, during planting and follow up with regular feeding every 4-6 weeks. Organic options like fish emulsion or seaweed extract are also excellent choices.
Protecting Young Plants
Newly planted artichokes are vulnerable to pests like aphids and slugs.
- Physical Barriers: Use row covers or cloches to protect seedlings from early infestations.
- Companion Planting: Incorporate pest-repelling plants like marigolds, dill, or garlic nearby. Inspect plants regularly and remove pests by hand or with a strong spray of water.
Mulching and Weed Management
Apply a 2-3 inch layer of organic mulch, such as straw or shredded bark, around your plants. Mulching retains soil moisture, regulates temperature, and suppresses weeds. Remove weeds promptly to reduce competition for nutrients and water.
Ongoing Maintenance and Problem-Solving
Once your artichokes are established, consistent care is essential to ensure a fruitful harvest. Here’s how to maintain your plants throughout the growing season while tackling common challenges.
Watering and Feeding for Sustained Growth
Artichokes thrive on consistent moisture. Deep water your plants once or twice a week, depending on rainfall and soil drainage. During hot, dry periods, increase frequency to prevent stress.
They also require a lot of nutrients. Side-dress your plants with compost or apply a liquid fertilizer every four weeks to replenish nutrients.
Pruning and Staking
As artichokes grow, their broad leaves and tall stems can become unwieldy. Remove yellowing or damaged leaves to redirect energy to healthy growth and reduce pest habitats.
In windy areas or where plants grow tall, stake the stems to prevent breakage. Use soft ties to avoid damaging the stems.
Pest and Disease Management
Artichokes are susceptible to a variety of pests and diseases. Regular monitoring and prompt action are critical.
Check the undersides of leaves for clusters of aphids. Treat with insecticidal soap or neem oil.
To avoid the dangers of snails and slugs, place traps or barriers like crushed eggshells around plants to deter these nighttime feeders.
To prevent powdery mildew, improve airflow by spacing plants adequately and pruning overcrowded foliage. Botrytis Rot is another risk; avoid wetting foliage during watering and remove infected plant parts immediately.
Encouraging Bud Formation
The main goal of growing artichokes is to harvest their edible flower buds. Promote bud formation with careful care.
Artichokes form buds best after experiencing mild vernalization (a period of cool temperatures). If growing as an annual, exposing young plants to a week of cool nights (40-50°F) can help simulate this process.
Remove any side shoots early in the season to encourage the plant to focus energy on forming larger central buds.
Seasonal Considerations
In hot climates, provide afternoon shade during the peak heat to prevent stress and bolting. On the other hand, artichokes grown in cold climates need to be protected from early frost warnings. Use frost blankets or other methods to protect them when needed.
Rejuvenation of Perennials
In zones where artichokes are grown as perennials, cut back the plants to ground level in late fall after the foliage dies back. Apply a thick layer of mulch over the crown to insulate it during the winter months.
You’ll maximize your chances of a productive artichoke harvest by staying attentive to your plants’ needs and addressing problems early.
Harvesting and Enjoying Your Artichokes
The culmination of your efforts in growing artichokes is the harvest. Knowing when and how to pick these edible buds ensures the best flavor and texture.
When to Harvest
Artichokes are ready to harvest when the buds reach their full size but before they open into flowers.
Look for tight, compact buds with a 3-5 inches diameter, depending on the variety. Check plants daily during peak production to catch buds at their prime.
When your artichokes are ready, use sharp pruning shears to cut the stem about 2 inches below the bud. Leave a few leaves attached to the stem to continue feeding the plant. For perennial plants, allow a few buds to flower and go to seed to rejuvenate the plant for next year.
Post-Harvest Storage
Fresh artichokes can be stored in the refrigerator for up to a week. Wrap them in damp paper towels and place them in a perforated plastic bag.
To enjoy the taste even longer, cooked artichoke hearts can be frozen for later use, preserving their flavor and texture.
Enjoying Your Harvest
Artichokes are a culinary delight, known for their rich, nutty flavor and versatility in recipes. Popular methods of preparation include:
- Steaming: A classic approach that keeps the buds tender and retains their nutrients.
- Grilling: Adds a smoky depth to the flavor, perfect for summer barbecues.
- Stuffing: Fill the leaves with breadcrumbs, herbs, and cheese for a hearty dish.
Sustainable Practices
After harvesting, compost the inedible parts of the plant to enrich your garden soil. If you allowed some buds to flower, their vibrant purple blooms can also provide seeds for future planting or serve as a stunning addition to cut flower arrangements.
Growing artichokes in your garden is rewarding and an opportunity to enjoy fresh, homegrown produce. With proper preparation, care, and attention, you can look forward to a bountiful harvest and the satisfaction of mastering this unique crop.


