We have to admit that we’d never heard of sparrow spookers until we were researching another article. But once we realized what they are and how simple they are to make, we fell in love with the idea!
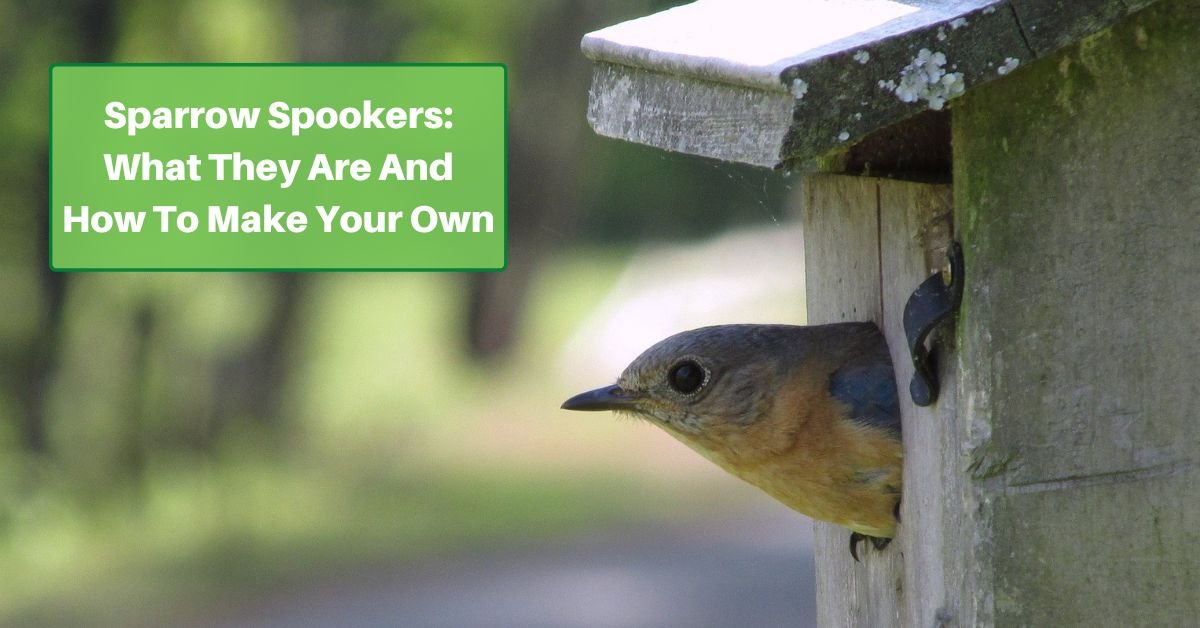
Sparrow spookers are a simple but effective way to keep unwanted bird species, especially house sparrows, from nesting in your bluebird house. House sparrows are known to be aggressive competitors for nesting sites, and their presence can pose a threat to bluebirds. They work by creating movement and visual disturbances around the entrance hole of the birdhouse, discouraging sparrows from approaching or entering. At the same time, bluebirds don’t have a problem with them!
What Are Sparrow Spookers and How Do They Work?
Sparrow spookers consist of a set of thin, reflective and lightweight materials that move easily with the slightest breeze. These materials are often strips of metallic tape, Mylar ribbons, or even old CDs.
When attached near the entrance hole of the bluebird house, they create a flickering effect as they reflect sunlight. To a sparrow, this can look like a larger, potentially dangerous bird, signaling that the area is occupied or unsafe.
Why Won’t Bluebirds Be Spooked?
Of course, bluebirds can have the same fears. But the trick is in the timing.
Before adding sparrow spookers, make sure that bluebirds already inhabit the box. Once they’ve laid eggs, they’re committed. Even if sparrow spookers are in place, they’ll keep returning.
On the other hand, aggressive species like sparrows won’t try to move in and take over since they have no vested interest in that particular box.
Making Your Own Sparrow Spooker
Creating your own sparrow spooker is a cost-effective way to protect your bluebird house. To make one, follow these simple steps:
- Gather Materials: You’ll need a few strips of reflective materials like Mylar ribbons, strips of aluminum foil, or unused CDs.
- Cut and Prepare Strips: Cut the Mylar ribbons or other materials into strips that are about 12 to 18 inches long. If using CDs, you can create holes near the edges to thread string through for hanging.
- Attach Strips: Attach the strips around the area of the entrance hole using a small piece of string, wire, or a twist tie. Make sure they hang freely and can move with the wind.
- Hang CDs: If using CDs, thread a string through the holes you created and hang the CDs in front of the entrance hole.
Where to Place Sparrow Spookers
Attach the sparrow spooker near the entrance hole of the bluebird house, but be cautious not to obstruct the entrance. The spooker should create movement and reflect light, signaling the presence of an active bird to discourage sparrows from approaching.
Here’s are some more tips about placement:
- Number of Strips: Attach 3 to 5 strips around the entrance hole, ensuring they move freely and create a noticeable flicker effect.
- Height: Hang the sparrow spooker at a height where it will catch the sunlight and breeze, enhancing the reflective and motion deterrent.
- Spacing: Make sure the strips are evenly spaced to cover the area around the entrance hole.
- Regular Maintenance: Check your sparrow spooker every month or so, and after severe weather, to ensure it’s still moving and reflecting light effectively. Replace any damaged or faded materials.
Commercial Sparrow Spookers
While you can easily make your own sparrow spooker, some birding supply stores offer commercially-made versions. These pre-made spookers often incorporate reflective materials and are designed for easy attachment to your bluebird house.
By adding a sparrow spooker to your bluebird house, you create a more inviting space for bluebirds while minimizing the chances of aggressive competitors taking over. Being proactive helps ensure that your efforts to attract bluebirds are met with success, and that you’re providing a safe and welcoming home for these charming birds.

